3.2 The First Control Measurement
If you do not want to measure with the internal dose rate
probe, connect the desired external probe first to the device
using the spiral cable. Press the ON/OFF button to turn on
the unit. After power on, the device shows the software ver-
sion and the battery/rechargeable battery voltage and then
automatically switches to the measurement mode. The LB
number of the probe is displayed in the top row. If this is not
the same as the LB number of the probe, this means that the
internal probe is selected. In this case, please enter the
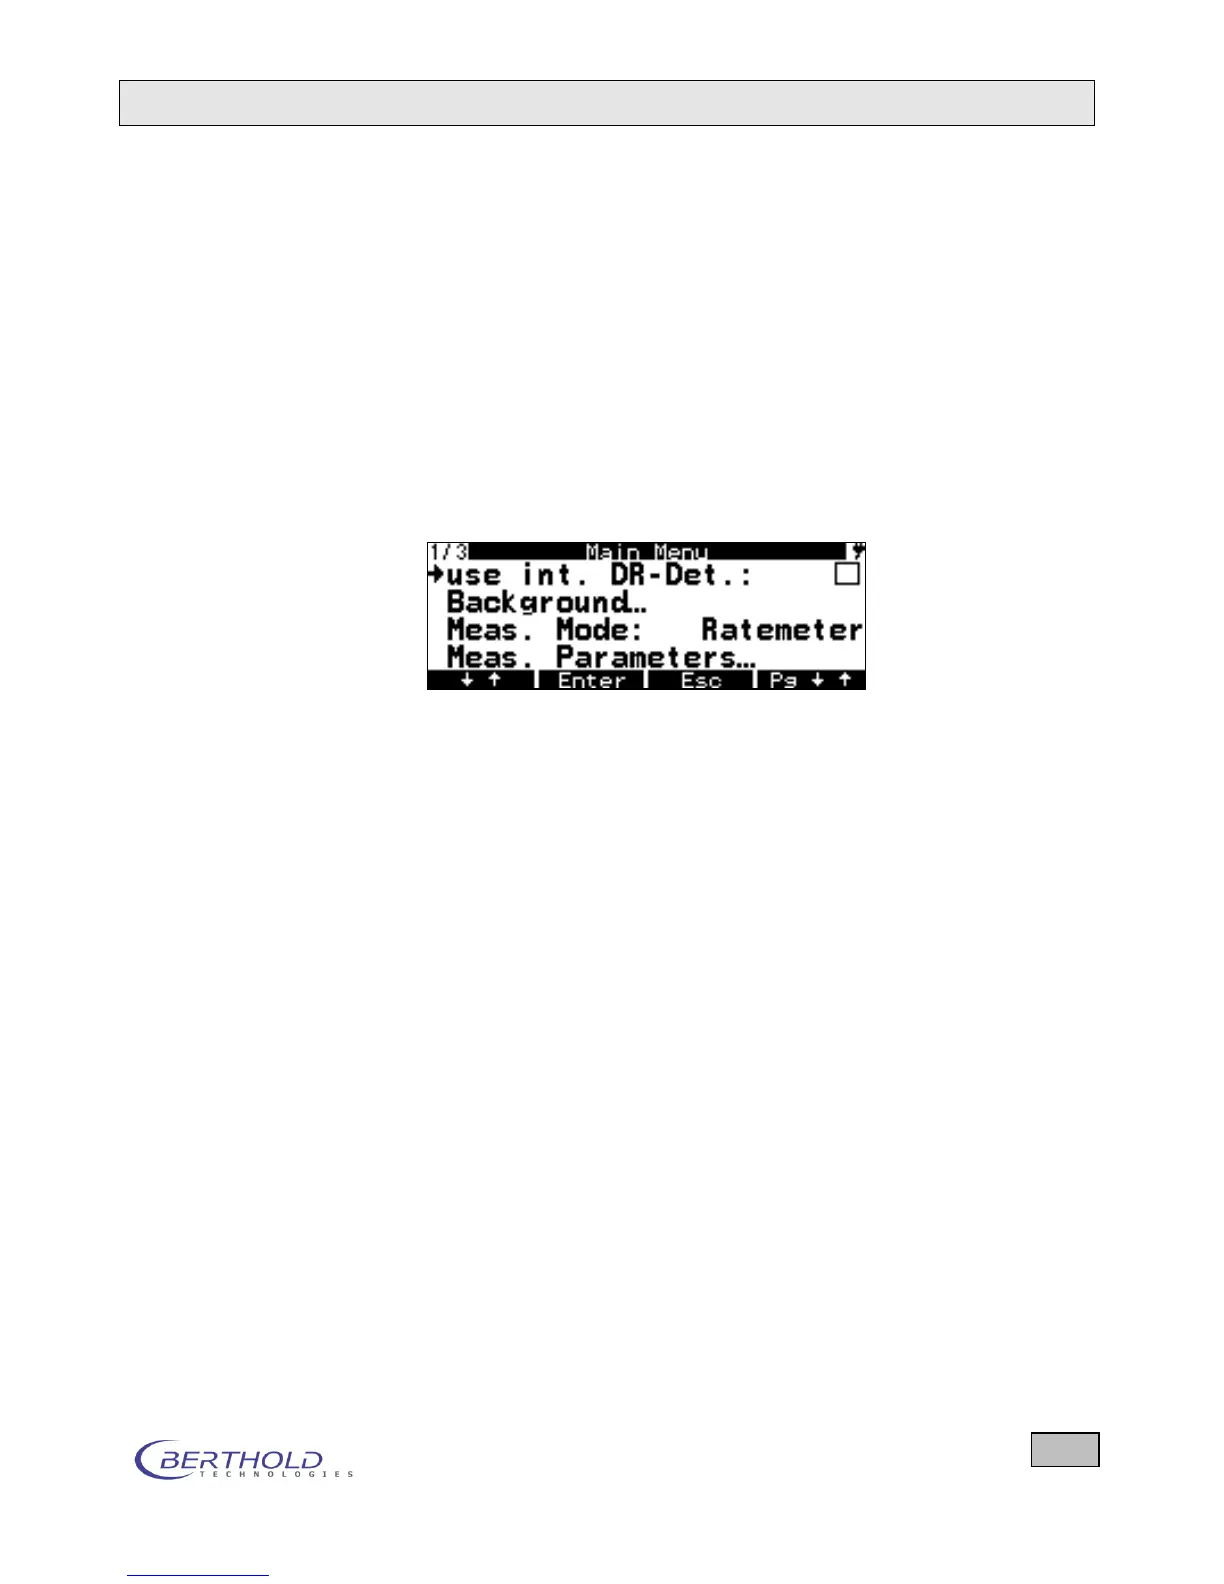
menu by pressing the menu button:
If the checkbox in the top right corner is ticked, this means
that the internal dose rate probe is used, even when the ex-
ternal probe is connected. As the cursor (left arrow) is al-
ready in this line, you can disable the internal probe by
pressing Enter; then the external probe will be used (the X is
removed). Press ESC to go to the Measurement menu. Now
you can run measurements with the external probe.
If you want to test the functionality of the device first, you
can do this using the test source, you are also using other-
wise, in the same geometry in front of the detector and com-
pare the displayed value with the target value that you have
obtained during the first commissioning. Depending on the
probe used, you have to position the respective test source
accordingly, as otherwise the measurement result is not cor-
rect.
When working with the LB 1342, slide the metal plate with
the test source Sr-90 in front of the detector.
After about 10 seconds measurement time, read the meas-
ured value and compare it with the value indicated on the
test source. Your reading should reach this value with a tol-
erance of +/- 20% after about 10 seconds.