III - 57
[13] Demonstration Print and Final Check
(1) Insert the AC cord into a outlet.
(2) Set the tape with the maximum width (62mm).
1) Press the Feed button when the power is OFF.
2) Keep pressing the Feed button and press the ON/OFF button for five seconds.
3) Release the Feed button while pressing the ON/OFF button.
4) Press the Feed button six times in a row while pressing the ON/OFF button.
5) Release the ON/OFF button. Then 100mm full-width gray print is performed
and repeated until the power is turned OFF.
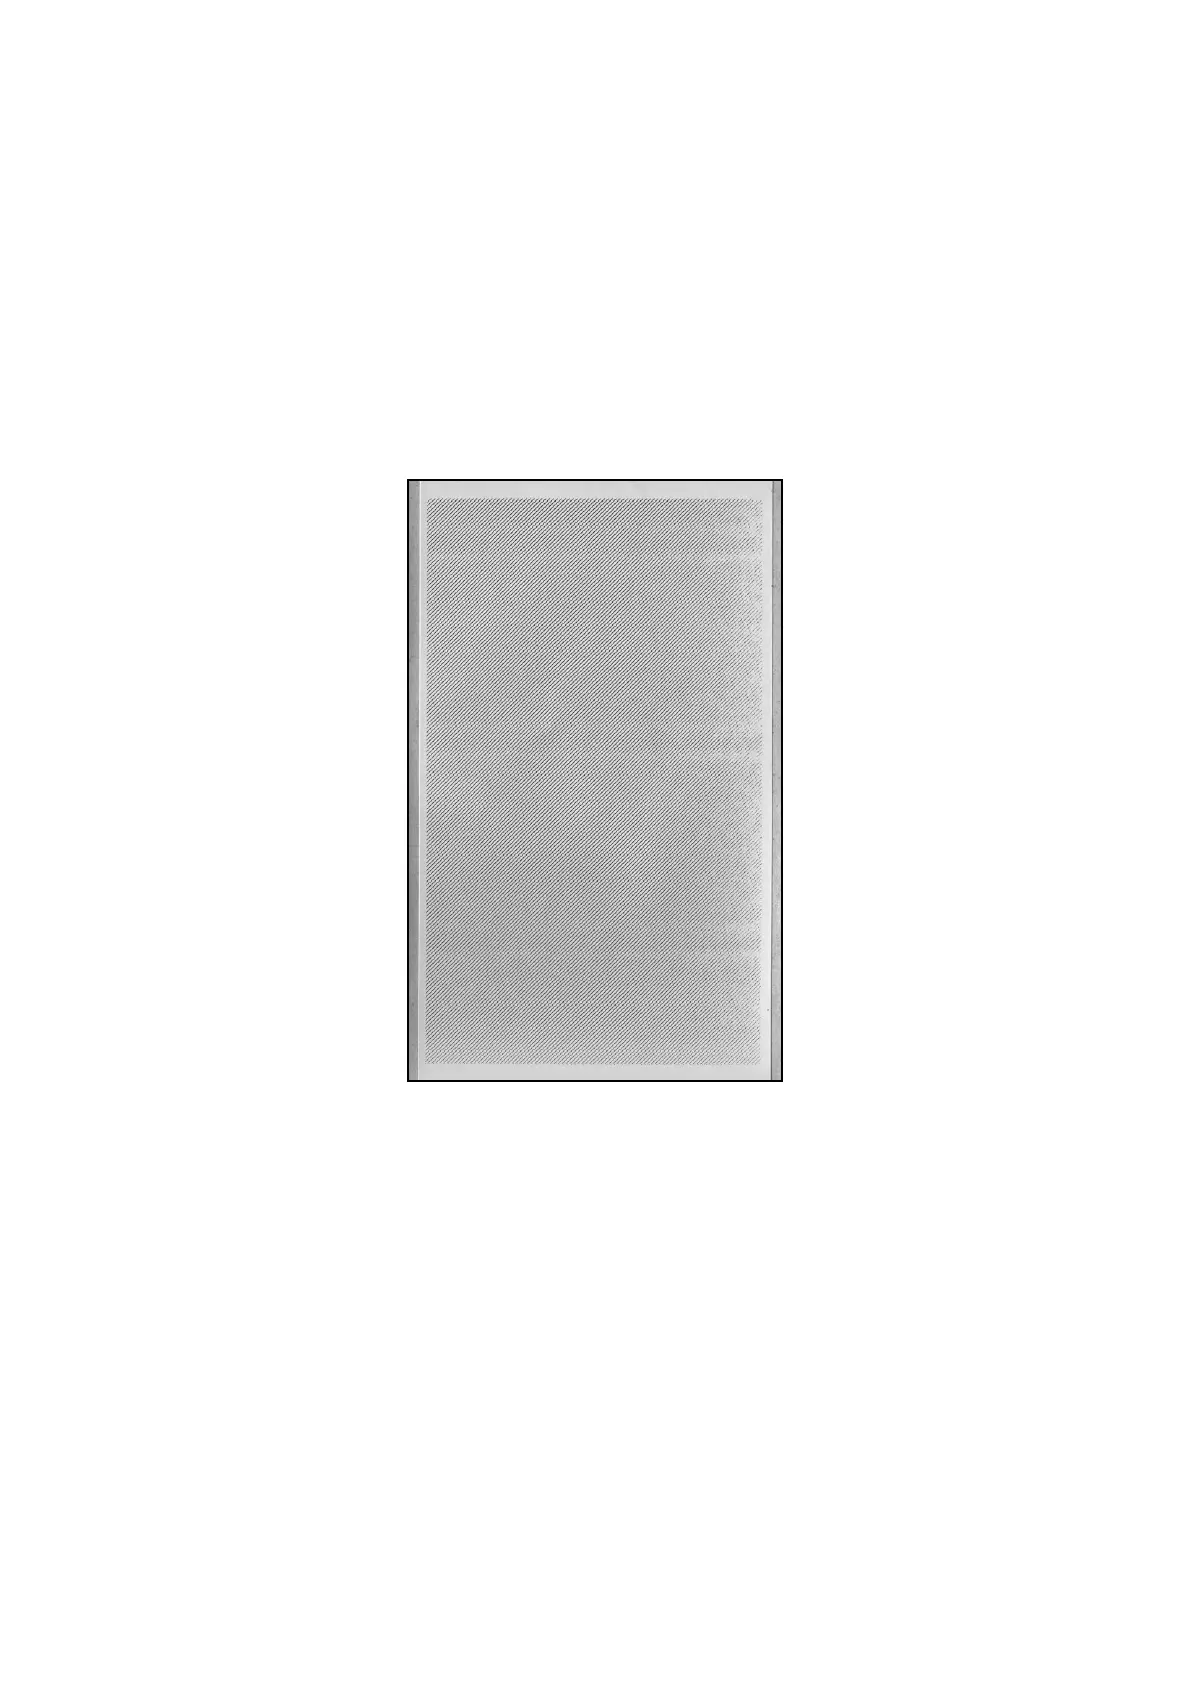
< Print sample>
(3) Confirm that the tape is sent properly, print is correct, and the tape is cut properly
during the demonstration print. If you find any problems, consult “CHAPTER IV
TROUBLESHOOTING AND ERROR MESSAGE”.
(4) Open the top cover ASSY and confirm that the head ASSY is released from the
platen ASSY.
(5) Confirm that the Feed/Cut button works properly.
(6) Confirm that the ON/OFF button works properly.
 Loading...