EasyManuals Logo

Brother P-touch QL-710W User Manual

Brother P-touch QL-710W
123 pages
To Next Page IconTo Next Page
To Previous Page IconTo Previous Page
Page #71 background imageLoading...
Page #71 background image
III - 52
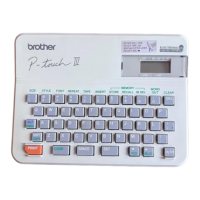
[11] Installing the Panel Cover
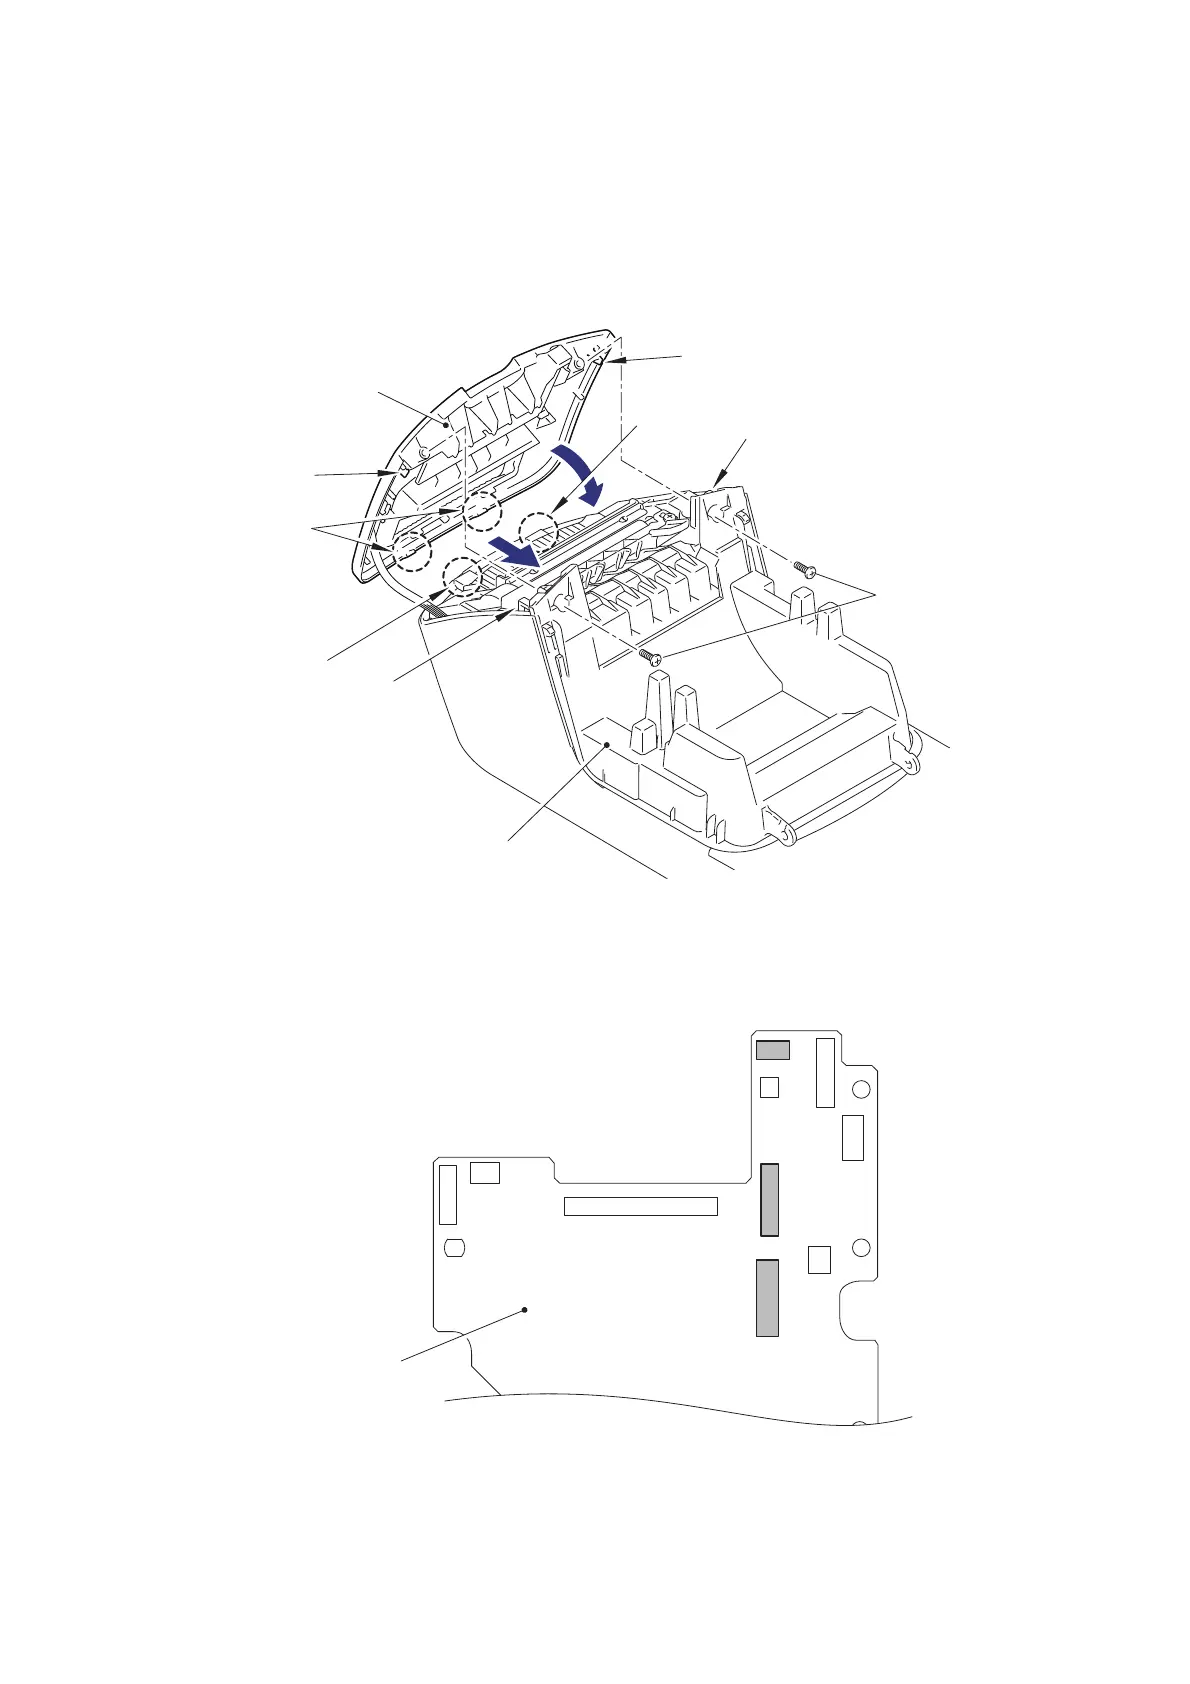
(1) Fit the two hooks A of the panel cover into the holes of the upper cover, and then
hang the hooks B on the ribs of the upper cover.
(2) Secure the panel cover with the two screws.
NOTE: Confirm that the harnesses are not pinched.
Fig. 3.5-35 Installing the Panel Cover (1)
(3) Connect the three connectors (CN3, CN4, CN9) onto the main PCB ASSY.
Fig. 3.5-36 Installing the Panel Cover (2)
Screws
Panel cover
Hooks A
Hook B
Hook B
Rib
Rib
Upper cover
Hole
Hole
CN10
CN8
CN3
CN9
CN6
CN1
CN7
CN5
CN4
CN2
Main PCB ASSY

Table of Contents

Questions and Answers:

Question and Answer IconNeed help?

Do you have a question about the Brother P-touch QL-710W and is the answer not in the manual?

Brother P-touch QL-710W Specifications

General IconGeneral
Maximum Label Width62 mm
Resolution300 dpi
CutterAutomatic
Device CategoryLabel Maker
Power SourceAC adapter
Printing TechnologyThermal
ConnectivityUSB, Wi-Fi
Media TypeDie-cut labels, Continuous labels
Supported OSWindows, Mac

Related product manuals