6. ASSEMBLY
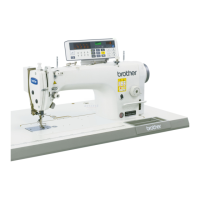
SL-710A
58
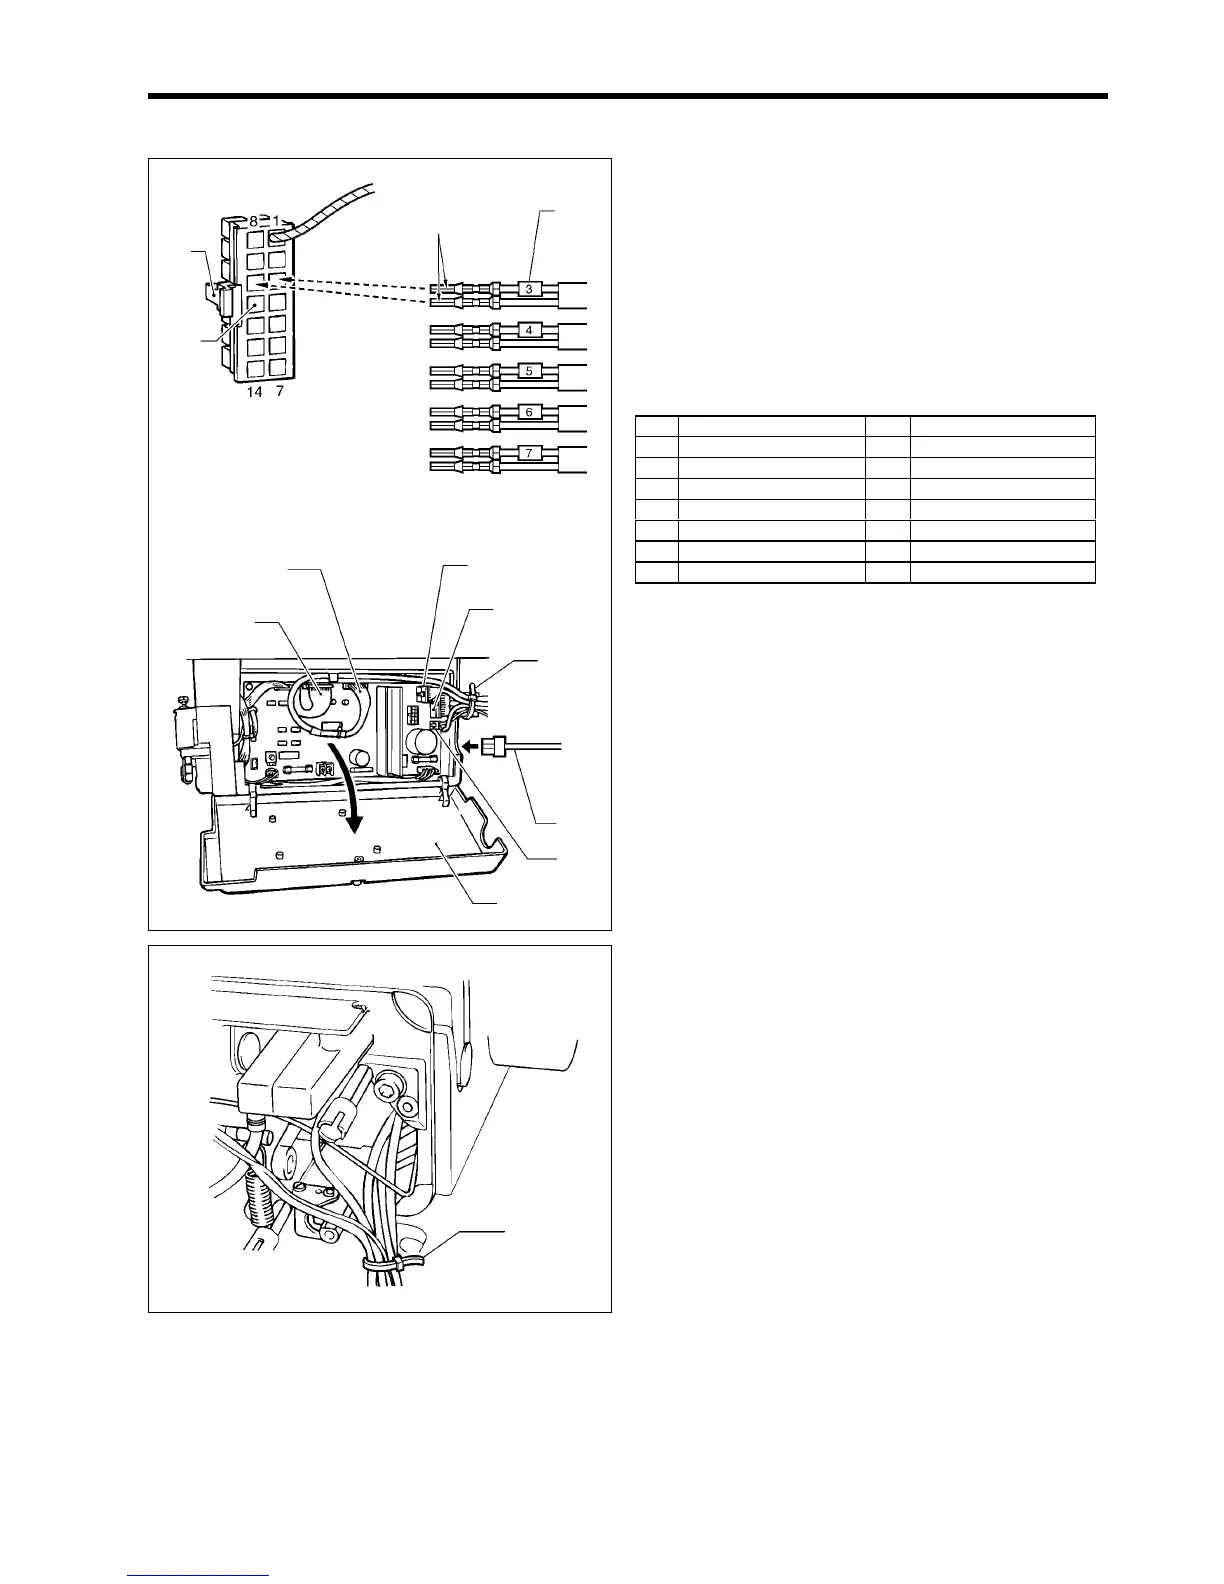
6-30. Connectors
1. Insert the pins for the solenoid cords and the safety
switch cord into the sewing machine 14P connector
(1).
• Match the numbers on the sewing machine 14P
connector (1) with the numbers (tube marks) (2) on
each pin.
• Insert the split ends (A) of each pin so that they face
toward the locking mechanism (B) for the sewing
machine 14P connector (1).
14P Code 14P Code
1 (Ground wire) 8 -
2- 9 -
3 Thread trimmer solenoid 10 Thread trimmer solenoid
4 Thread wiper 11 Thread wiper
5 Quick reverse solenoid 12 Quick reverse solenoid
6 Reverse actuator 13 Reverse actuator
7 Safety switch 14 Safety switch
2. Insert the sewing machine 14P connector (1), the
lower thread detector mechanism 8P connector (3),
the solenoid-type presser lifter connector (4), the
synchronizer connector (5) and the operation panel
connector (6) into the control box circuit board.
3. Insert the motor connector (7) into the side of the
control box.
4. Bind the cords together with a cable tie (8).
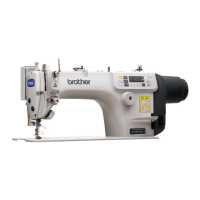
5. Tilt back the machine head.
6. Close the control box cover (9).
* Be careful not to clamp the cords inside the control
box.
7. Bind the cords with a cable tie (10).
1806M
(10)
(B)
(2)
(A)
(1)
(5)
(3)
(1)
(8)
(7)
(4)
(9)
(6)
1804M
1805M