2006 Buell Lightning: Chassis 2-59
HOME
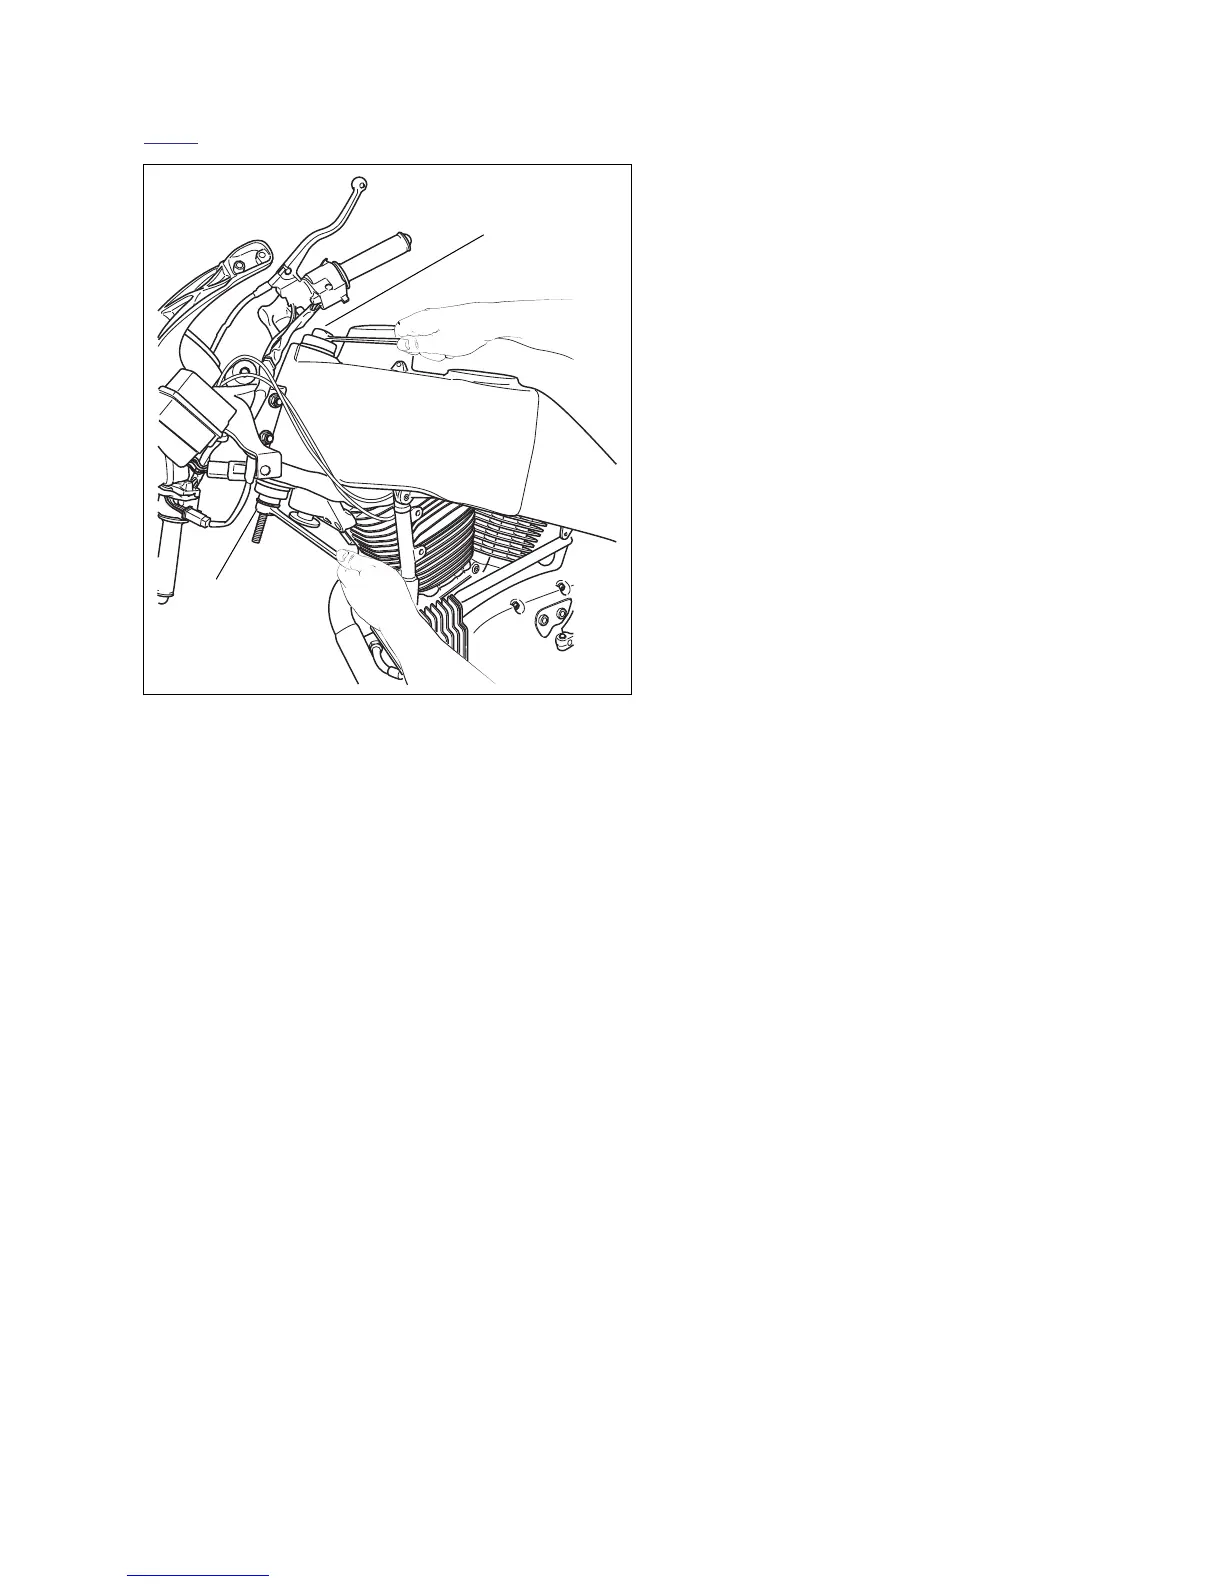
6. See Figure 2-81. Hold the forcing screw while tightening
the nut to draw the bearing into the steering head. Con-
tinue tightening until the bearing is fully seated.
7. Visually check to make sure the bearing is completely
seated against the shoulder in the steering head.
8. Repeat this process for the lower bearing.
9. Install forks, front wheel, and lower fork clamp/steering
stem as an assembly.
10. Install upper fork clamp.
11. Tighten steering stem capnut to 38-42 ft-lbs (52-57 Nm).
12. Install steering stem pinch bolt applying LOCTITE 272
(red) and tightening to 20-22 ft-lbs (27.1-29.8 Nm) for all
models except for the XB9SX which should be tightened
to 23-25 ft-lbs (31.2-33.8 Nm).
13. Apply LOCTITE 272 to upper triple clamp fasteners and
tighten to 23-25 ft-lbs (31.2-33.8 Nm).
14. Install front brake lever housing. See 2.10 FRONT
BRAKE MASTER CYLINDER AND HAND LEVER.
15. Install front modules. See 2.28 FRONT MODULES.
16. Install brake line p-clamp to the rear of the right headlight
module and tighten fastener to 36-60
in-lbs
(4-7 Nm).
17. Install windscreen. See 2.42 WINDSCREEN.
Figure 2-81. Install Bearings
i04255
Forcing
screw
Nut