2006 Buell Lightning: Drive/Transmission 6-23
HOME
DRIVE BELT INSTALLATION
NOTE
When removing or installing belt, do not bend or twist belt,
partially slide belt onto sprocket and "roll" wheel or belt dam-
age will occur.
1. Slide belt onto sprocket.
2. Install swingarm brace and tighten fasteners to 25-27 ft-
lbs (34-37 Nm). See 2.19 SWINGARM AND BRACE.
NOTE
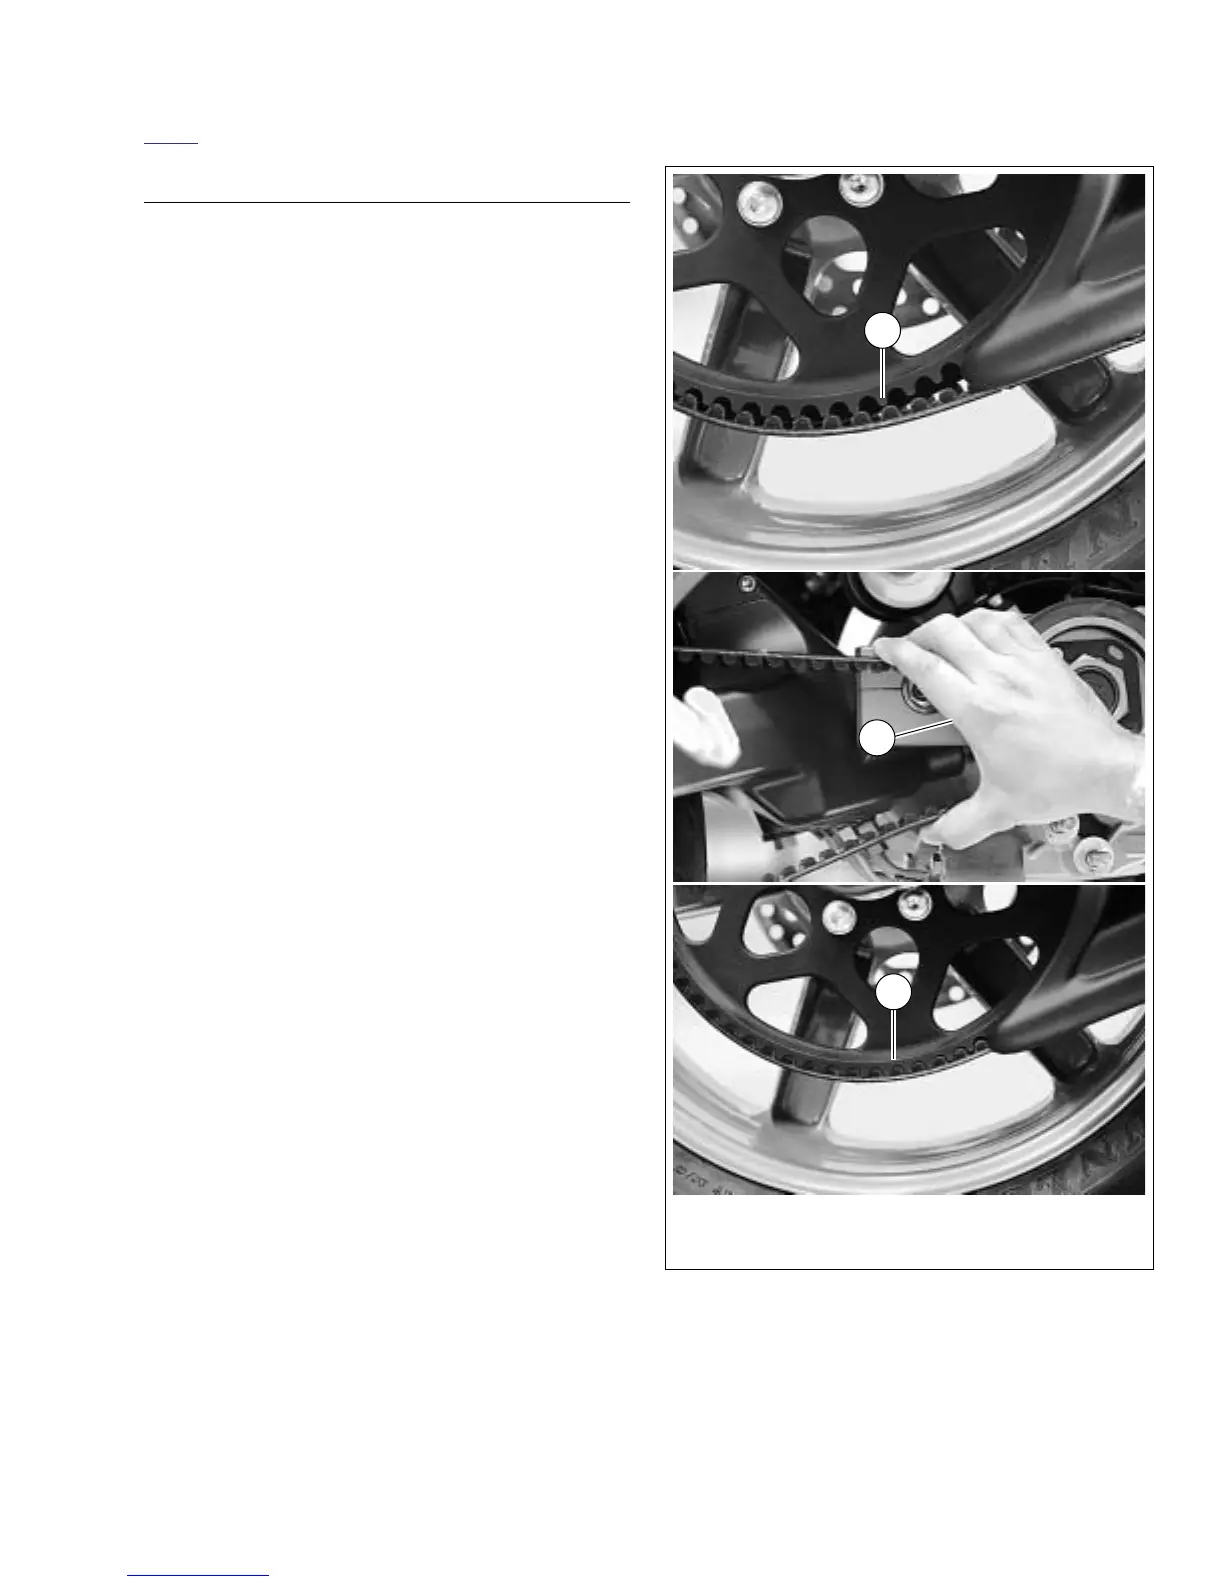
See Figure 6-42. Occasionally the drive belt is not fully
seated in rear sprocket making it difficult to install the idler
pulley. It will be necessary to follow the outlined procedure in
order to easily install idler pulley.
3. Grasp top and bottom of drive belt and squeeze together
until belt teeth are fully seated in rear sprocket.
4. While keeping tension on lower belt, install idler pulley
assembly tightening washers and nuts to 33-35 ft-lbs
(45-47 Nm).
5. See Figure 6-41. Tighten rear axle (1) to 23-27 ft-lbs
(31.2-36.6 Nm), back off two full turns and then retighten
to 48-52 ft-lbs (65.1-70.5 Nm).
6. Tighten rear axle pinch fastener (2) to 40-45 ft-lbs (54-
61 Nm).
7. See Figure 6-40. Install front sprocket cover. See 2.33
SPROCKET COVER.
8. Install chin fairing. See 2.36 CHIN FAIRING.
9. Install right side rider footpeg mount. See 2.32 FOOT-
PEG, HEEL GUARD AND MOUNT.
10. Install lower belt guard. See 2.35 BELT GUARDS.
11. Install rear fender. See 2.34 FENDERS.
12. Remove scissor jack from motorcycle.
Figure 6-42. Seating Drive Belt Into Pulley Teeth