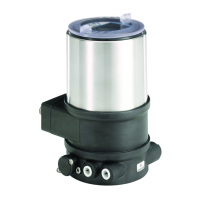
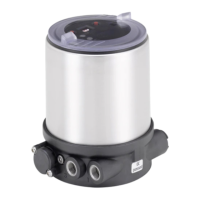
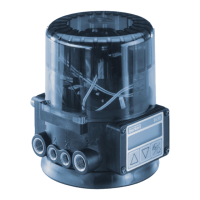
87
Type 8692, 8693
english
Start-up, operation
position controller Type 8692
Procedure:
Calibrating the actual value display POS (0 - 100 %): calibr. POS
In the
→ CAL. USER menu press the arrow keys to select the calibr. POS menu option and confirm with the selection key on
the right (ENTER).
Accept the minimum position:
Press the arrow keys to select the
→ POS lower X menu option and confirm with the selection key on the right (INPUT).
Approach the minimum position of the valve using the arrow keys (OPN/CLS) and confirm this value by pressing the selec- →
tion key on the right (OK).
Accept the maximum position:
Press the arrow keys to select the
→ POS upper X menu option and confirm with the selection key on the right (INPUT).
Approach the maximum position of the valve using the arrow keys (OPN/CLS) and confirm this value by pressing the selec- →
tion key on the right (OK).
Calibrating the position set-point value (4 – 20 mA; 0 – 20 mA; 0 – 5 V; 0 – 10 V): calibr. INP
In the
→ CAL. USER menu press the arrow keys to select the calibr. INP menu option and confirm with the selection key on
the right (ENTER).
Accept the minimum input signal (0 mA; 4 mA; 0 V):
Using the arrow keys, select the
→ INP (0 mA; 4 mA; 0 V) menu option and confirm with the selection key on the right
(INPUT).
Apply the minimum value of the unit signal on the input and confirm by pressing the selection key on the right (OK). →
Accept the maximum input signal (20 mA; 5 V; 10 V):
Using the arrow keys, select the
→ INP (20 mA; 5 V; 10 V) menu option and confirm with the selection key on the right
(INPUT).
Apply the maximum value of the unit signal on the input and confirm by pressing the selection key on the right (OK). →
Resetting the settings under CAL.USER to the factory settings: copy FACT→USER
In the
→ CAL. USER menu select the copy FACT→USER menu option using the arrow keys and confirm with the selection
key on the right (ENTER).
Hold down the selection key on the right (RUN) (for approx. 3 seconds) until the countdown has elapsed.
→
4.3.15 SET.FACTORY
Resetting to the factory settings
This function allows all settings implemented by the user to be reset to the delivery status.
All EEPROM parameters with the exception of the calibration values are reset to default values. Then a hardware reset is imple-
mented.
SET.FACTORY
RUN
Press for
approx. 3 s
factory
reset
Fig. 37: Operating structure SET.FACTORY
To activate the → SET.FACTORY function, hold down the selection key on the right (RUN) for approx. 3 s until the countdown
has elapsed.
To adjust the positioner to the operating parameters, re-implement self-parameterisation of the position controller
(X.TUNE).