SERVICE PROCEDURES 64
TO REMOVE THE MOTHERBOARD
NOTE: This procedure assumes that you have already performed the procedure “To remove
boards and cables from the motherboard” on page 63.
1. Remove the HDD bracket, with HDDs attached (see page 93).
Remove the screw that attaches the bracket to the shelf. Removing the HDD and HDD
bracket provides the clearance necessary for removing the motherboard. You must also detach
the HDD power cables to remove the HDDs.
2. Remove the nine mounting screws securing the motherboard to the chassis (for screw
locations, see Figure 22 on page 62).
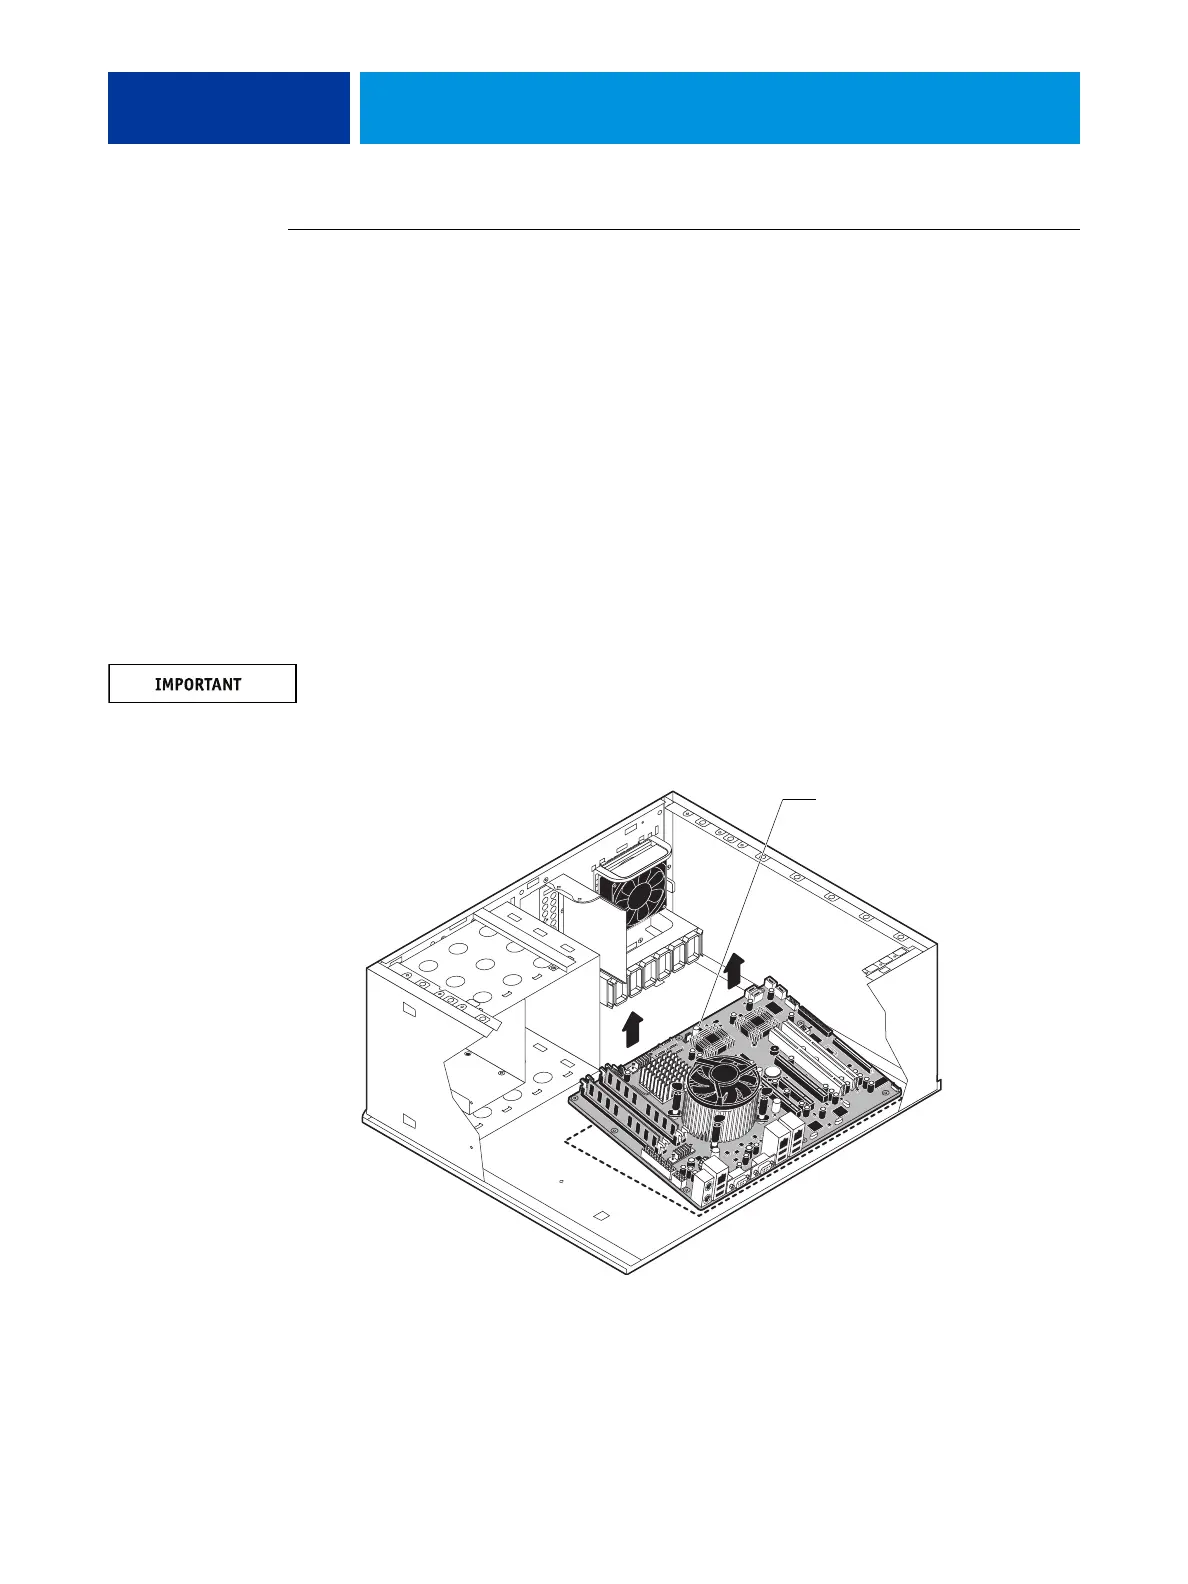
3. Remove the motherboard from the chassis.
Lift the edge of the motherboard (see Figure 23). Make sure that the back panel connectors on
the motherboard clear the chassis while you lift it out of the chassis. Do not touch the
contacts and avoid using excessive force.
During service, avoid using excessive force and always place the motherboard on a grounded,
non-metallic, static-free surface. Never allow any metal to touch the solder contacts on the
underside of the motherboard, especially beneath the battery socket. Improper handling can
short-circuit and permanently damage the motherboard.
FIGURE 23: Removing the motherboard
Lift the edge of the
motherboard and remove
it from the chassis.