Printing banners or at other non-standard sizes
Printing V ertical or Horizontal Banners (Large-Format
Printing; W indows)
This topic describes how to print a banner about ve times as long as the roll width based on the following example.
• Document: A horizontal banner created in Microsoft W ord
• Page size: Non-standard (100×500 mm [3.9×19.7 in])
• Paper: Roll
• Paper type: Plain Paper
• Roll paper width: 16 inches (406.4 mm)
Follow the steps below to print a banner in either horizontal or vertical format.
1. Register a Custom Paper Size .
Banners tend to be in non-standard sizes, so register a Custom Paper Size . In this example, 100×500
mm (3.9×19.7 in) is registered.
2. In the application, create an original in the size you registered.
3. Print the banner , using the settings that correspond to banners.
Registering a Custom Paper Size
This example describes how to register a paper size that is horizontally elongated and suitable for banners in
either horizontal or vertical format.
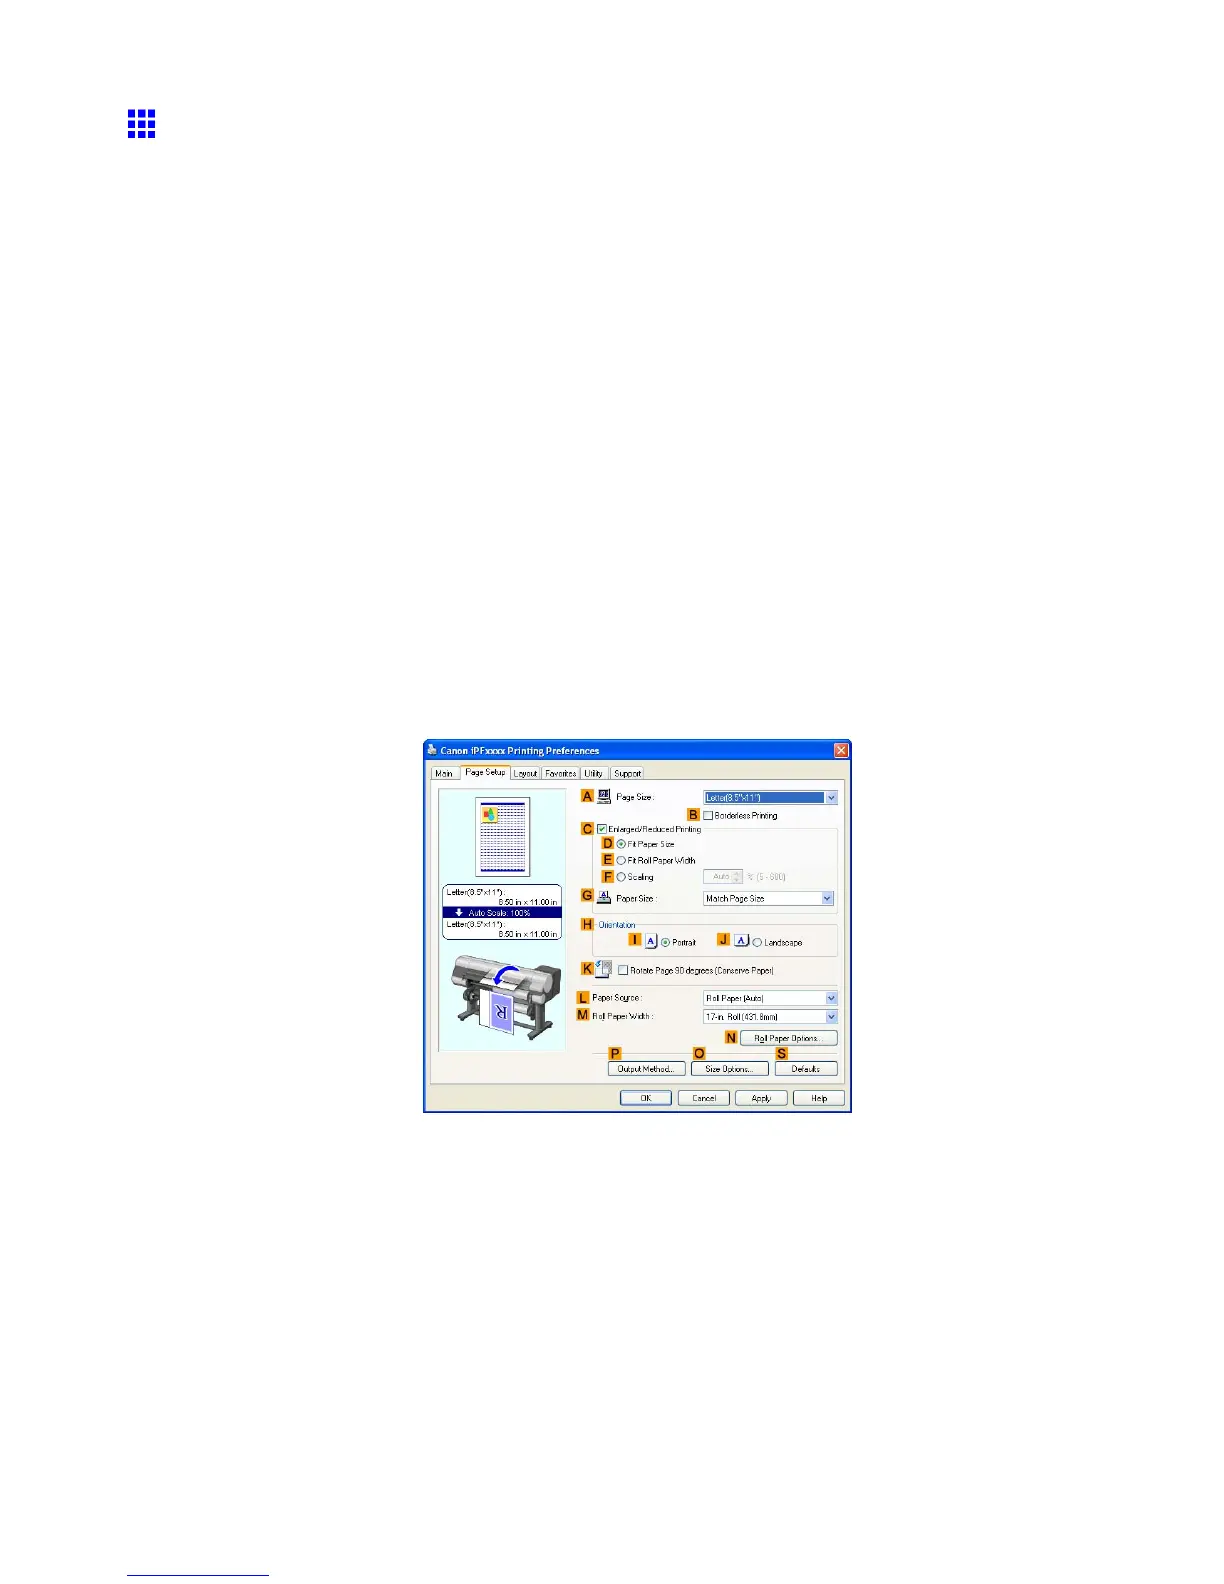
1. Display the printer driver dialog box. ( → P .383)
2. Click the Page Setup tab to display the Page Setup sheet.
3. In the L Paper Source list, click to select the feed method set for the specied paper . In this
case, choose from Roll Paper (Auto) , Roll Paper 1 , or Roll Paper 2 .
4. Click O Paper Size Options to display the Paper Size Options dialog box.
5. Enter a desired paper name in Custom Paper Size Name . “My Horizontal Banner” is used
in this example.
6. In Units , click mm .
7. Under Paper Size , enter “100” in W idth and “500” in Height .
8. Click Add to add the paper size of “My Horizontal Banner .”
9. Click OK to close the Paper Size Options dialog box.
288 Enhanced Printing Options

 Loading...