DeviceMaster Installation and Configuration Guide: 2000594 Rev. F Initial Configuration - 43
Customizing PortVision DX
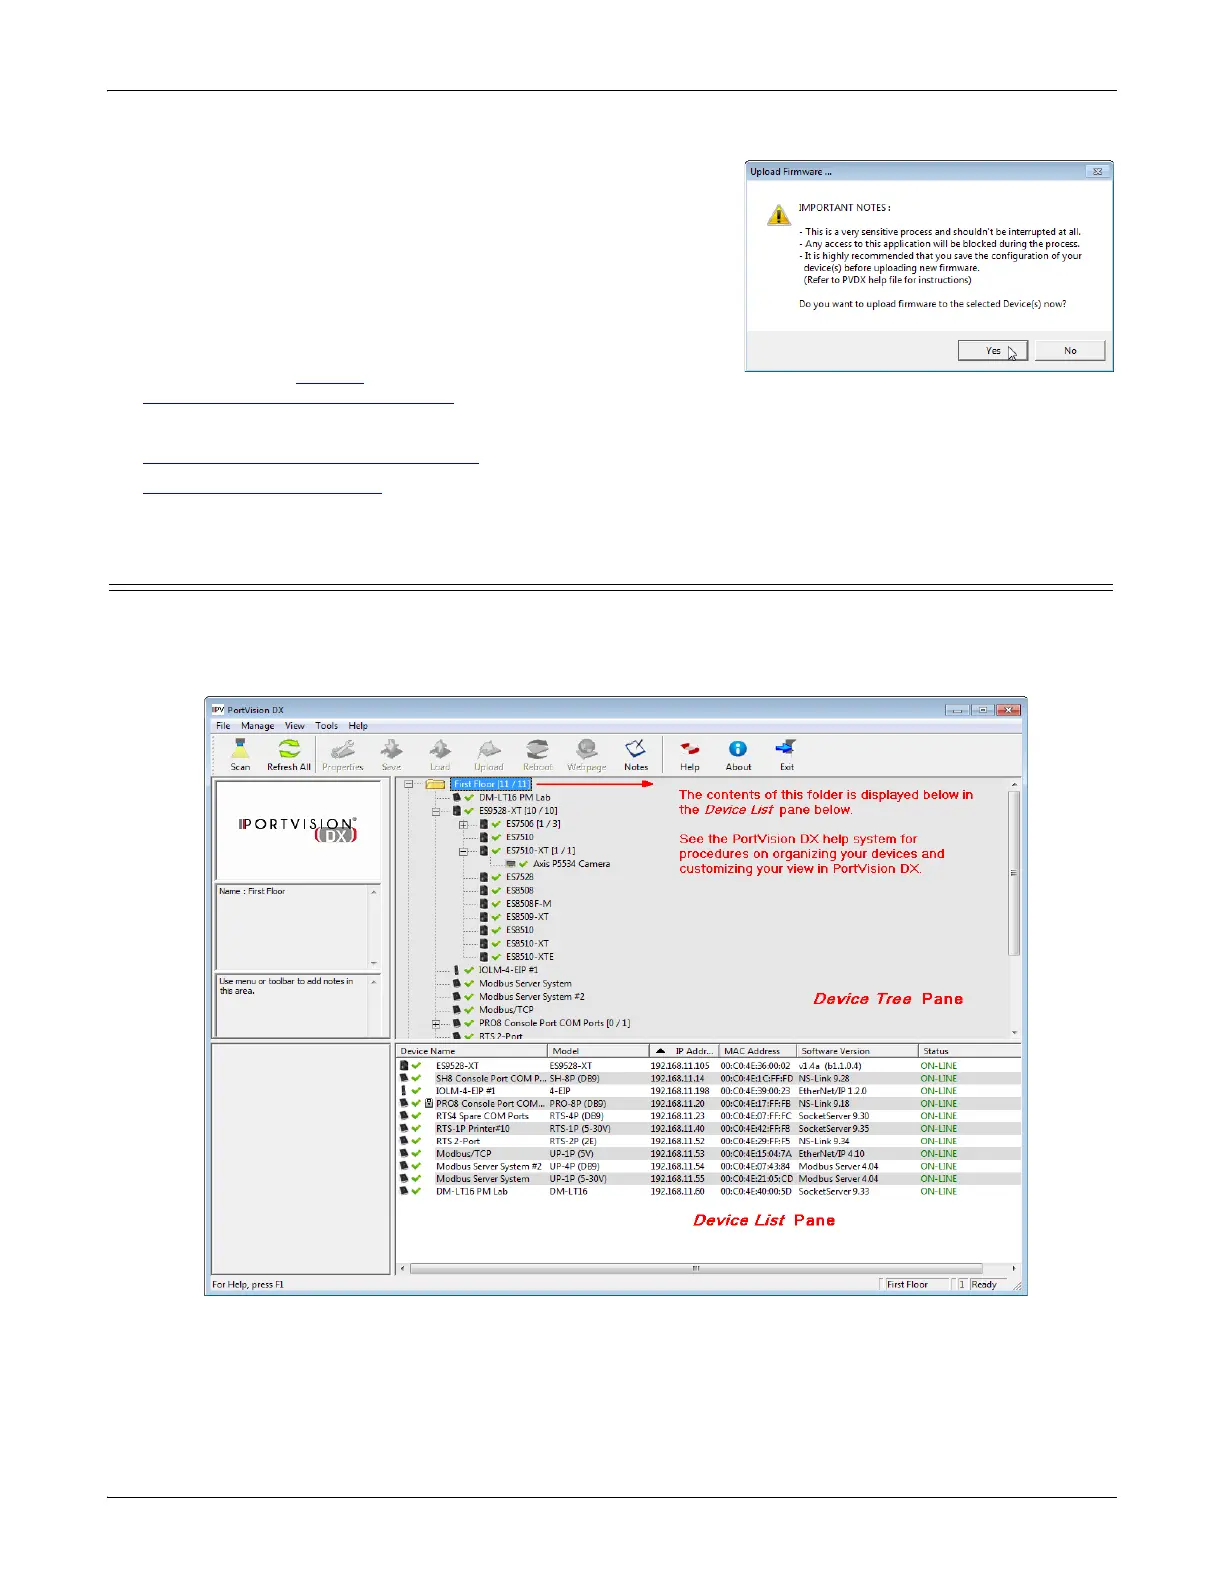
4. Click Yes to the Upload Firmware message that warns you that
this is a sensitive process. It may take a few moments for the
firmware to upload onto the DeviceMaster. The DeviceMaster
reboots itself during the upload process.
5. Click Ok to the advisory message about waiting to use the
device until the status reads ON-LINE. In the next polling
cycle, PortVision DX updates the Device List pane and displays
the new SocketServer version or right-click the DeviceMaster
and click Refresh.
6. If the upload fails, reset the Bootloader timeout to 60 seconds
and then repeat Steps 3
through 5. For procedures, see
Changing the Bootloader Timeout on Page 114.
You are now ready to continue the installation and configuration process.
• Device Driver (NS-Link) Installation
on Page 47
• Socket Port Configuration
on Page 61
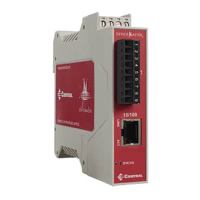
Customizing PortVision DX
You can customize how PortVision DX displays the devices. You can even create sessions tailored for specific
audiences. You can also add shortcuts to other applications using Tools > Applications > Customize feature.
The following illustrates how you can customize your view.
See the PortVision DX Help system for detailed information about modifying the view. For example, the above
screen shot illustrates devices layered in folders.