64
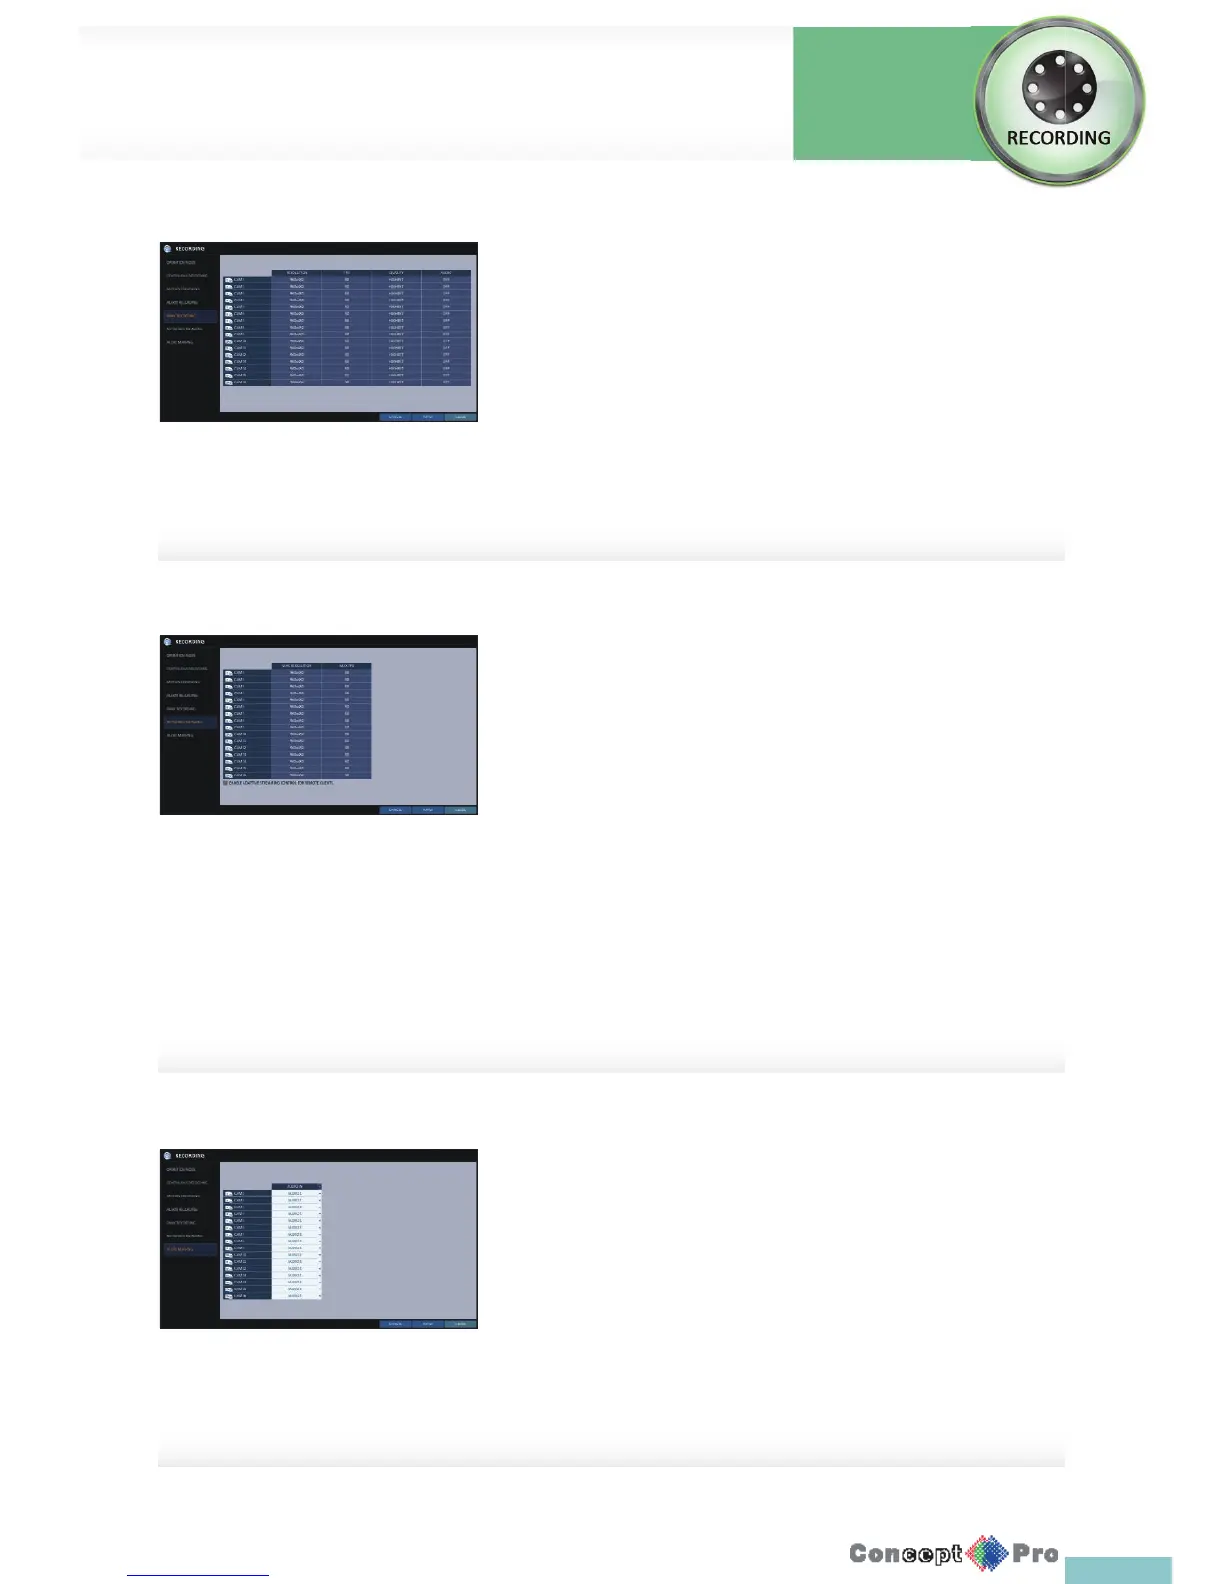
Panic Recording
In panic recording mode, you can specify the recording size and quality of
the video.
1. From the <RECORDING> menu, select <PANIC RECORDING>.
2. Set each item of <RESOLUTION>, <FPS>, <QUALITY>and use of the
<AUDIO> for the panic recording
R For more information, see the “Continuous Recording”. (page 61)
3. To apply the change, click <APPLY> in the bottom ofthe screen.
4. When done, press the [EXIT] button on the remotecontrol or click
<CLOSE> in the lower screen. The con rmation message appears and
you will return to the previous menu.
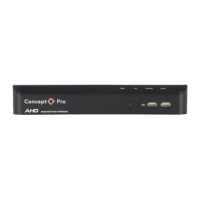
AUDIO MAPPING
1. From the <RECORDING> menu, select <AUDIO MAPPING>
2. Set the <AUDIO IN> of the AUDIO MAPPING.
3. To apply the change, click <APPLY> in the bottom ofthe screen.
4. When done, press the [EXIT] button on the remotecontrol or click
<CLOSE> in the lower screen. The con rmation message appears and
you will return to the previous menu.
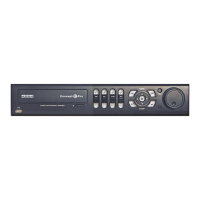
Network Streaming
You can specify the maximum size of network streaming for remote users
and set the FPS.
R Even if you set the resolution and FPS to high for the network streaming,
the DVR will reduce the size or FPS according to the network status
(speed) before transferring the recording video.
1. From the <RECORDING> menu, select <NETWORK STREAMING>.
2. Use the [pqtu/ENTER] buttons on the remote control or use the
mouse to select an item that you want to edit.
3. Set the <MAX RESOLUTION> and <MAX FPS> for each channel.
4. When done, click <OK>.
5. To apply the change, click <APPLY> in the bottom of the screen.
6. When done, press the [EXIT] button on the remote control or click
<CLOSE> in the lower screen. The con rmation message appears and
you will return to the previous menu.
Record Setup
Record
Settings