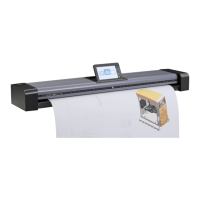
The iJET Panel 2-3
2.4 Power ON/OFF
These power on/off instructions apply only after you have setup and configured your
system as described in the relevant sections under “Scanner Configuration and setup”.
First time during setup (hard power ON)
1. Connect the scanner to the power outlet and turn on the outlet switch (scanner’s back).
2. The scanner runs a self-test and init procedure and after warming up it is ready to scan.
3. The text in the display window will tell you what the scanner is doing and when the
scanner is ready to scan. Prior to the “Ready” message the scanner will need to self adjust.
Normally, after powering up for the first time as described above, you will leave the outlet switch
permanently in the ON position, and turn scanner power on and off in the “soft” manner from
the iJET Panel as described below. This is the method recommended for daily use as it is faster
than hard power on.
To turn power ON from the iJET Panel (wake-up mode)
1. The scanner must be OFF in Sleep mode. When the scanner is in Sleep mode, you will see
the 3 Print Quality LEDS flashing alternately as shown below.
Press and hold down the STOP button for a few seconds until the iJET Panel’s display
window becomes active (lights up).
2. The text in the display window will tell you what the scanner is doing and when the scanner
is ready to scan. Prior to the “ready” message the scanner may need to initialize itself and
warm up.
To turn power OFF (Sleep) from the iJET Panel
1. Press and hold down the Stop button
for a few seconds until the iJET Panel’s display
window light goes off.
When the scanner goes in OFF in Sleep mode, the 3 Print Quality LEDS light alternately as
shown below.
NOTE: The outlet switch at the back of the scanner must be constantly flipped to the ON
position in order to control power with Wake-up and Sleep modes.
NOTE: Power management through Wake-up Sleep modes can be controlled automatically
with WIDEsystem. See the WIDEsystem help for details.
Sto