Maintenance 7-6
7.4.4 Running Scanner Maintenance - Steps
The steps for running Scanner Maintenance described below are the same regardless of which
of the solutions for starting and running the program you use.
To run Scanner maintenance Program:
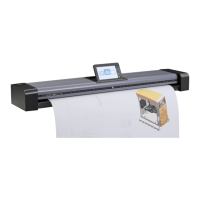
On Scanners
1. Make sure that the scanner has been turned on for at least one hour prior to running the
maintenance routine. Slight light intensity changes can occur just after turning the scanner
on and the warm-up time will ensure that light conditions have stabilized.
2. Insert the Calibration Sheet that came with your scanner. The sheet’s printed side must
be inserted face down.
3. Start the Scanner Maintenance program in one of the ways described at the start of this
section.
4. The program will run calibration.
5. After calibration, remove the Calibration Sheet from the scanner.
6. Return the Scanner Calibration Sheet to its protective cover and then place it in the storage
folder. Store the folder in a dry place and out of direct light.
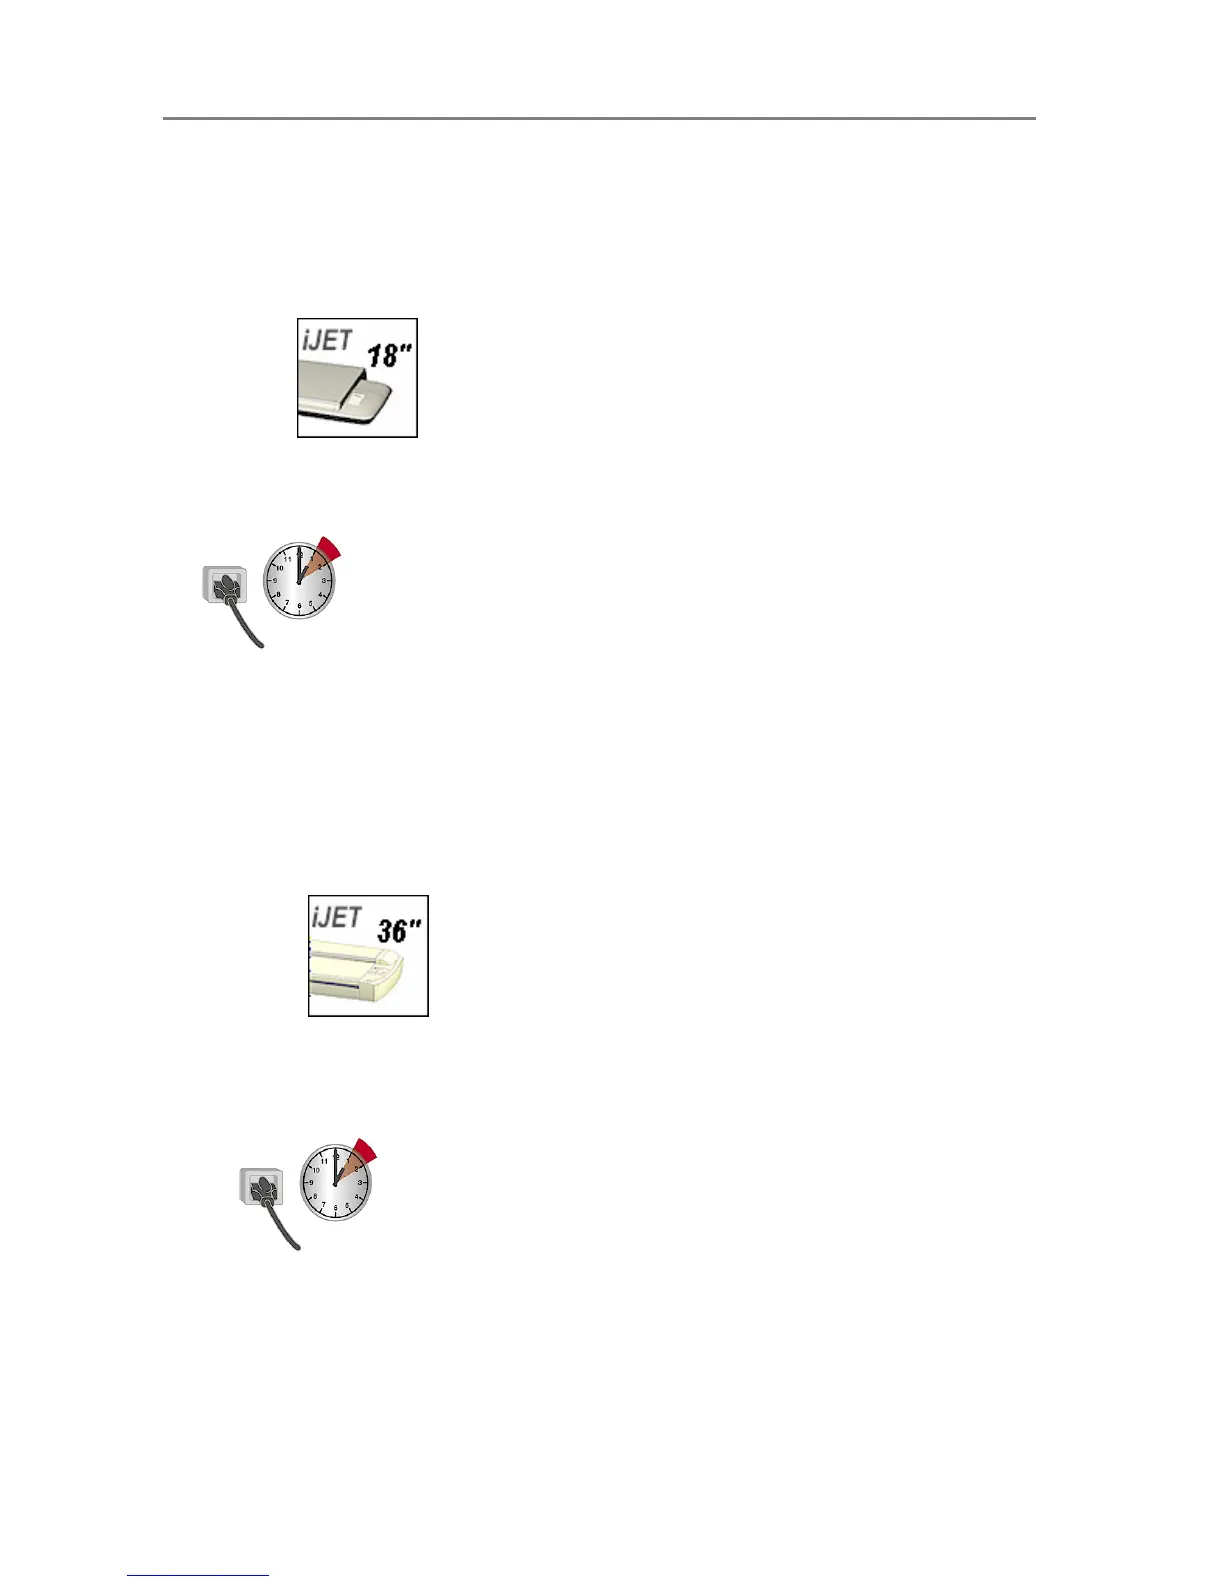
On Scanners
1. Make sure that the scanner has been turned on for at least one hour prior to camera
alignment and calibration. Slight light intensity changes and camera shifting can occur
just after turning the scanner on and the warm-up time will ensure that light conditions
and camera heights have stabilized.
2. Insert the Calibration Sheet that came with your scanner. Align the midpoint arrow with
the middle mark on the scanner. The sheet’s printed side must be inserted face
down.
3. Start the Scanner Maintenance program in one of the ways described at the start of this
section.
4. The program will run Camera Alignment, Stitching and Calibration.