D-Link DWC-2000 User Manual 25
Section 3 - Basic Conguration
Step #1: Enable DHCP Server (Optional)
By default, Dynamic Host Conguration Protocol (DHCP) is disabled on the wireless controller. If you are not
conguring your access points with static IP addresses, set up a DHCP server, or DHCP server relay on the network.
If desired, perform the following procedure to congure your wireless controller to act as a DHCP server.
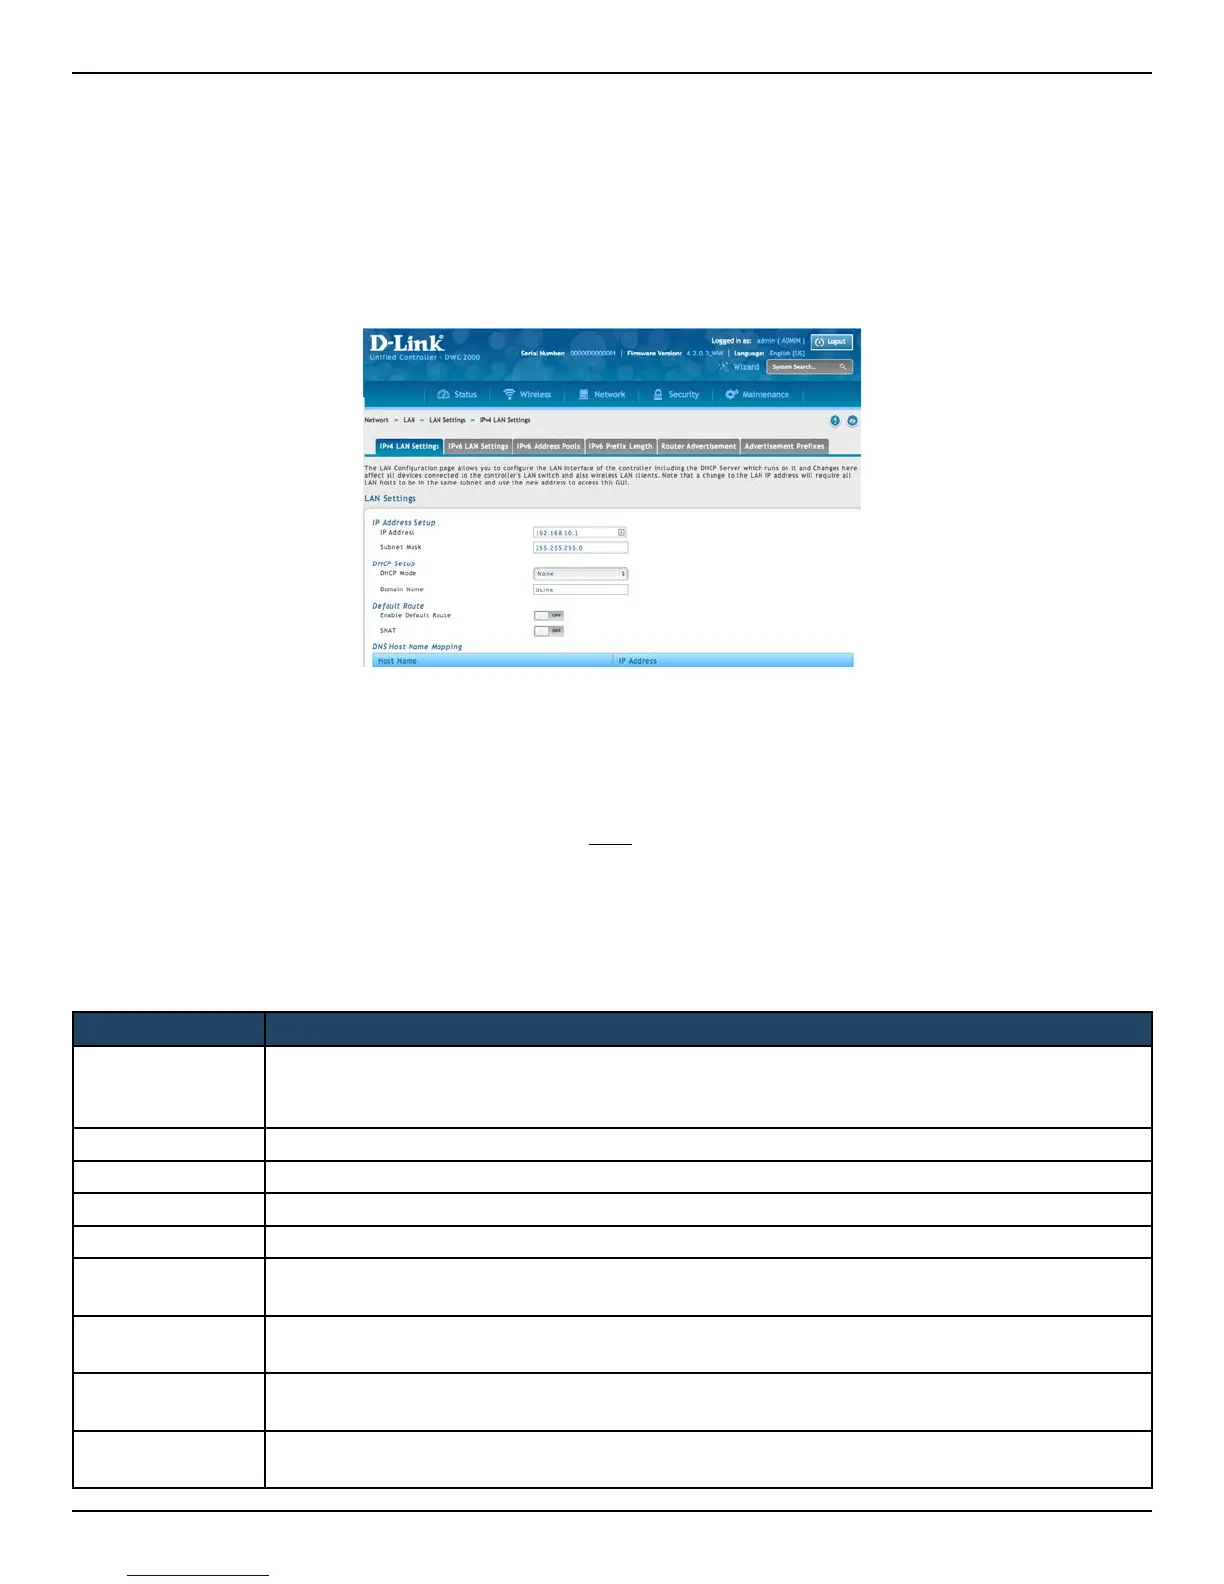
1. Click Network > LAN > LAN Settings > IPv4 LAN Settings. The LAN Settings page will appear.
Field Description
Starting IP
Address
Enter the starting IP address in the IP address pool. Any new DHCP client joining the LAN is assigned
an IP address within the starting and ending IP address range. Starting and ending IP addresses
should be in the same IP address subnet as the wireless controller’s LAN IP address.
Ending IP Address Enter the ending IP address in the IP address pool.
Default Gateway Enter the IP address of the gateway for your LAN.
Domain Name Enter the domain name.
Lease Time Enter the lease time of the assigned IP addresses.
Congure DNS/
WINS
Turn this on to enter the IP address of the DNS or WINS server.
Primary DNS
Server
If congured Domain Name System (DNS) servers are available on the LAN, enter the IP address of
the primary DNS server.
Secondary DNS
Server
If congured domain name system (DNS) servers are available on the LAN, enter the IP address of
the secondary DNS server.
WINS Server
If Windows Internet Name Service (DNS) servers are available on the LAN, enter the IP address of
the WINS server.
2. Under IP Address Setup, change the IP Address and Subnet Mask to values used within your network.
Record the settings; you will refer to them later in this procedure.
3. Click Save.
4. Wait 60 seconds and then relaunch your web browser.
5. In the web browser’s address eld, enter the new IP address you recorded in step 2.
6. Click Network > LAN > LAN Settings >IPv4 LAN Settings.
7. In the LAN Settings page, change DHCP Mode to DHCP Server. This will bring up several new elds
below DHCP Mode.
8. Complete the elds below and click Save.