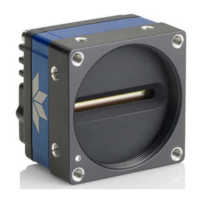
Linea Lite GigE Series Camera Linea Lite GigE Camera Quick Start • 23
Connecting the Linea Lite GigE Camera
Connecting a Linea Lite GigE to a network system is independent of whether the Teledyne DALSA
Sapera LT package or a third-party GigE Vision development package is used.
Steps for Camera Startup
• Apply power to the camera: see Connectors and Powering the Camera.
• Connect Linea Lite to the host computer GigE network adapter or to the Ethernet switch via a
CAT5e or CAT6 Ethernet cable and wait for the GigE Server Icon
in the Windows tray to show
that the camera is connected. The Linea Lite Status LED will change to steady Blue.
• Once communication with the host computer is started the automatic IP configuration sequence
will assign an LLA IP address as described in section Linea Lite GigE IP Configuration Sequence,
or a DHCP IP address if a DHCP server is present on your network. The factory defaults for
Linea Lite is Persistent IP disabled and DHCP enabled with LLA always enabled as per the GigE
Vision specification
• Check the status LED which will be initially red then switch to flashing blue while waiting for IP
configuration; refer to LED States on Power Up section.
Note: cable should not be less than 1 meter (3 feet) long or more than 100 meters
(328 feet) long, per GigE Vision standard.

 Loading...