EasyManuals Logo

Digital Projection E-Vision 7500 Series User Manual

Digital Projection E-Vision 7500 Series
81 pages
To Next Page IconTo Next Page
To Previous Page IconTo Previous Page
Page #14 background imageLoading...
Page #14 background image
Digital Projection E-Vision 7500 Series CHANGING THE LENS, LAMPS, FILTERS AND COLOR WHEEL Installation and Quick-Start Guide
8
Rev D July 2014
Changing The Lens, Lamps, Filters And Color Wheel
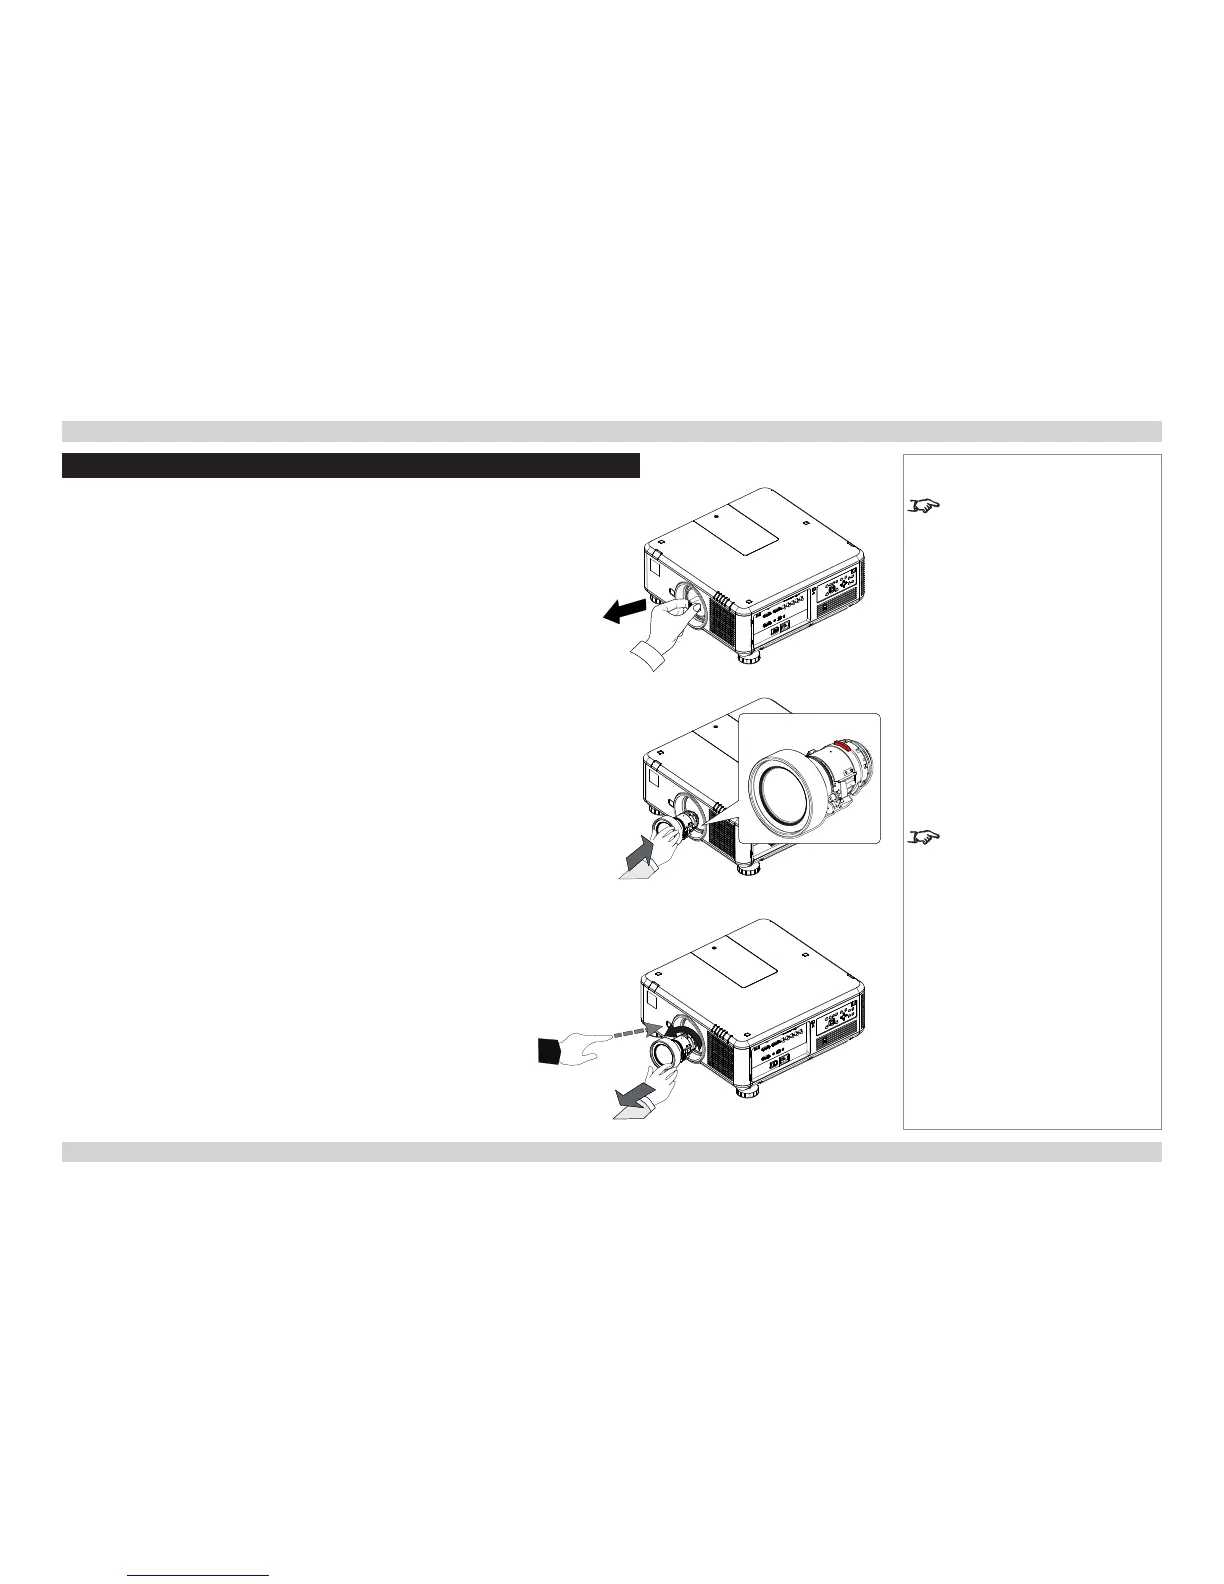
Fitting the lens
1. Remove the lens cap.
2. Position the lens so that the labels are at the top, and gently insert it all
the way into the lens mount.
3. Push the lens in rmly, and turn it clockwise until it clicks into place.
Removing the lens
1. Push in the lens release lever, and turn the lens anti-clockwise.
2. Remove the lens.
Notes
The projector lens is shipped
separately.
The Center Lens command must
be used after a new lens is inserted.
See the Operating Guide for more
details.

Table of Contents

Other manuals for Digital Projection E-Vision 7500 Series

Questions and Answers:

Question and Answer IconNeed help?

Do you have a question about the Digital Projection E-Vision 7500 Series and is the answer not in the manual?

Digital Projection E-Vision 7500 Series Specifications

General IconGeneral
BrandDigital Projection
ModelE-Vision 7500 Series
CategoryProjector
LanguageEnglish

Related product manuals