INPUT menu continued
Test Pattern
• Press ENTER to display a Test Pattern.
• Use or to scroll through the following Test Patterns:
... Off, Color Bar, Crosshatch, Burst, Red, Green, Blue, White,
Black, H Ramp, Uncorrected Red, Uncorrected Green,
Uncorrected Blue, Uncorrected White, Uncorrected Black,
Off ...
• To return to viewing the image from your image source,
use or to scroll through the list to Off.
Color Space
• Set this to Auto, except when the projector has problems selecting
between YCrCb, YPrPb, RGB-PC and RGB-Video.
Input Lock
• Set this to Auto, except when the projector has problems locking
on to 48Hz, 50Hz and 60Hz signals.
Background
• Set this to determine what appears on screen when the projector is
searching for a valid input source.
Auto Sync Adjust
• Select from
• Off: Auto Sync Adjustment is never performed.
• Auto – Projector will compare with the previous ve signals
stored in memory, and then recall those settings if possible.
• Always - Projector will perform auto setup every time a new
signal source is connected, ignoring any settings in memory.
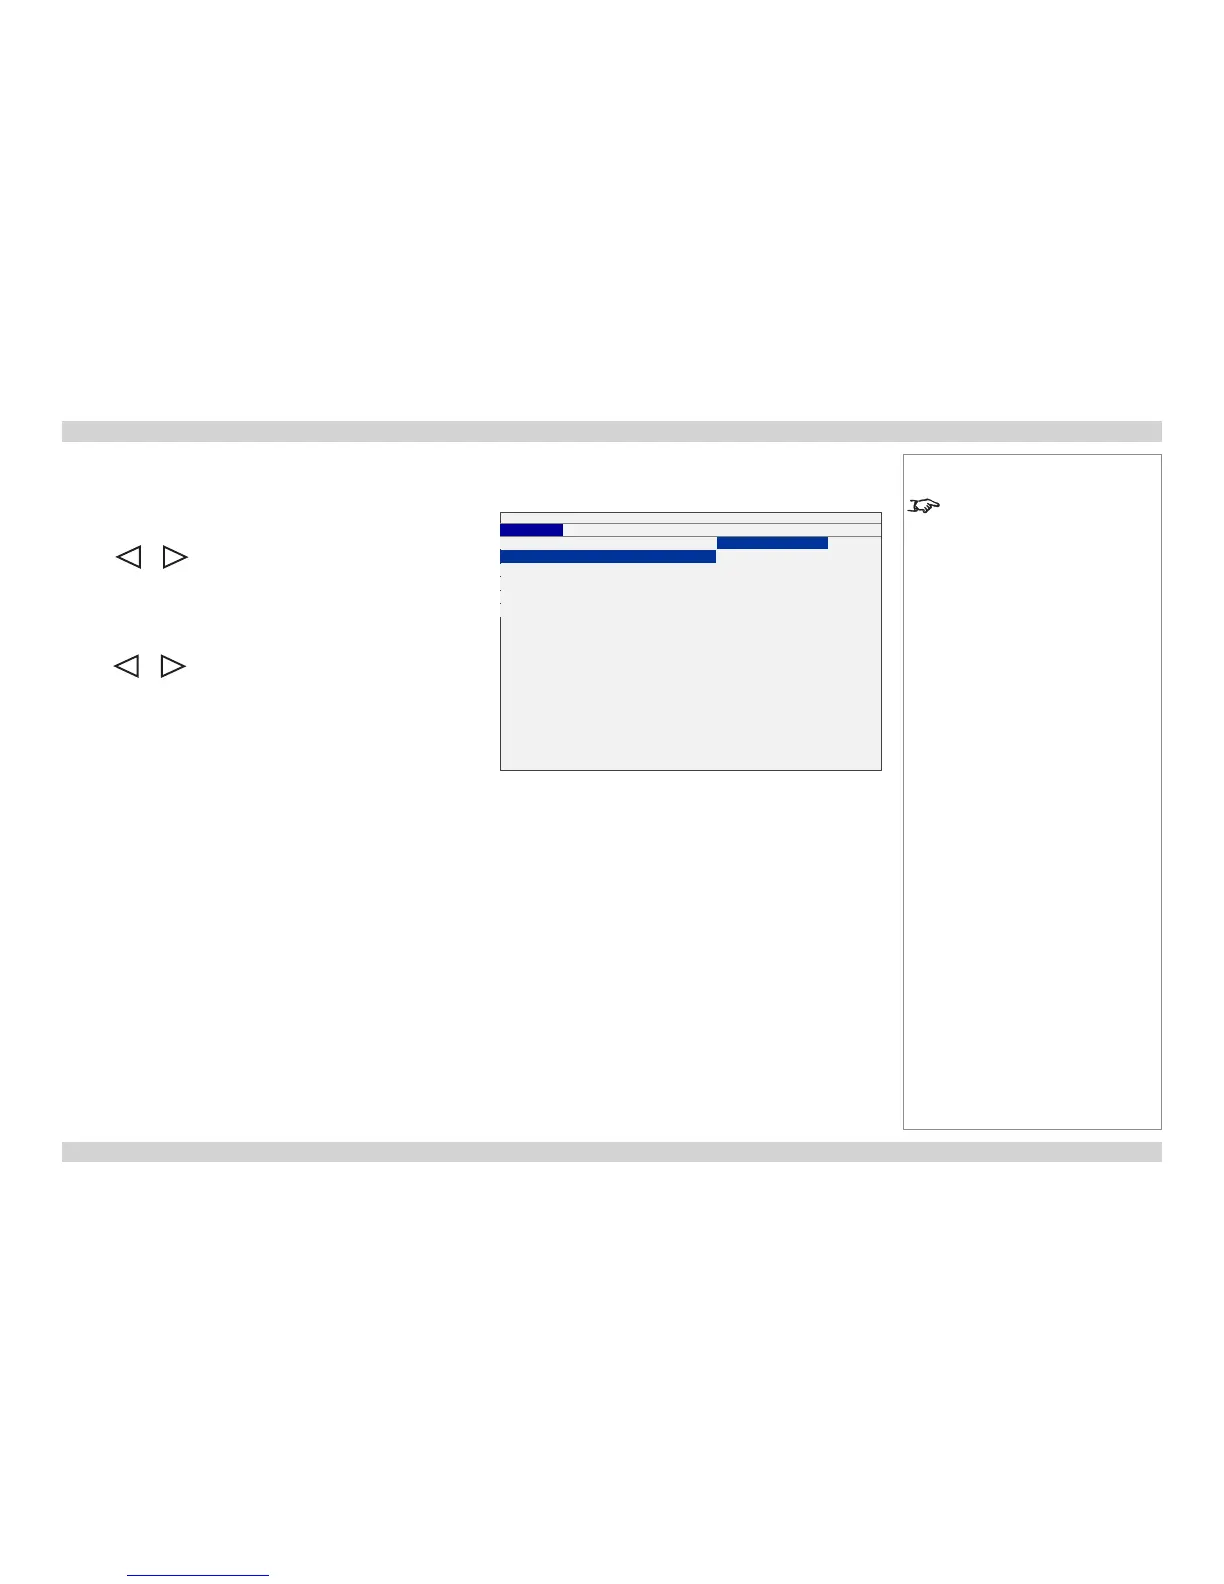
INPUT
PICTURE LAMPS ALIGNMENT CONTROL SERVICE
Input Selection Enter
Test Pattern Enter
Color Space < Auto >
Input Lock < Auto >
Background < Logo >
Auto Sync Adjust < Always >
Test Pattern
Color Bar
Crosshatch
Burst
Red
Green
Blue
White
Black
H Ramp
Uncorrected Red
Uncorrected Green
Uncorrected Blue
Uncorrected White
Uncorrected Black
· Off
Notes
See also Using the Menus, earlier
in this guide and Menu Map, later in
this guide.
 Loading...


