ALIGNMENT menu
Projection Mode
• Front and Rear dene whether the projector is in front of the screen
or behind it.
Set to Ceiling + Front or Ceiling + Rear if the projector is ceiling
mounted.
Fan Mode
• Adjusts the fan speeds to optimise cooling when the projector is in
vertical orientation.
Set to Up or Down as appropriate when projecting lens up or down.
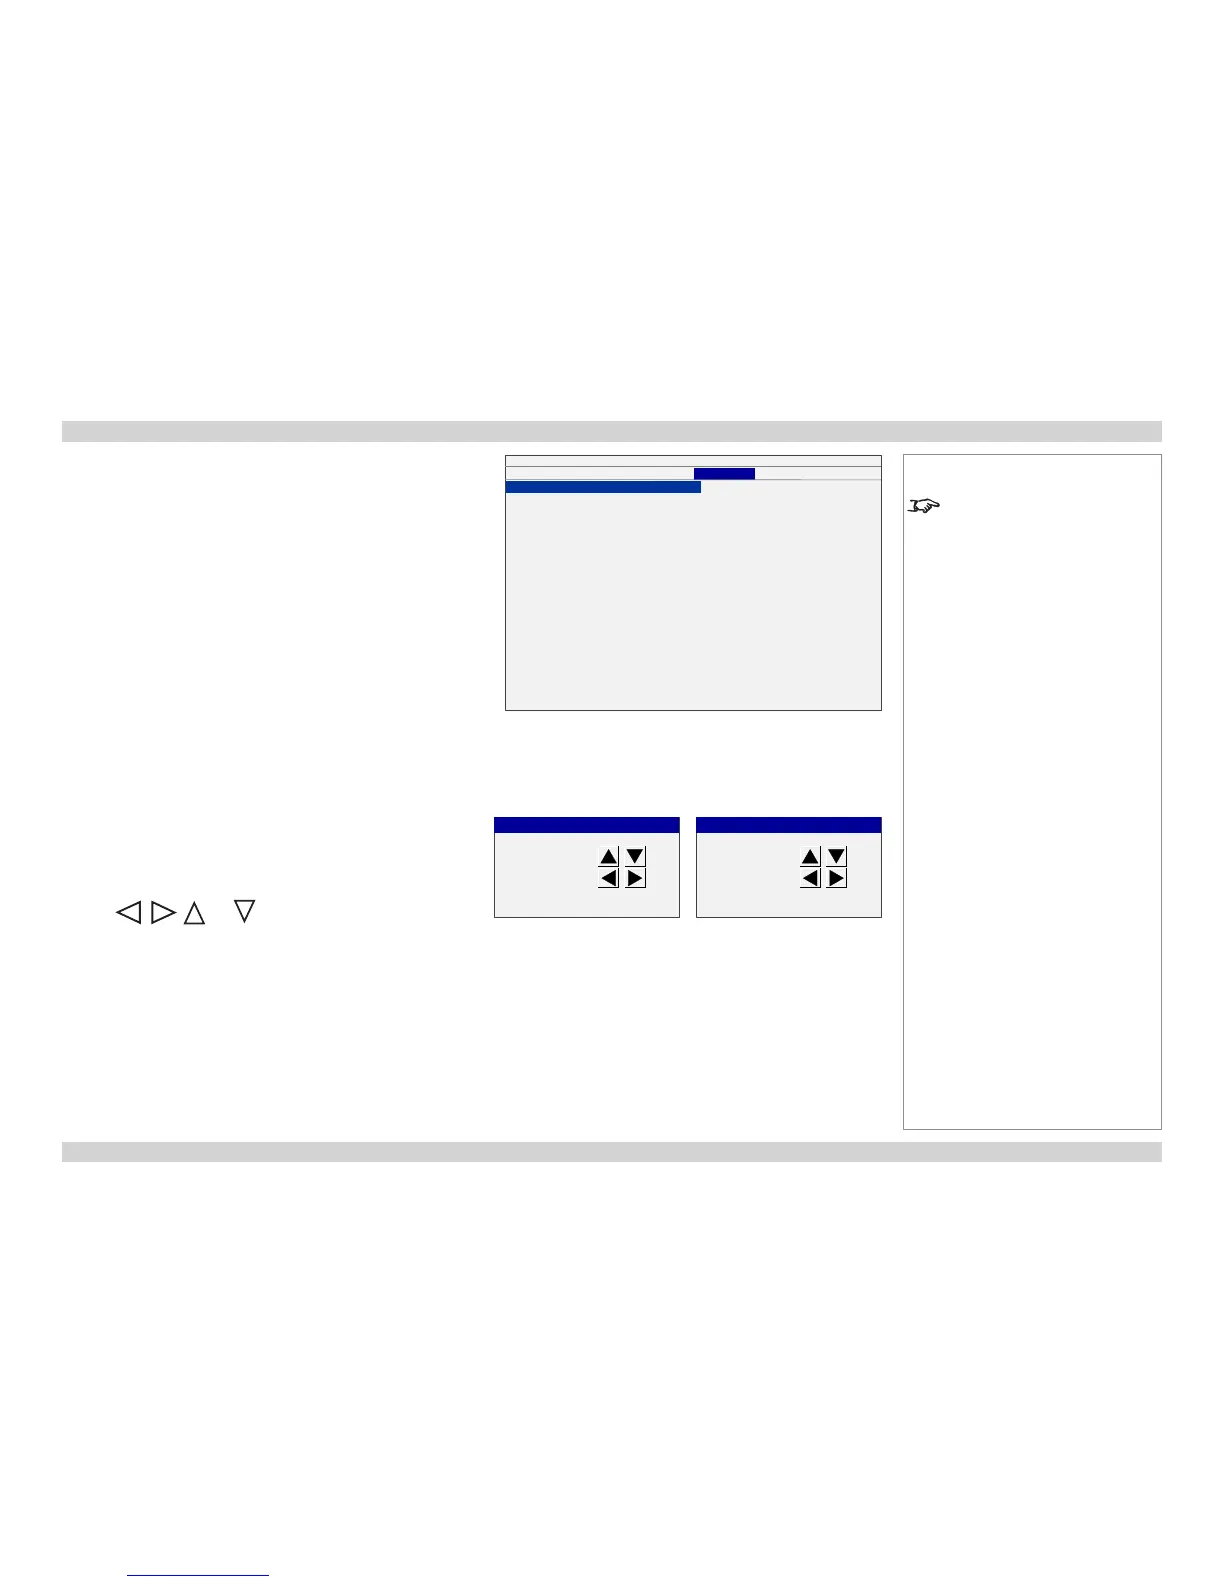
Lens Control
1. Press ENTER to display the Lens Control box.
2. Press ENTER again to switch between SHIFT and ZOOM/FOCUS
mode.
3. Use , , and to adjust the lens as necessary.
INPUT
PICTURE LAMPS
ALIGNMENT
CONTROL SERVICE
Projection Mode < Front >
Fan Mode < Normal >
Lens Control Enter
Lens Memory Enter
Center Lens Execute
Keystone < 0 >
Digital Alignment Enter
H/V Alignment Enter
Shift V
Shift H
Enter to Zoom/Focus
Lens Control
Zoom
Focus
Enter to Shift
Lens Control
Notes
See also Using the Menus, earlier
in this guide and Menu Map, later in
this guide.
 Loading...


