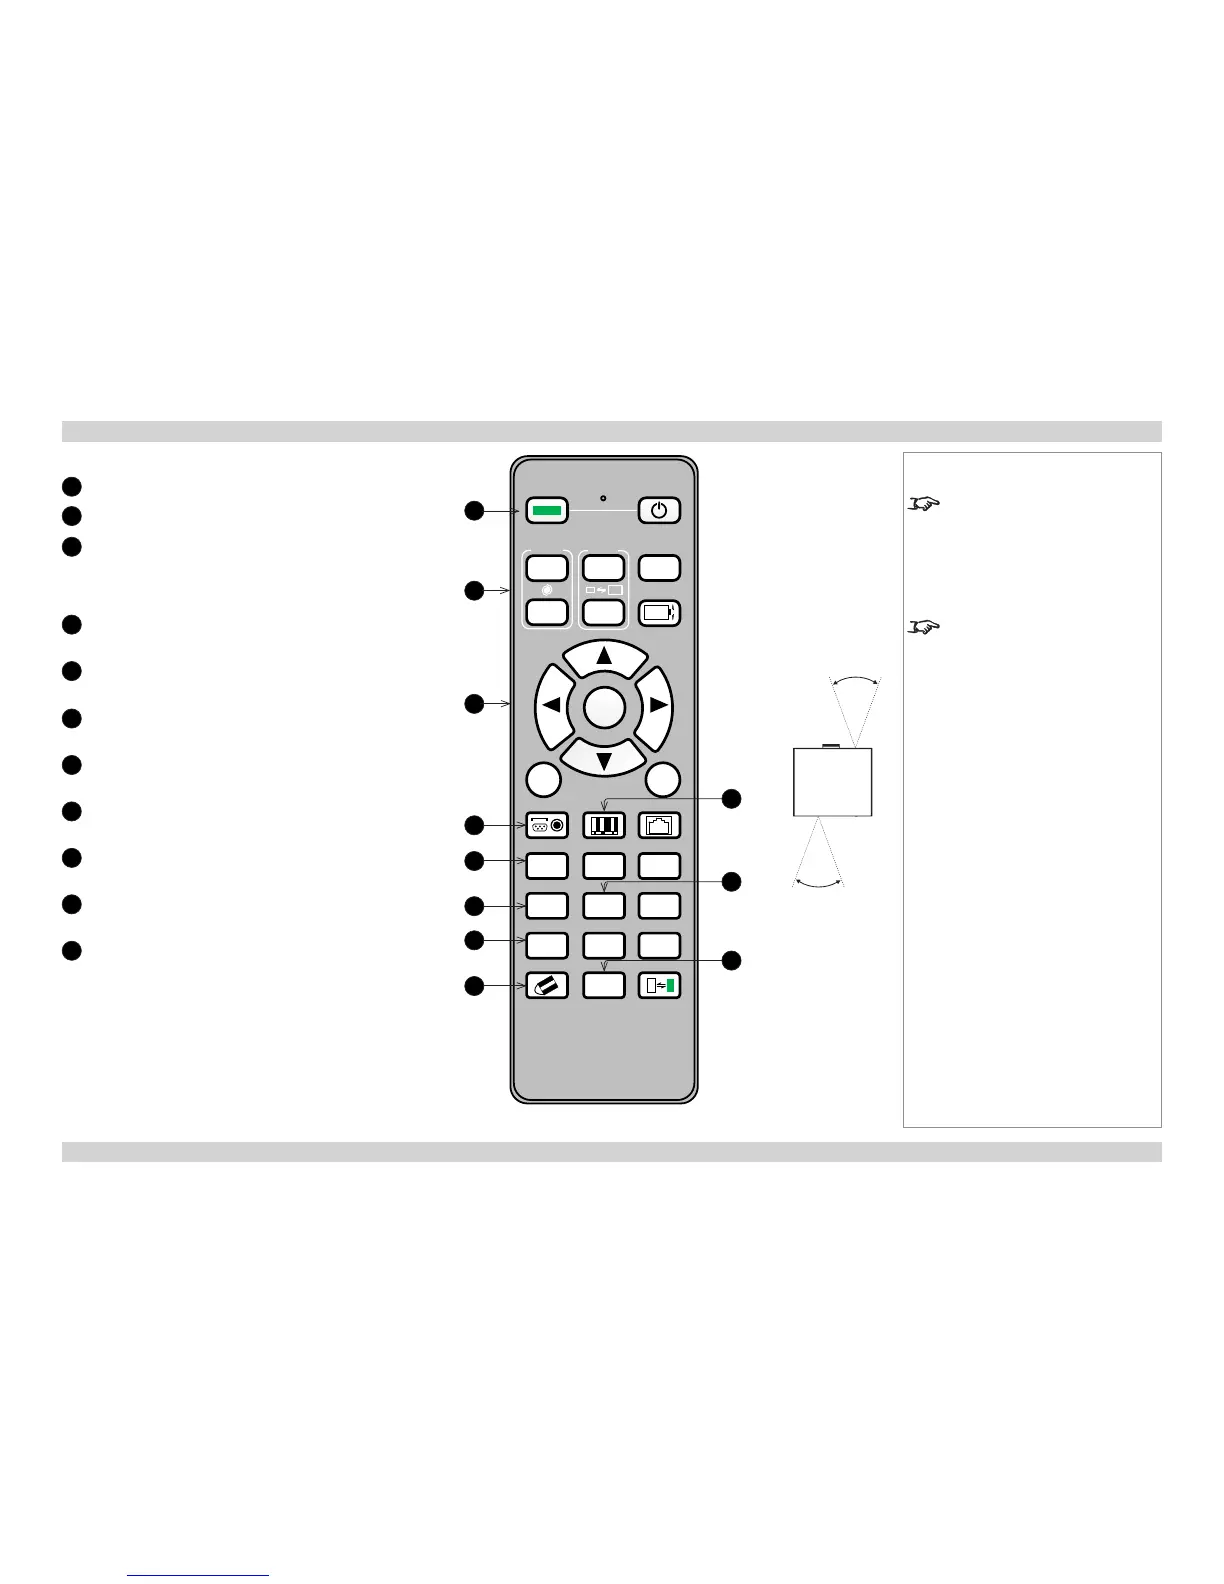
Remote control
1
Power ON/OFF
2
Lens controls
3
Menu controls
Press MENU to open the OSD, then use the buttons to
navigate.
When the OSD is closed, ENTER opens lens controls.
4
INPUT
Select input source.
5
AUTO SYNC
Re-synchronise with the current input signal.
6
OVERSCAN
Select from Off, Crop and Zoom.
7
3D MODE
Access 3D settings.
8
CLEAR
Use only with ID SET.
9
PICTURE
Open the Picture menu.
10
FREEZE
Freeze the current frame.
11
SHUTTER
Notes
The projector can use an infra-red or
a wired remote control.
Some of the controls are duplicated
on the projector control panel, as
shown in the next section.
For full details of how to use the
controls and the menu system, see
the Operating Guide.
Infra-red
reception
40°
40°
2 31
5 64
8 97
0
ENTER
FOCUS
TEST
PATTERN
+
EXIT
MENU
ON POWER OFF
ZOOM
+
LENS SHIFT
INPUT PICTURE NETWORK
AUTO SYNC ASPECT BLANK
OVERSCAN FREEZE
INFO.3D MODE
LAMP MODE
LIGHT
CLEAR SHUTTER ID SET
1
2
3
4
9
5
6
10
7
8
11
 Loading...


