ALIGNMENT menu continued
Lens Memory submenu
The current lens position, focus and zoom settings can be saved in
one of ten memories, for later recall.
• Press ENTER to open the Lens Memory submenu.
Save Memory
• Press ENTER to open the Save Memory submenu.
• Use and to select from Lens Memory 1
to Lens Memory 10.
• Press ENTER to save the current settings.
Load Memory
• Press ENTER to open the Load Memory submenu.
• Use and to select from Lens Memory 1
to Lens Memory 10.
• Press ENTER to recall the saved settings.
Center Lens
• Press ENTER to center the lens.
Keystone
• Use the Keystone control to correct for any distortion caused by
the projector being in a different vertical plane to the screen.
INPUT
PICTURE LAMPS
ALIGNMENT
CONTROL SERVICE
Projection Mode < Front >
Fan Mode < Normal >
Lens Control Enter
Lens Memory Enter
Center Lens Execute
Keystone < 0 >
Digital Alignment Enter
H/V Alignment Enter
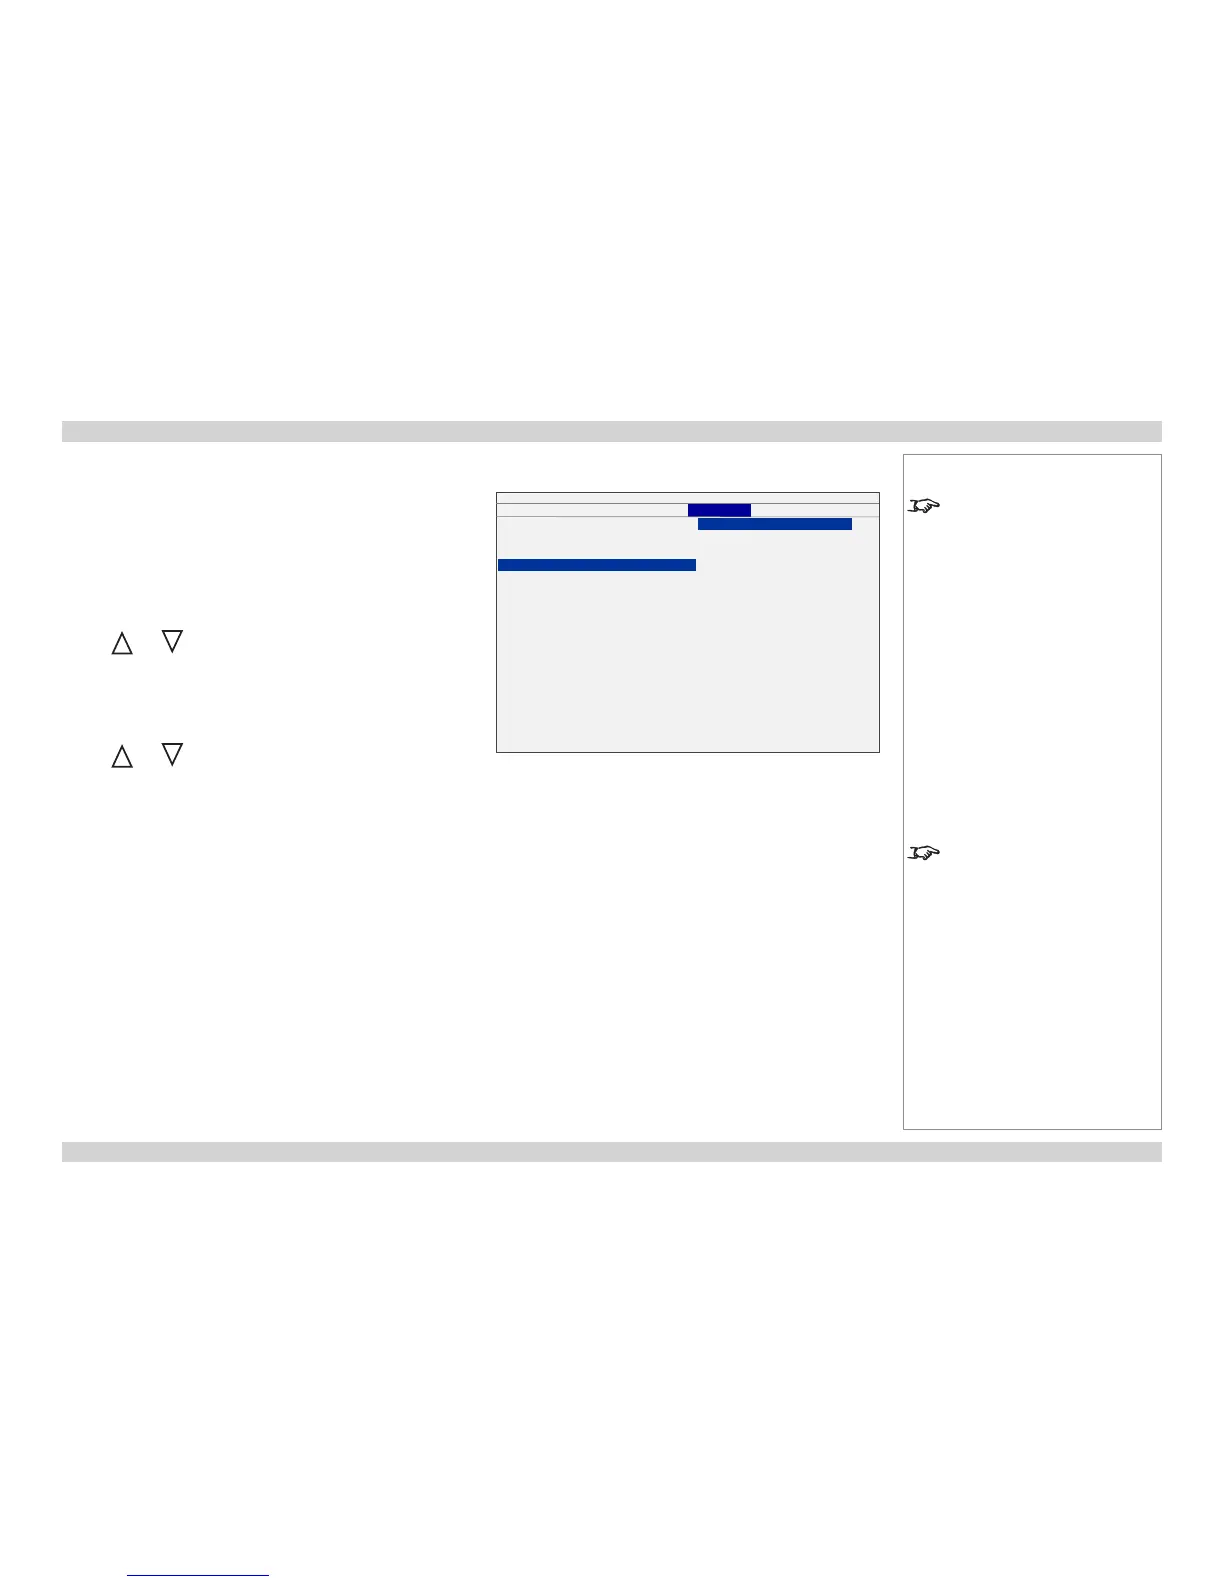
Lens Memory
Load Memory Enter
Save Memory Enter
Notes
See also Using the Menus, earlier
in this guide and Menu Map, later in
this guide.
The Center Lens command must
be used after a new lens is inserted.

 Loading...


