Digital Projection E-Vision 7500 Series CHANGING THE LENS, LAMPS, FILTERS AND COLOR WHEEL Installation and Quick-Start Guide
11
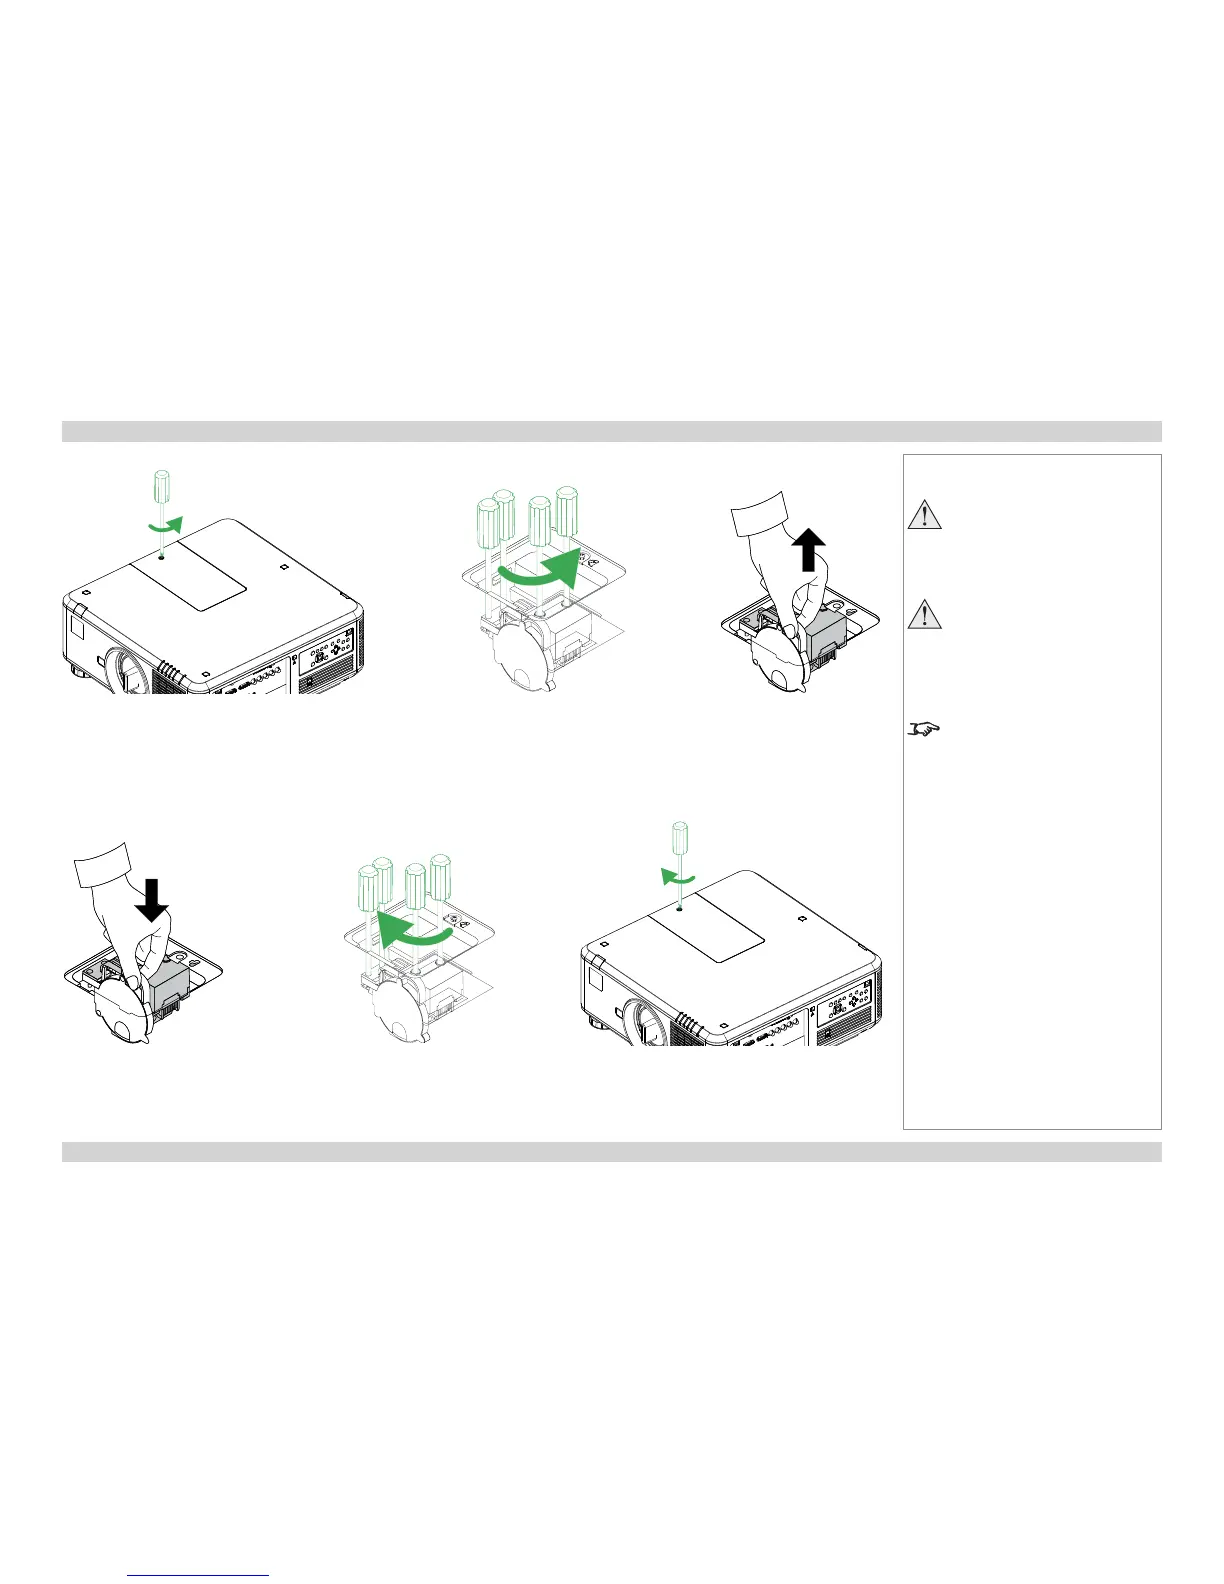
Changing the color wheel
1. Unscrew the captive screw securing the color wheel compartment cover (Fig. 1) and open the compartment.
2. Unscrew the four captive screws securing the color wheel (Fig. 2).
3. Remove the color wheel (Fig. 3).
4. Insert a new color wheel (Fig. 4) and fasten the screws (Fig. 5).
5. Replace the cover and fasten the screw (Fig. 6).
Notes
The lamp and color wheel must
be changed only by suitably
qualied personnel.
Allow the projector to cool for
5 minutes before changing the
color wheel.
The projector will shut down if any
of the covers are opened whilst in
operation.
Fig. 1 Fig. 2 Fig. 3
Fig. 6Fig. 5
Fig. 4
 Loading...


