■■■■■■■■■■■■■■■■■■■■■■■■■■■■■■■■■■■■■■■■■■■■■■■■■■■■■■■■■■■■■■■■■■■■■■■■■■■■■■■■■■■■■■■■■■■■■■■■
▼
Configuring the System
DS1103 Hardware Installation and Configuration March 2004
105
▲
■■■■■■■■■■I
▲■■■■■■■■■■■■■■■
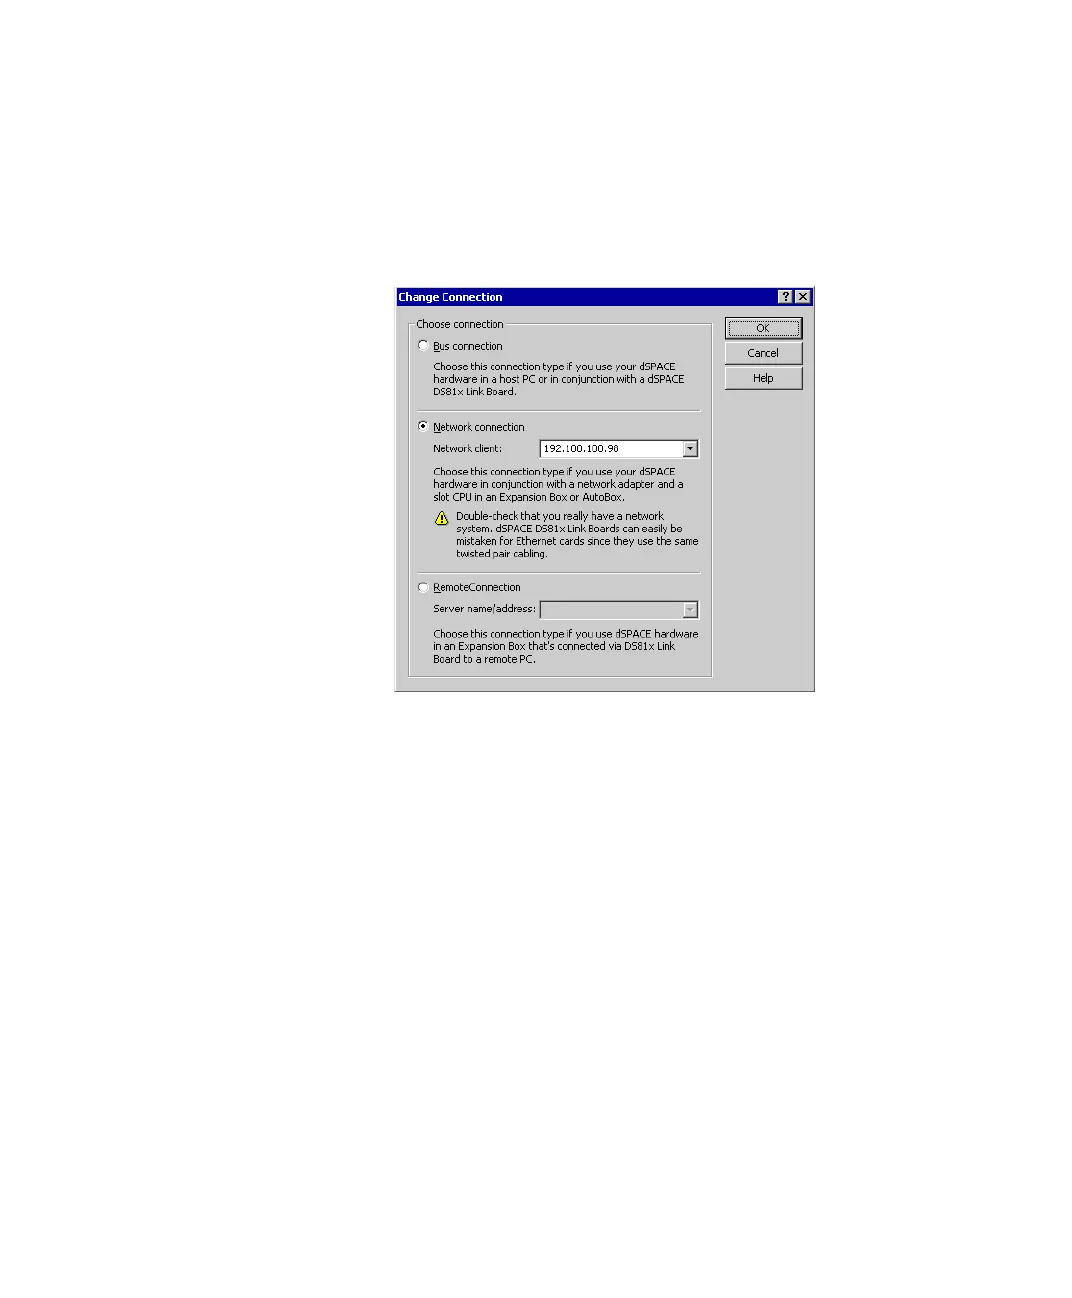
Method To set the connection mode
1 From the menu bar, choose Platform – Change Connection... to
open the Change Connection dialog
2 Select the desired connection mode in this dialog.
If the board is connected to the host PC via Ethernet, choose the
connection mode Network Connection in the Change
Connection dialog, then select the Network Client.
The network client is identified by its IP address or alias specified in
the host table (refer to Setting Up an Ethernet Connection
Between PC and Expansion Box on page 67).
Multiconnect groups are also available in the Network Client list.
After you have selected a multiconnect group, the group is
displayed in the Platform Navigator. You have to register the
dSPACE boards belonging to the multiconnect group in the same
way as usual.
3 Click OK to apply your settings.
 Loading...
