EasyManuals Logo

dynabook PORTEGE X40-J Series Maintenance Manual

dynabook PORTEGE X40-J Series
155 pages
To Next Page IconTo Next Page
To Previous Page IconTo Previous Page
Page #113 background imageLoading...
Page #113 background image
Maintenance Manual (960-942) 4-40
Replacement Procedures
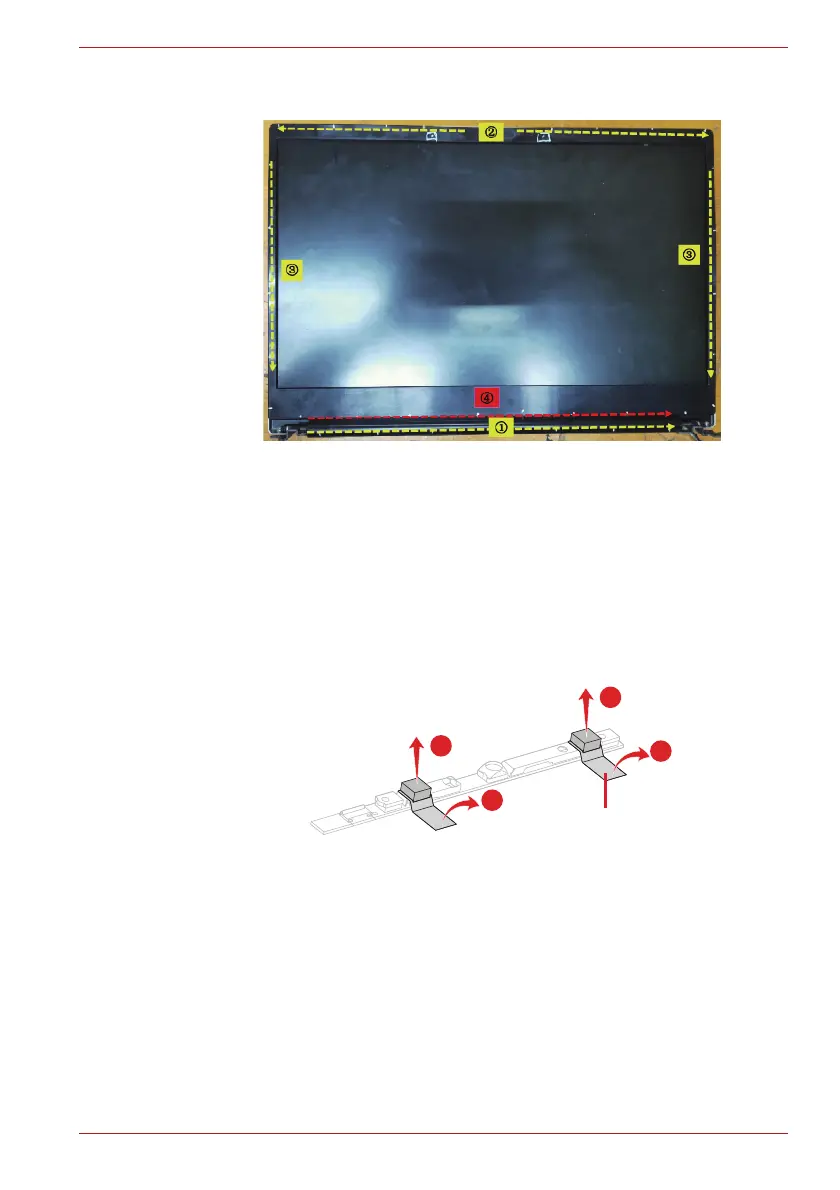
Figure 4-46 Installing the LCD unit (6)
4.24 Camera module/Wireless antennas
4.24.1 Removing the Camera module
To remove the camera module, follow the steps below and refer to Figure
4-47 to Figure 4-49.
1. Remove two pieces of GASKET and peel off two pieces of AL TAPE on
the camera module.
Figure 4-47 Removing the camera module (1)
2. Disconnect the camera FPC from the connector on the camera module
and peel off the FPC from the LCD cover.
2
2
1
1

Table of Contents

Other manuals for dynabook PORTEGE X40-J Series

Questions and Answers:

Question and Answer IconNeed help?

Do you have a question about the dynabook PORTEGE X40-J Series and is the answer not in the manual?

dynabook PORTEGE X40-J Series Specifications

General IconGeneral
GraphicsIntel Iris Xe Graphics
WirelessWi-Fi 6 (802.11ax), Bluetooth 5.1
ProcessorUp to 11th Gen Intel® Core™ i7 Processors
Display14.0" FHD (1920 x 1080) Anti-glare
RAMUp to 32GB DDR4
StorageUp to 1TB PCIe SSD
Operating SystemWindows 10 Pro
WeightApprox. 1.05 kg
SecurityFingerprint Reader, TPM 2.0
Ports2 x Thunderbolt 4, 1 x USB 3.2, HDMI, microSD card slot

Related product manuals