Maintenance Manual (960-942) 4-8
Replacement Procedures
4.9.1 Installing the Memory media
To insert memory media, follow the steps as detailed below and refer to
Figure 4-2.
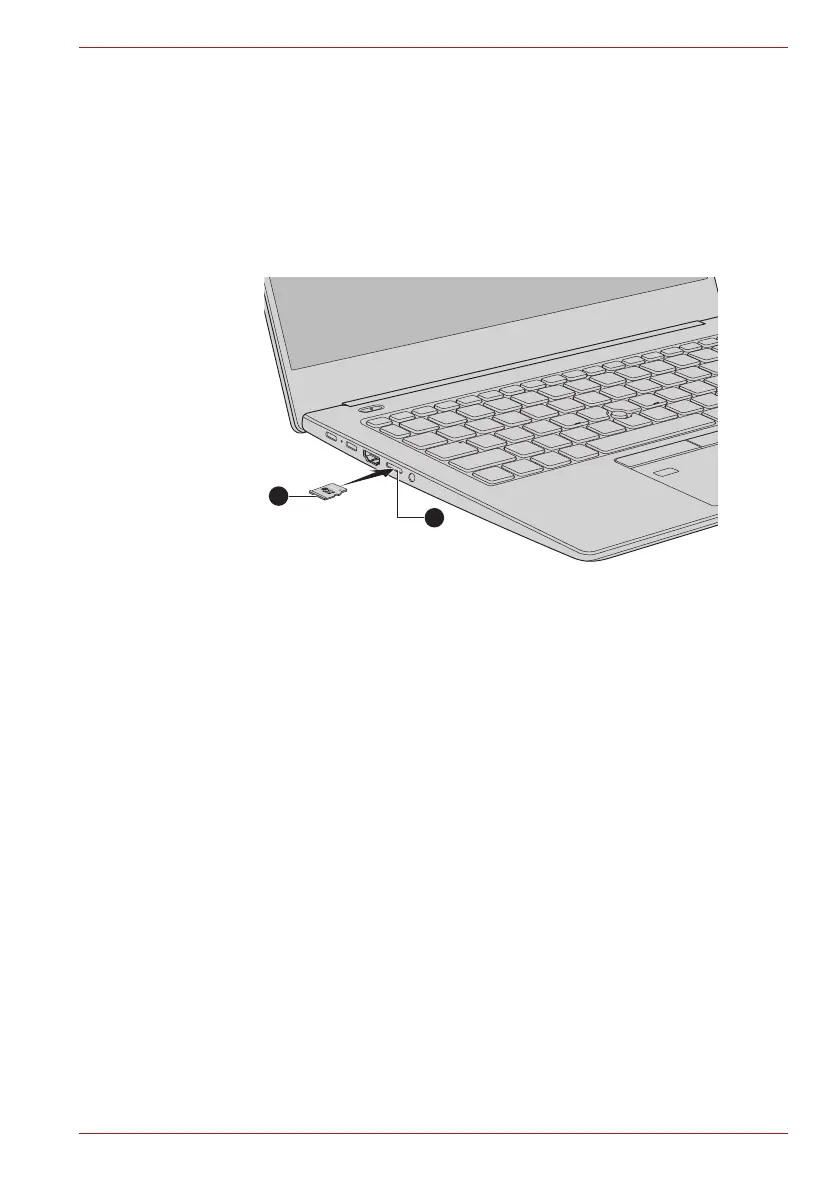
1. Turn the memory media so that the contacts (metal areas) face down.
2. Insert the memory media into the memory media slot on your computer.
3. Press the memory media gently until it clicks into place.
Figure 4-2 Inserting memory media
4.9.2 Removing the Memory media
To remove memory media, follow the steps as detailed below and refer to
Figure 4-2.
1. Open the Safely Remove Hardware and Eject Media icon on the
Windows Taskbar.
2. Select the memory media that you want to remove.
3. Push the memory media until you hear a click to partially release it.
4. Grasp the media and remove it.
4.10 Cover Assembly and Base Assembly
4.10.1 Removing the Cover Assembly and Base Assembly
To remove the Base Assembly, follow the steps below and refer to Figure 4-
3 to Figure 4-4.
1. Close the display panel and turn the computer face down.
2. Remove the following screws securing the Cover Assembly and the
Base Assembly.
1. Memory media slot 2. Memory media
 Loading...