103
support@edgeovens.com
Technical Support: +1 (724) 628 3050
OPERATION
CAUTION:
• DO NOT twist the conveyor or drag it through the oven. Damage due to improper handling is not covered
by the warranty.
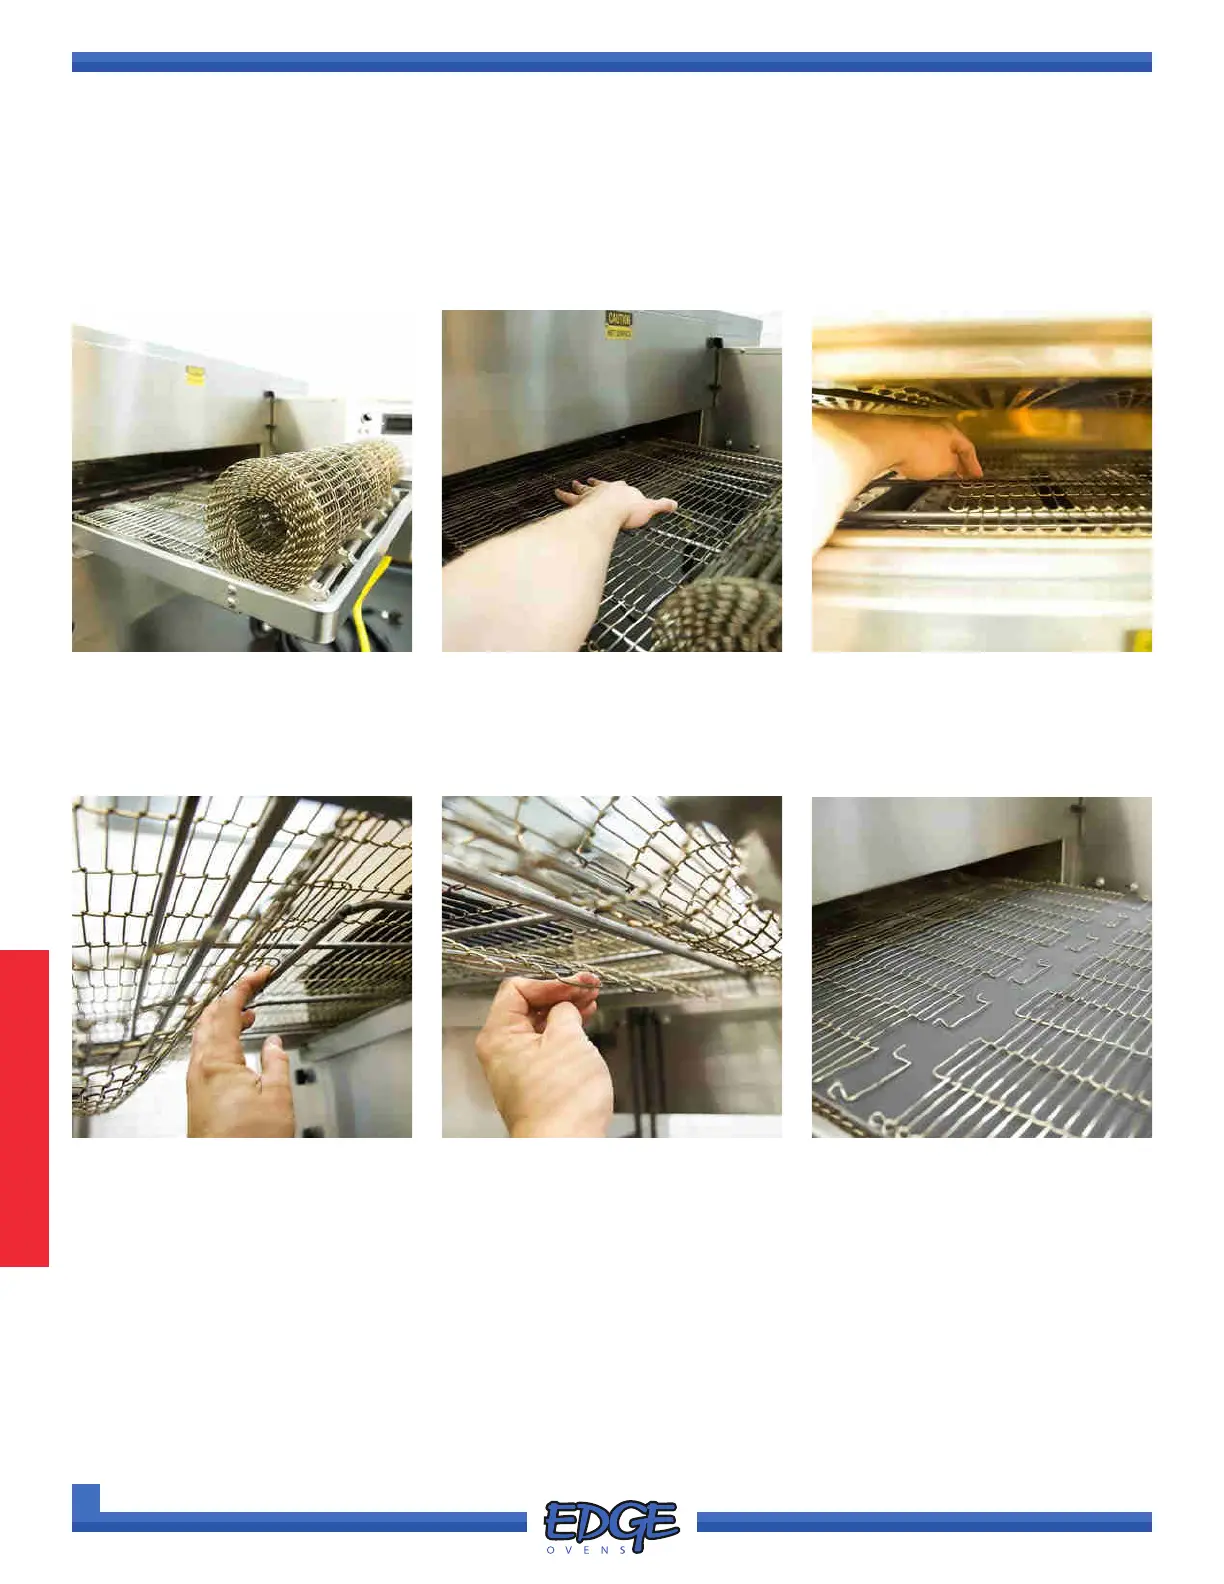
FIGURE 3-49 FIGURE 3-50
5. Once your belt is dry and the frame has been suitably cleaned, install the belt back on the oven frame by
feeding the belt through the oven on the top support rods on the rst pass. This can also be done externally
to the oven if preferred, by removing the conveyor frame with a helper.
PREVENTATIVE MAINTENANCE
CONVEYOR BELT DISASSEMBLY & CLEANING (CONTINUED)
FIGURE 3-51
6. Once you have fed the belt through the oven, return the belt back through the oven by feeding it over the
drive shaft cogs, ensuring that the belt is supported by the LOWER SUPPORT RODS. The lower support
rods prevent the belt contacting with the lower nger assemblies.
FIGURE 3-52 FIGURE 3-53
7. Return the belt over the draft shaft cogs so that both ends of the separated belts are facing each other and
follow steps 11-12 of the CONVEYOR BELT LINKAGE REMOVAL section, for further instructions of how to
reconnect the conveyor belt linkage.
FIGURE 3-54