19
support@edgeovens.com
Technical Support: +1 (724) 628 3050
INSTALLATION
FIGURE 2-23
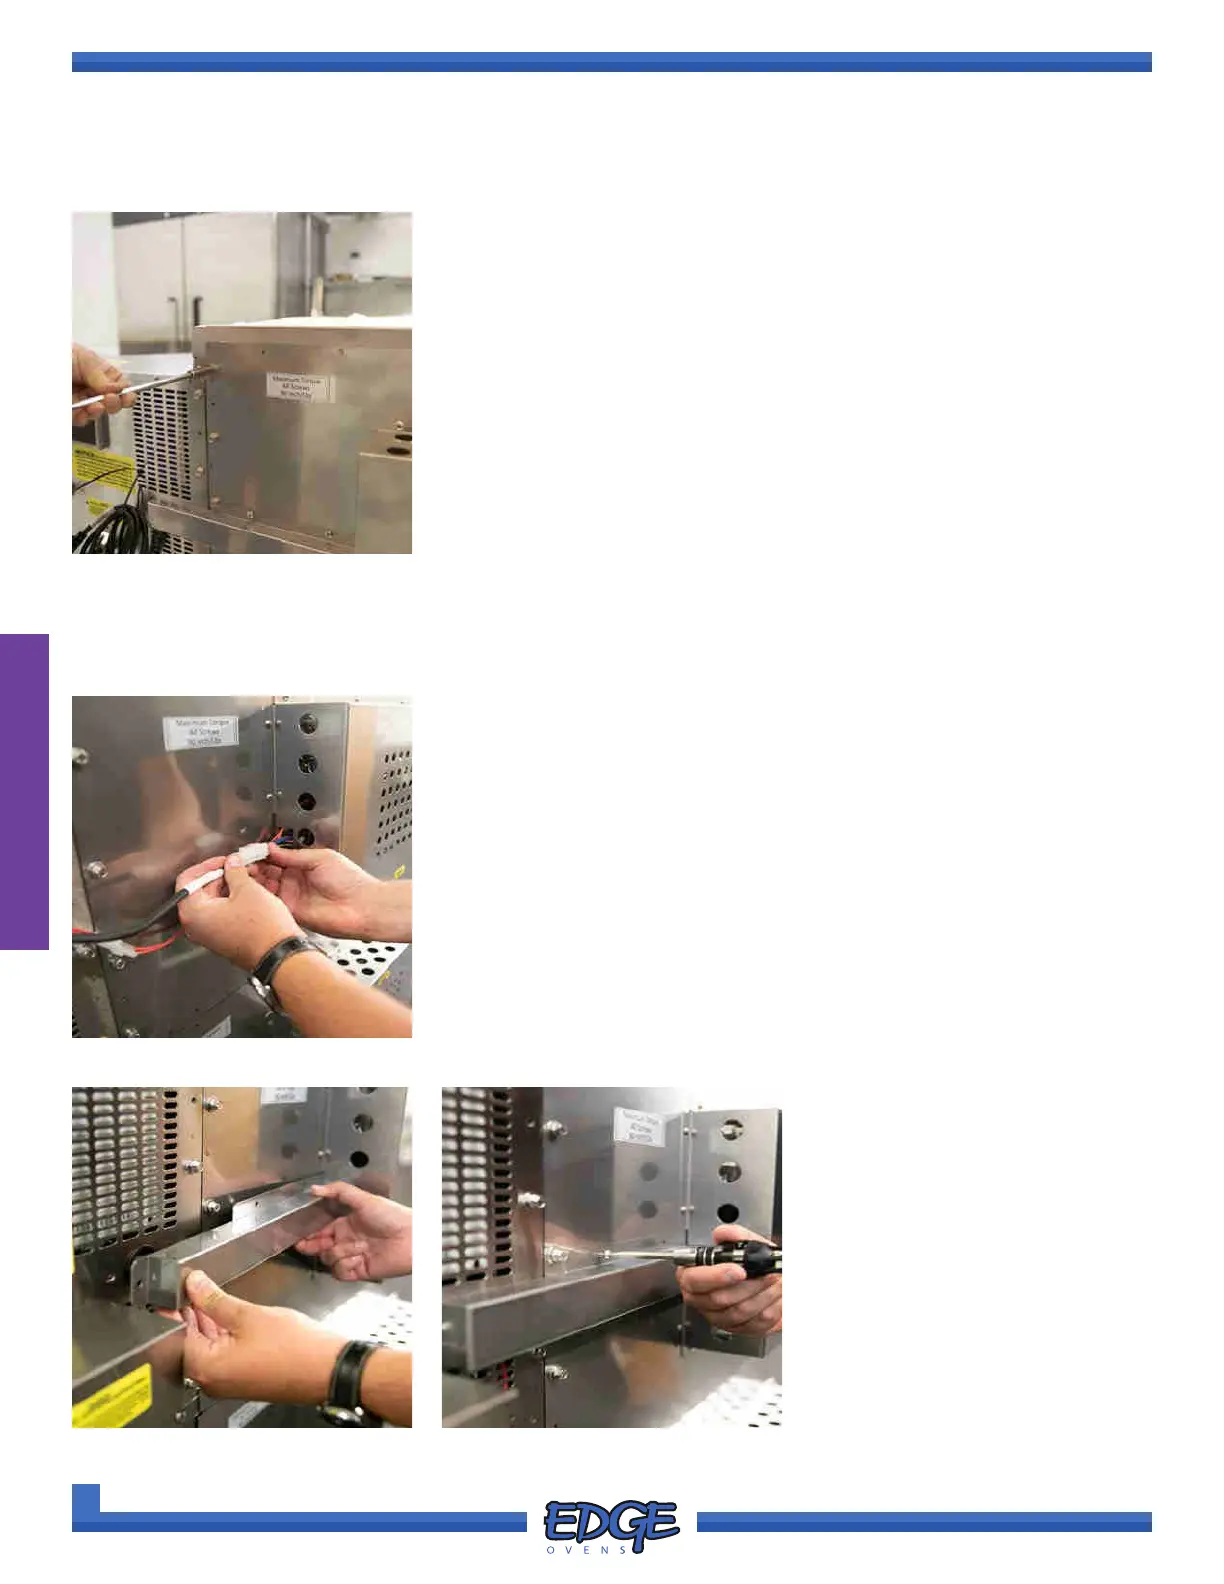
12. Reinstall the previously removed and retained 1/4” bolts, split locking
washers and at washers in the oven back (Figure 2-23). There should
be a total of ve (5) 1/4” bolts, ve (5) split locking washers and ve (5)
at washers on each side of the oven back.
13. If adding further ovens to the oven stack, relocate this oven
approximately 6’ (72”) in front of the current oven location in
preparation for maneuvering this oven under the next oven stack.
SPINNING OVEN FROM DELIVERY SKID OR EDGE DELIVERY CART (CONT)
OVEN ASSEMBLY
MAIN BLOWER HARNESS CONNECTION & COVER INSTALL
1. EDGE DELIVERY CART INSTALLATION ONLY. Connect the two (2)
pin and ve (5) pin plug to the corresponding socket. (Figure 2-24)
ORIGINAL DELIVERY SKID INSTALLATION ONLY. Ovens
installed from the original delivery skid will come with the main blower
harness and cover tted. If transferring to the EDGE delivery cart,
the harness cover will need to be removed and the harness plugs
disconnected.
FIGURE 2-26
FIGURE 2-24
FIGURE 2-25
2. Slide the HARNESS COVER in
to the cutout located in the main
blower motor cover. (Figure
2-25)
3. Using a #2 Phillips screwdriver,
align and install the supplied
ve (5) fastening screws.
(Figure 2-26)