26
support@edgeovens.com Technical Support: +1 (724) 628 3050
INSTALLATION
NOTICE
When removing the ngers make sure to record the order in
which they are removed. Replacing them incorrectly could
adversely affect the performance of the oven.
4. Remove the TOP and BOTTOM end panels as described in the
previous section. (Figure 2-48)
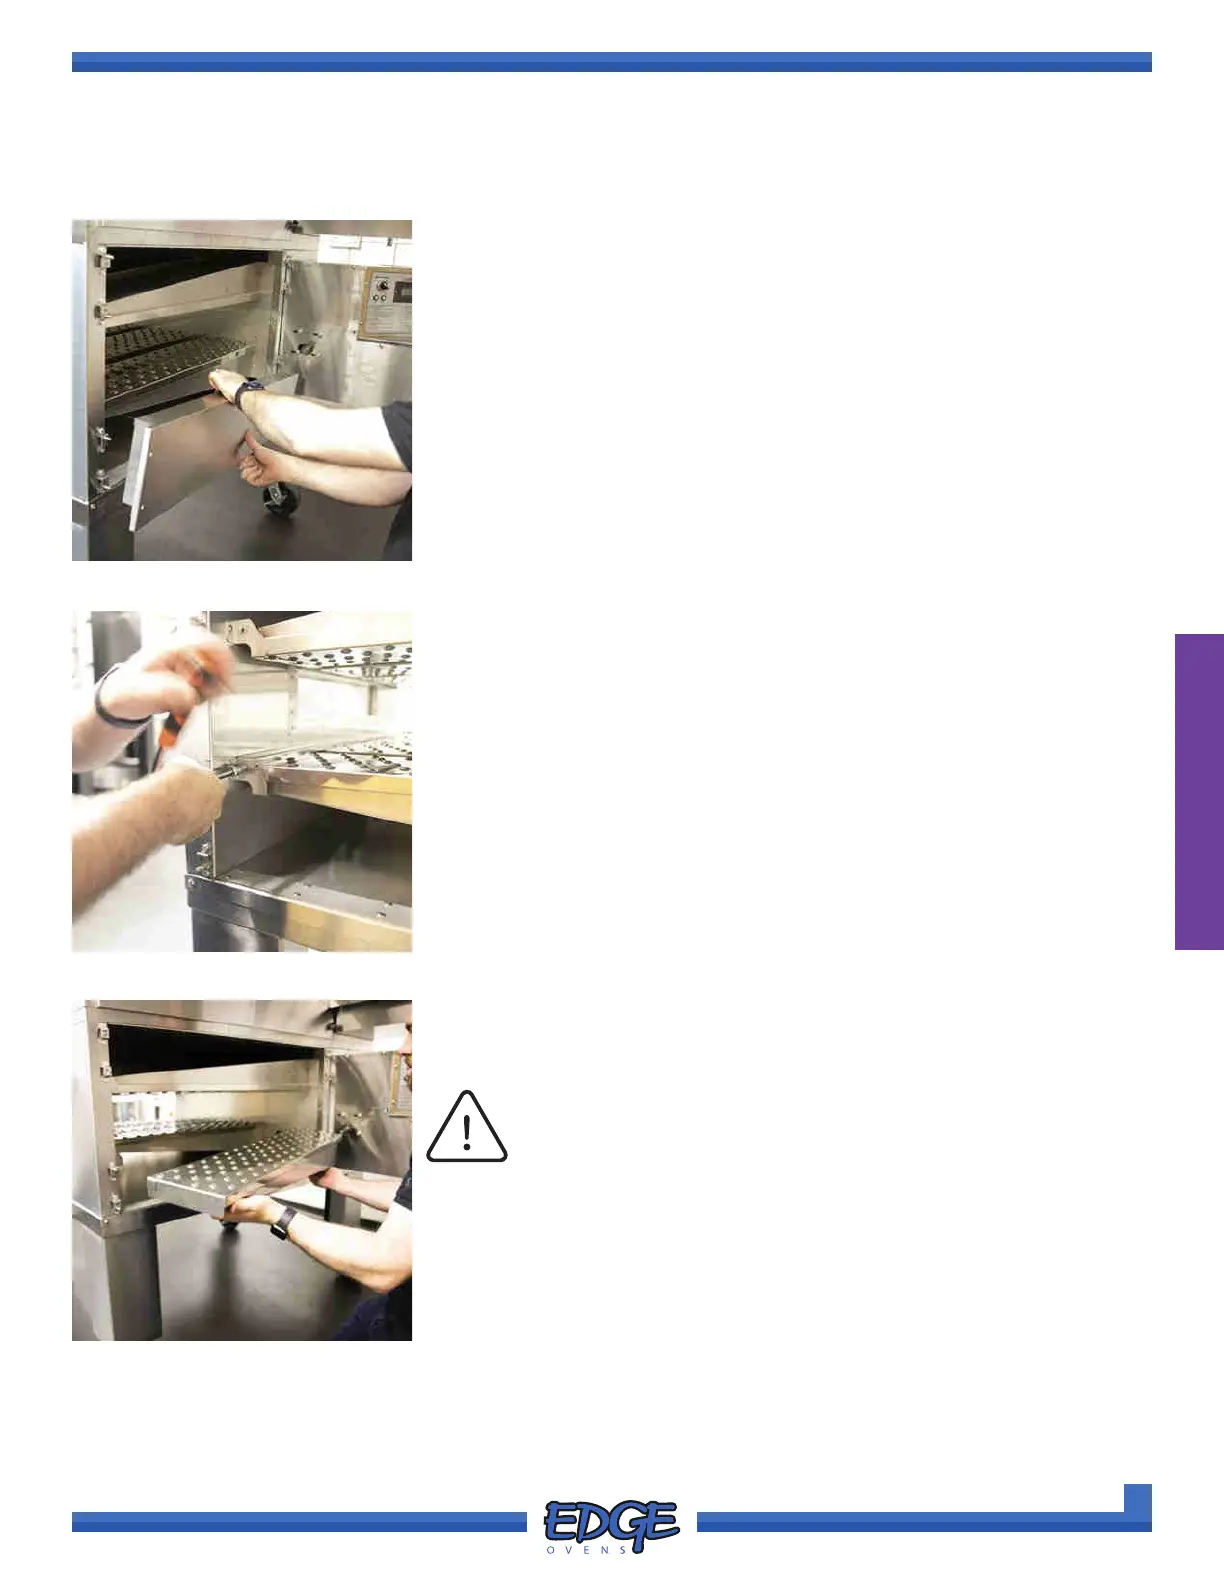
5. If not previously removed, remove and discard the nger securing
bracket from the top and bottom nger panels. Using your 5/6” nut
driver or socket and wrench with short extension, remove the two (2)
securing 5/16” hex head screws from either end of bracket. Repeat for
both TOP and BOTTOM ngers, if applicable. (Figure 2-49)
6. Working from control cabinet side of the oven, remove the ngers from
the oven, lifting the narrow ngertip from the front bracket, then lifting
the larger end from the plenum wall at the rear. (Figure 2-50)
FIGURE 2-48
FIGURE 2-49
FIGURE 2-50
OVEN ASSEMBLY
CONVEYOR BELT & FINGER PANEL REMOVAL AND INSPECTION (CONT)