Setup 11-11
[>]
To add the item selected from the [Available Items] into the [Selected
Items].
[>>] To add all items from the [Available Items] into the [Selected Items].
[<]
To remove the selected item in [Selected Items] to the [Available
Items].
[<<] To remove all items from the [Selected Items].
5. Click [Up] and [Down]: to adjust the sequence of the items in Selected Items.
6. Preset the probe mark of the selected body mark in Selected Items
Move the cursor onto the probe mark of the body mark in Probe area and press <Set> to
make the cursor turn green. Roll the trackball to change the position of the probe, rotate
the multifunctional knob to change the angle, and press <Set> to confirm the orientation
of the probe.
7. Select the body mark in Selected Items and click [Default], and then the body mark will be
prior to be displayed.
8. Click [OK] to complete the setting.
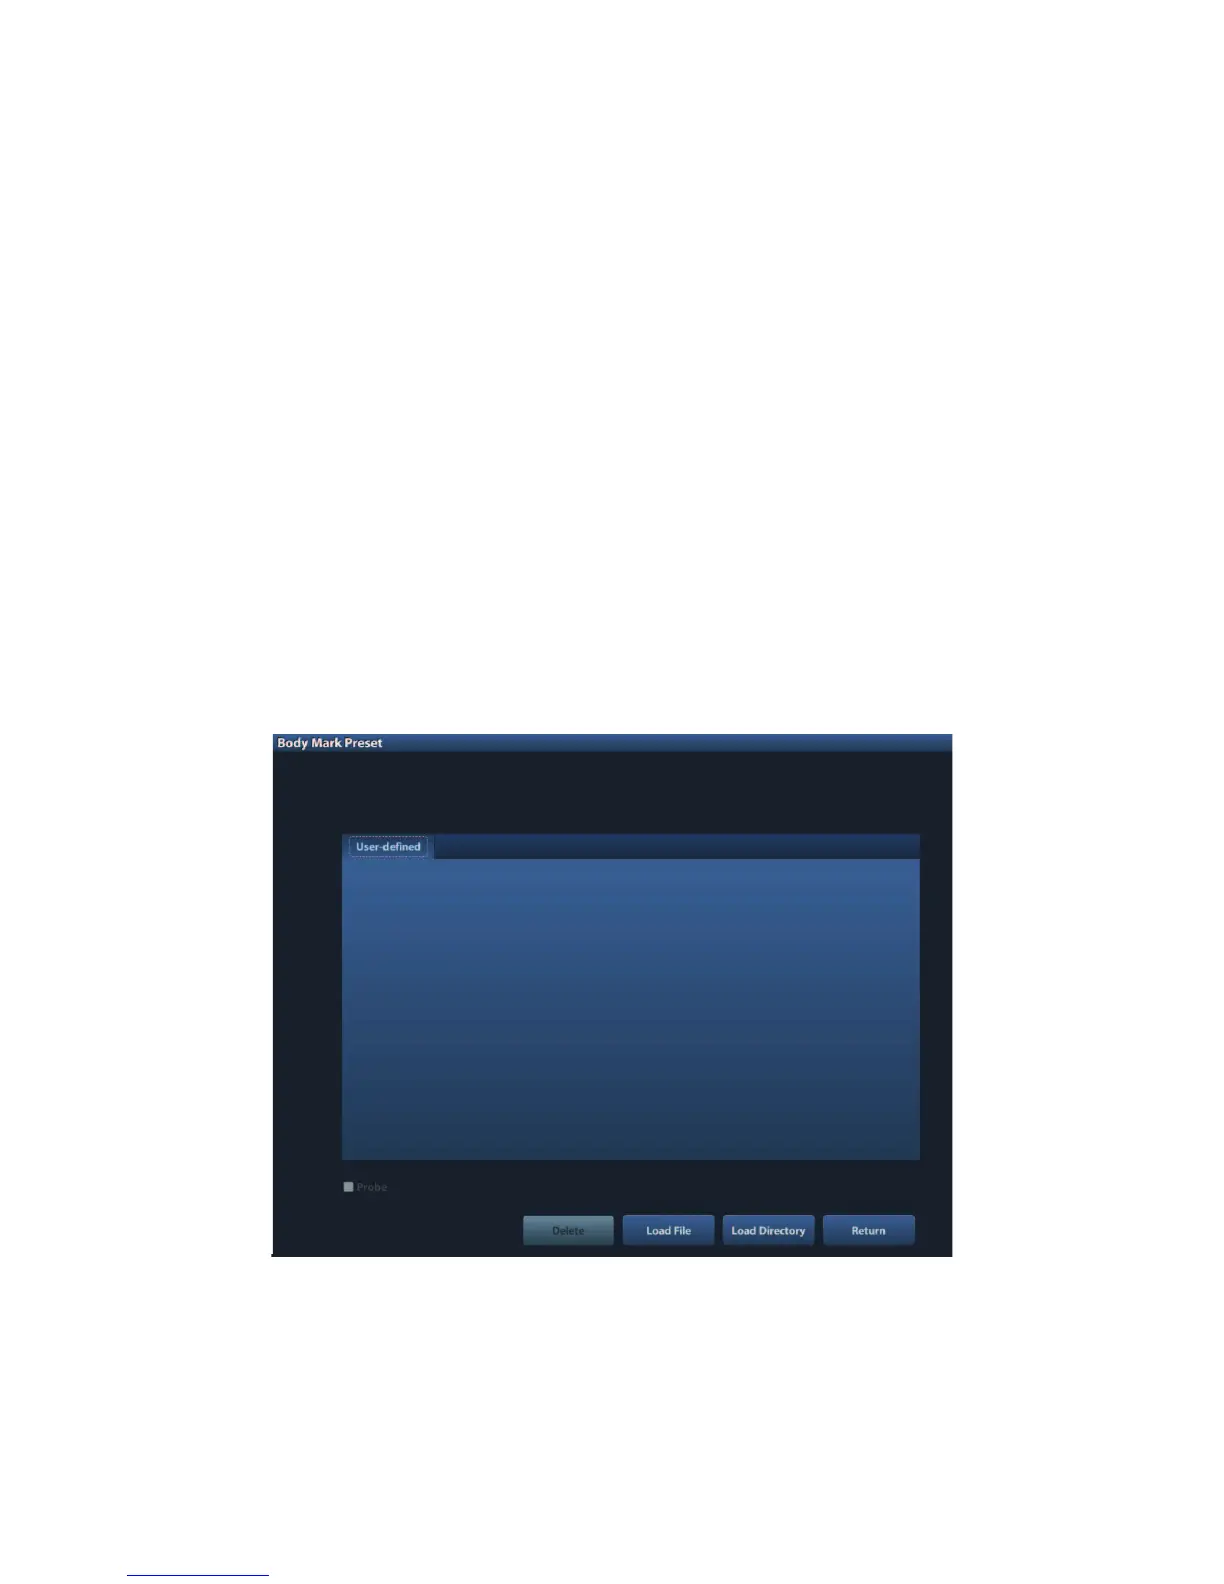
11.5.2 Custom Body Marks
The system supports loading and deleting body marks.
Click [Import Custom] in the Body Mark Preset screen above, enter the user-defined body
mark screen (as shown in the figure below).