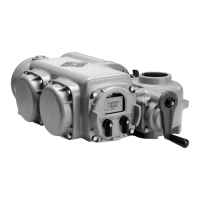
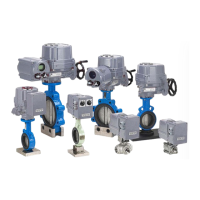
3. Installation
TEC 2000 Installation & Operation Manual E2K-405-0902
3-2
3.2. Mechanical Installation onto the Valve
1. Lower actuator over Stem onto valve flange.
2. Insert the screws thru the valve flange into the actuator and engage at least one full screw
diameter deep into the bottom base.
3. Tighten to a preload. 5/16-18UNC = 17 ft-lb, 3/8-16UNC = 50 ft lb, 5/8-11UNC = 225 ft-lb
lb, or 4/4-10UNC = 400 ft lb.
NOTE: Mounting screws are provided only if EIM supplied the adapter. Verify screws are
though the adapter; engage a minimum of one screw diameter deep into the actuator base.
4. Screw the Stem Nut (piece #54) onto the Stem until it enters the Drive Sleeve.
5. Place Key (piece #52) in line with the Drive Sleeve Keyway (piece #54). Insert Key
(piece #52).
6. Turn the Handwheel in the Open direction to pull the Stem Nut (piece #54) into the Drive
Sleeve until it bottoms out. NOTE: Valve will begin to open.
7. Place the Locknut (piece #55) over the Valve Stem. Screw the Locknut (piece #55)
firmly into place against the top of the Stem Nut (piece #54) using a drift to tighten.
CAUTION: Locknut must be screwed very tightly against stem nut.
3.3. Electrical Connections
3.3.1. Remove Separate Terminal Chamber (STC) Cover
XWARNING: Verify power is disconnected before removing STC Cover.
Remove cover with a strap wrench, drift, or pinch bar by rotating the cover counter-
clockwise