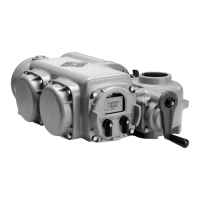
4. Operation
TEC 2000 Installation & Operation Manual E2K-405-0902
4-7
For the “Clicker” to control the actuator:
1. Enter “SETUP” mode using the control knobs as defined in Section 5.1, Entering Setup
Mode.
2. Select “LOCAL IrDA PORT” for control mode under Valve Control Setup. See Section
5.6.2, Valve Control Setup.
3. Place the selector knob in the REMOTE position.
4. Press the applicable “Clicker” button (Open, Close, Stop) for the desired function while
“pointing” the unit at the LDM or the RDM.
4.4. Initializing the Actuator
XWARNING: Check for proper motor rotation to ensure the valve is moving in the
proper direction.
4.4.1. Setting Position Limits
Limits must be set before operating. The actuator will not operate until limits are set.
NOTE: A passcode is not needed for the initial position limit settings. However, any limit
setting changes required after initialization require a passcode and are changed via the
“CHANGE SETTINGS” mode. See Section 5.6.3, Set Valve Travel Limits.
CAUTION: It is recommended the valve be positioned using the handwheel while
setting the limits to prevent valve damage.
There are two different routines for setting limits. Initial limit settings can be set as described
in Section 2, Quick Start. Limit settings can be changed as described in Section 5.6.3,
Set Valve Travel Limits.
Once the limits have been set, check the settings as follows.
For Electrical Operation
1. Run actuator electrically to verify correct operation.
For Manual Operation
1. Move the valve in the close direction. The Red LED should go off and the Green LED
should blink within one turn of the handwheel.
2. Move the valve in the open direction. The Green LED should go off and the Red LED
should be blinking within ½ to 1 turn of the handwheel.
The actuator will operate in the normal LOCAL and REMOTE modes.
Exit “SETUP” mode.
1. Rotate the selector knob to NEXT to cycle through the displays until “EXIT?” is
displayed.
2. Rotate the control knob to YES.