Analyzer User Manual
Overviews | Page 117 of 264
8.6 Using Markers in Overviews
Items selected in the Overviews can be annotated with markers and saved with a capture. Markers are also
quite useful for remote collaboration among users. Markers can be edited to add descriptive notes. More than
one marker can be placed on an event. They can be color-coded to differentiate among the various users
creating the markers or color-coded in groups of selected markers. Markers can be added to single events in
an Overview, to contiguous events (using SHIFT), or to non-contiguous events (using CTRL).
Markers can also be exported and imported to/from a capture, alleviating the need to send capture files between
collaborators who may already have the original capture file. Further, markers can be sent and retrieved over
the Ellisys secure cloud (see
Section 5.5, Sharing a Capture File to the Cloud)
.
Markers placed in an Overview
are automatically replicated in the
Instant Timing
pane, the
Instant Throughout
pane, the
Instant Audio
pane, and the
Instant Spectrum
view.
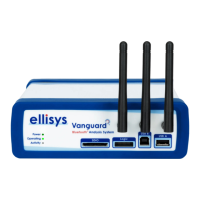
To add a marker in an Overview:
1. Select the event to be marked in the Overview and then click on the Markers button (F9) on
the toolbar.
2. Alternatively, left-click or right-click in the gray vertical column at the far-left of the Overview
adjacent to the item desired for marking.
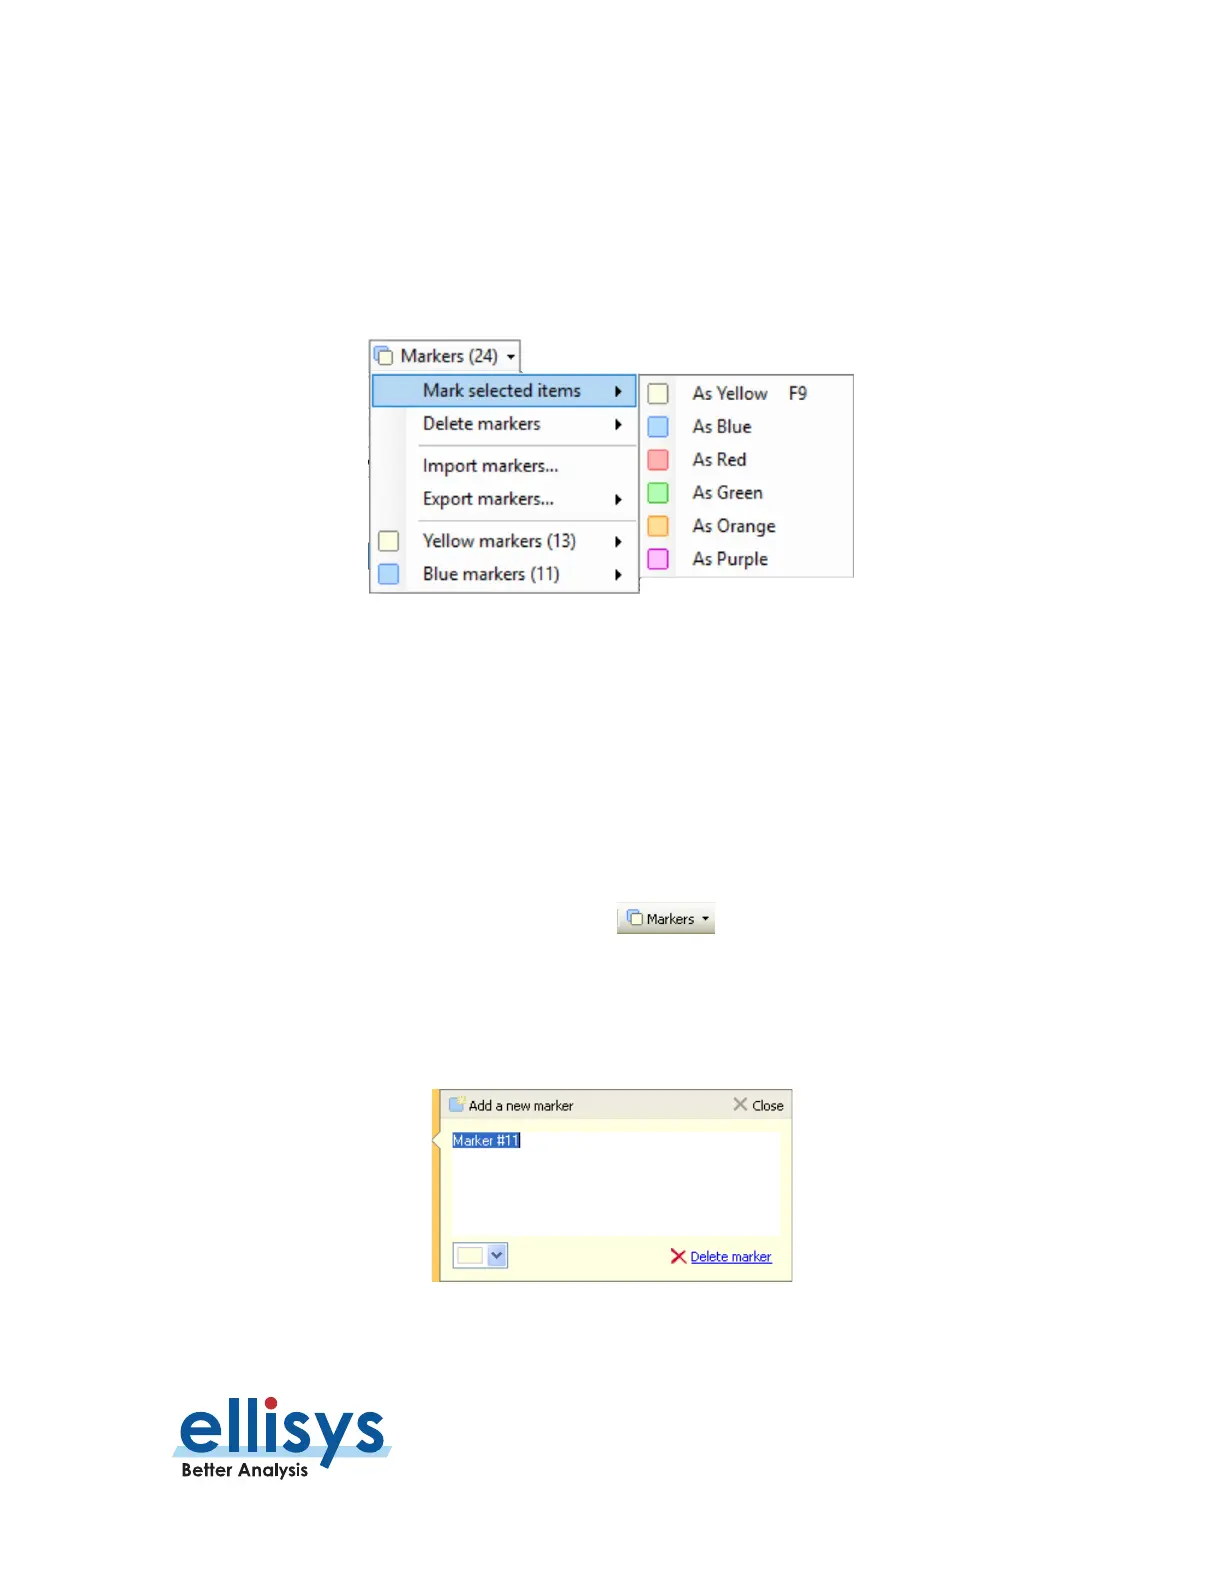
The
Add a new marker
dialog appears:
1. Add comments as desired.
 Loading...