Necessary Operations Operation
Location
Explanations
1. Connect the scanner to the network
(This is unnecessary if you connected
to the network during setup)
Scanner and
computer
Connect the scanner to the network using the installer.
Access the following website, and then enter the product
name on the screen displayed. Go to Setup, and then start
setting up.
https://epson.sn
When the connection method selection screen is displayed,
select wireless LAN (Wi-Fi) and follow the on-screen
instructions to connect to the network.
Note:
❏ When you use the installer, the soware is installed at
the same time.
❏ You can also set this manually. (for administrators)
“Connecting the Scanner to the Network” on page 236
2. Register the product with Epson
Connect
Scanner’s control
panel and
computer
(Epson Connect
website)
Register your product with Epson Connect and enable the
service.
On the scanner's control panel, select Settings > Web
Service Settings > Epson Connect Services > Register,
and then follow the on-screen instructions to register.
Note:
If you are prompted to enter a
verication
code, access the
following URL and enter the code.
https://www.epsonconnect.com/activation
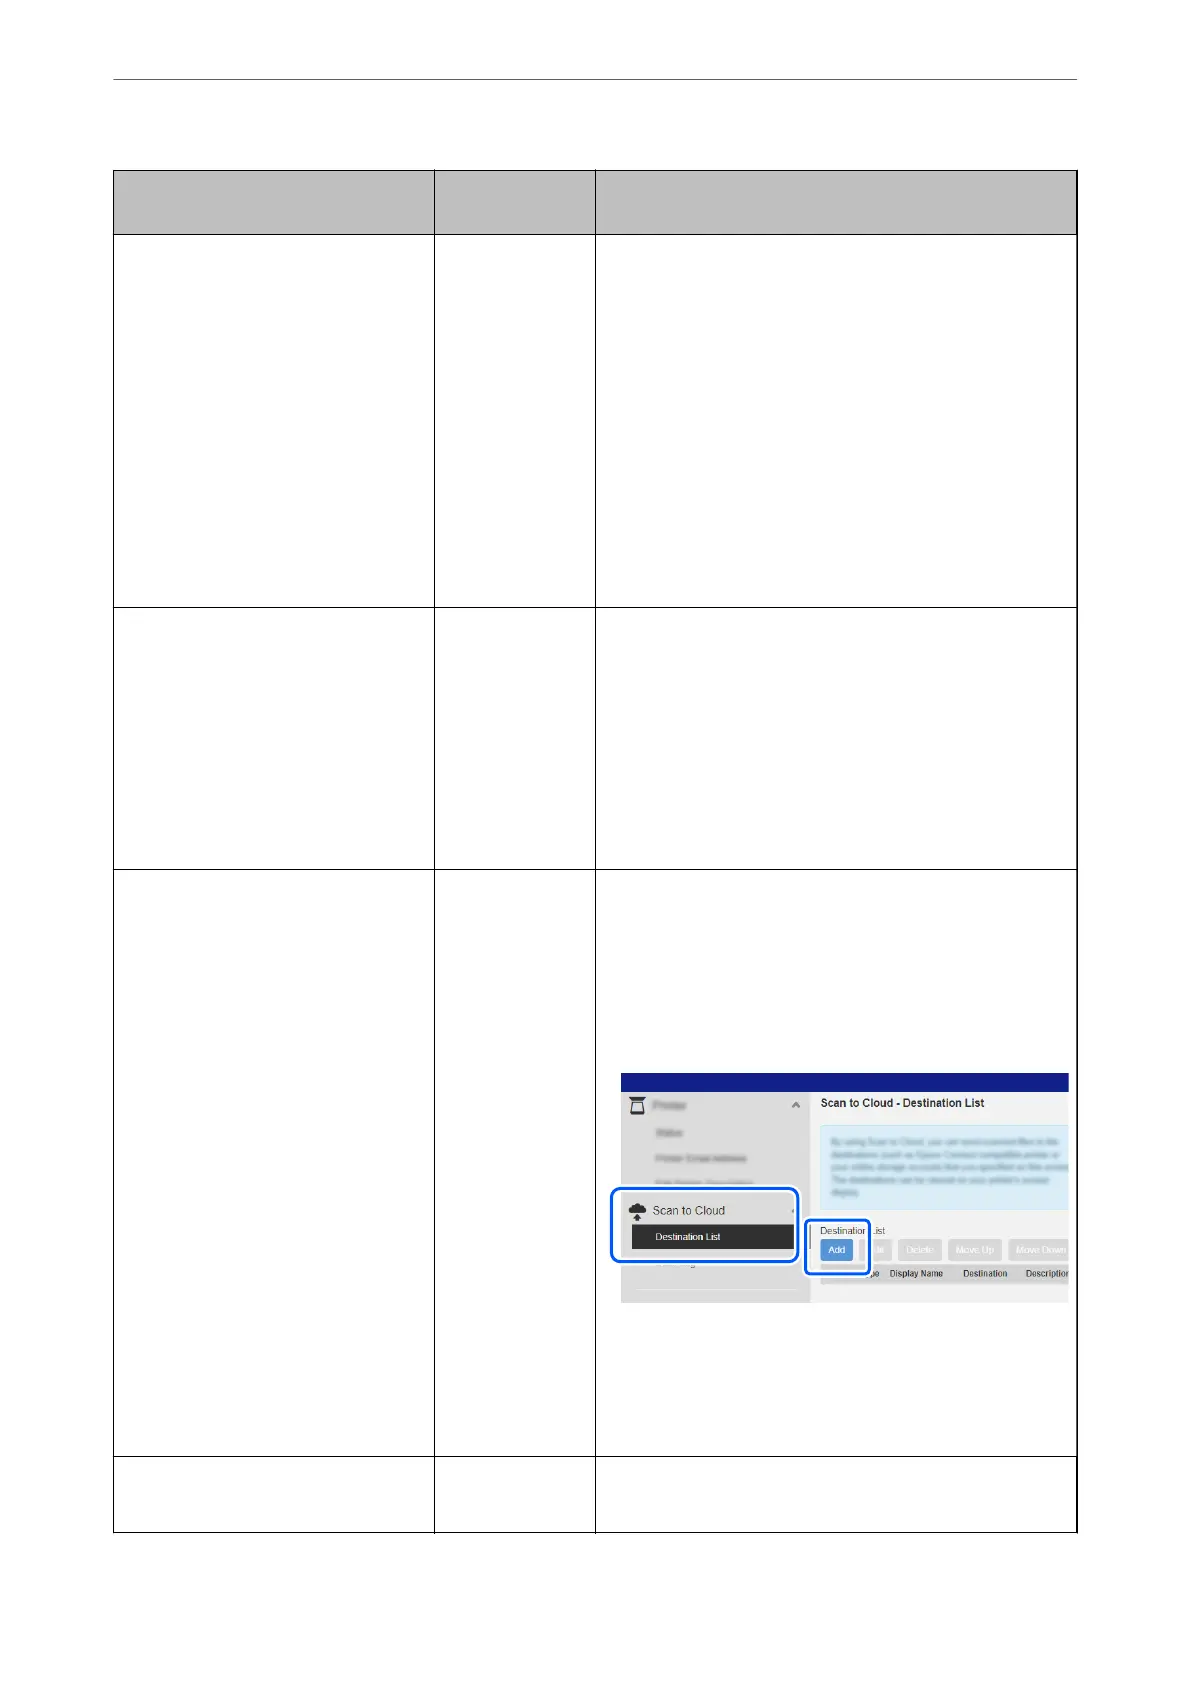
3. Register a destination list on the
Epson Connect user page
Computer
(Epson Connect
website)
Register the destinations you want to send to in the
destination list on the Epson Connect user page.
Access the user page from the following URL, click the Scan
to Cloud > Destination List > Add
*
, and then follow the on-
screen instructions to add a destination.
https://www.epsonconnect.com/user
Note:
When registering an email address, select Email Address
as the destination type.
4. Scan from the control panel Scanner’s control
panel
Perform scanning from the control panel.
“Sending to the Cloud” on page 109
Scanning
>
Preparing to Scan from the Control Panel (the Scan to Features)
>
Scan to Cloud Feature Work Flow
101
 Loading...