SC-F2000 Revision C
ADJUSTMENT Overview 194
Confidential
[Blue]: Button or menu name on the program screen / [Black]: Button or menu name on the operation panel of the printer
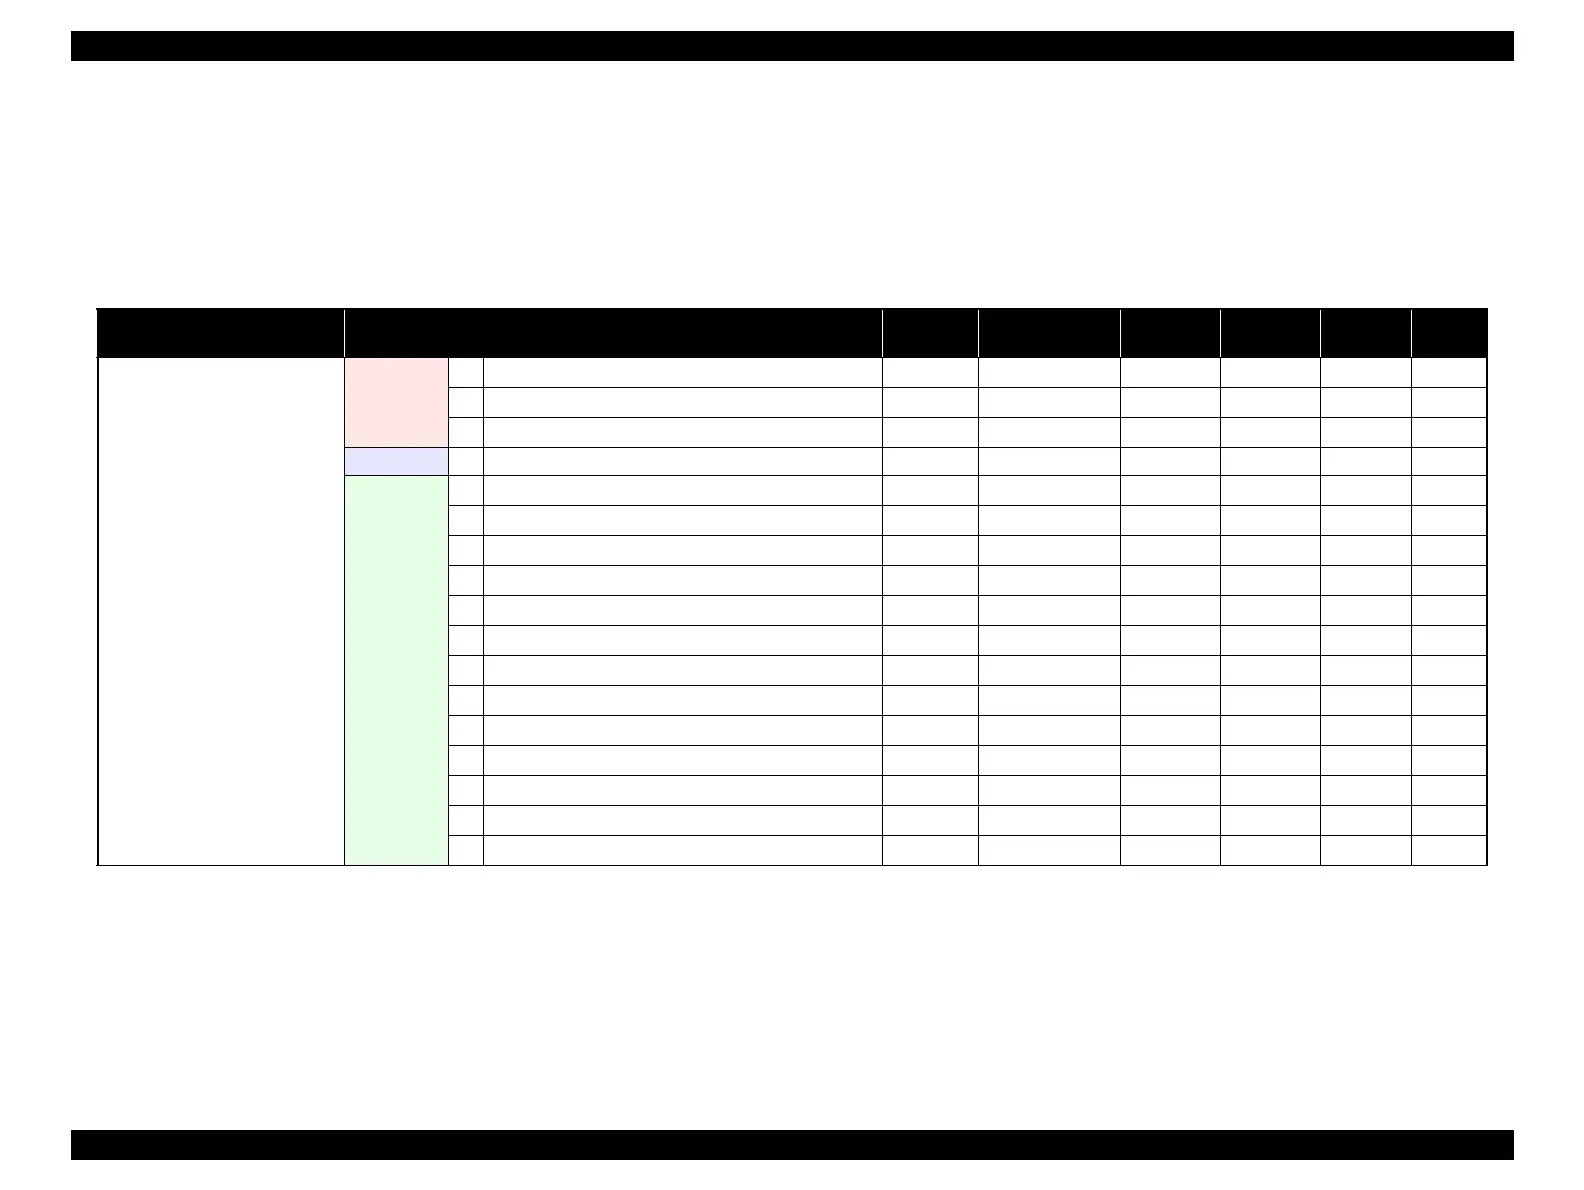
4.1.2 Adjustment Items and the Order by Repaired Part
The following table shows the required adjustments by repaired or replaced part and the order in which the adjustments must be performed.
NOTE 1: The adjustments required for the Main Board differs depending on whether the NVRAM on the old board can be backed up or not.
2: When the firmware update is required, first check the version of firmware currently installed on the printer, then update the firmware if necessary.
3: PGPP: Premium Glossy Photo Paper (250)
Table 4-1. Adjustment Items and the Order by Repaired Part
Replaced or Repaired
(Reattached) Part/Unit
Required Operations
Service
Program
Jig Media Replaced Reattached Page
Print Head
Before
replacement
1 PG Check
√ Thickness gauge
√
√ p. 246
2 Turn the power on in Serviceman mode. ---
√
√
3 Move the CR UNIT to the full side. (manually) ---
√
√ p. 69
Replacement 4 Replace with a new one. --- √√p. 109
After
replacement
5 Clamp position adjustment ---
√
√ p. 233
6 Turn the power on in Serviceman mode.
---
√
---
7 Reset the Print Head counter.
√√
--- p. 221
8 Head ID Input
√√
--- p. 235
9 PG Check/PG Adjustment √ Thickness gauge
√√
p. 246
10 Turn the power on in normal mode. ---
√√
11 CL3
√√
√ p. 238
12 Nozzle Check & Cleaning
√
PGPP
√
√ p. 237
13 Head inclination adjustment
√
PGPP
√√
p. 239
14 Head slant adjustment
√
PGPP
√√
p. 243
15 PG Check/PG Adjustment
√
Thickness gauge
√√
p. 246
16 Manual Uni-d adjustment
√
PGPP
√√
p. 227
17 Manual Bi-d adjustment
√
PGPP
√
√ p. 229
 Loading...


