EPSON Stylus Photo R1900/R2880/R2000/R2000s/SC-P400 Series Revision I
Disassembly And Assembly Overview 72
4.1 Overview
This chapter describes procedures for disassembling and assembling this product.
Unless otherwise specified, the disassembled units or main components can be
reassembled by reversing the disassembling procedure.
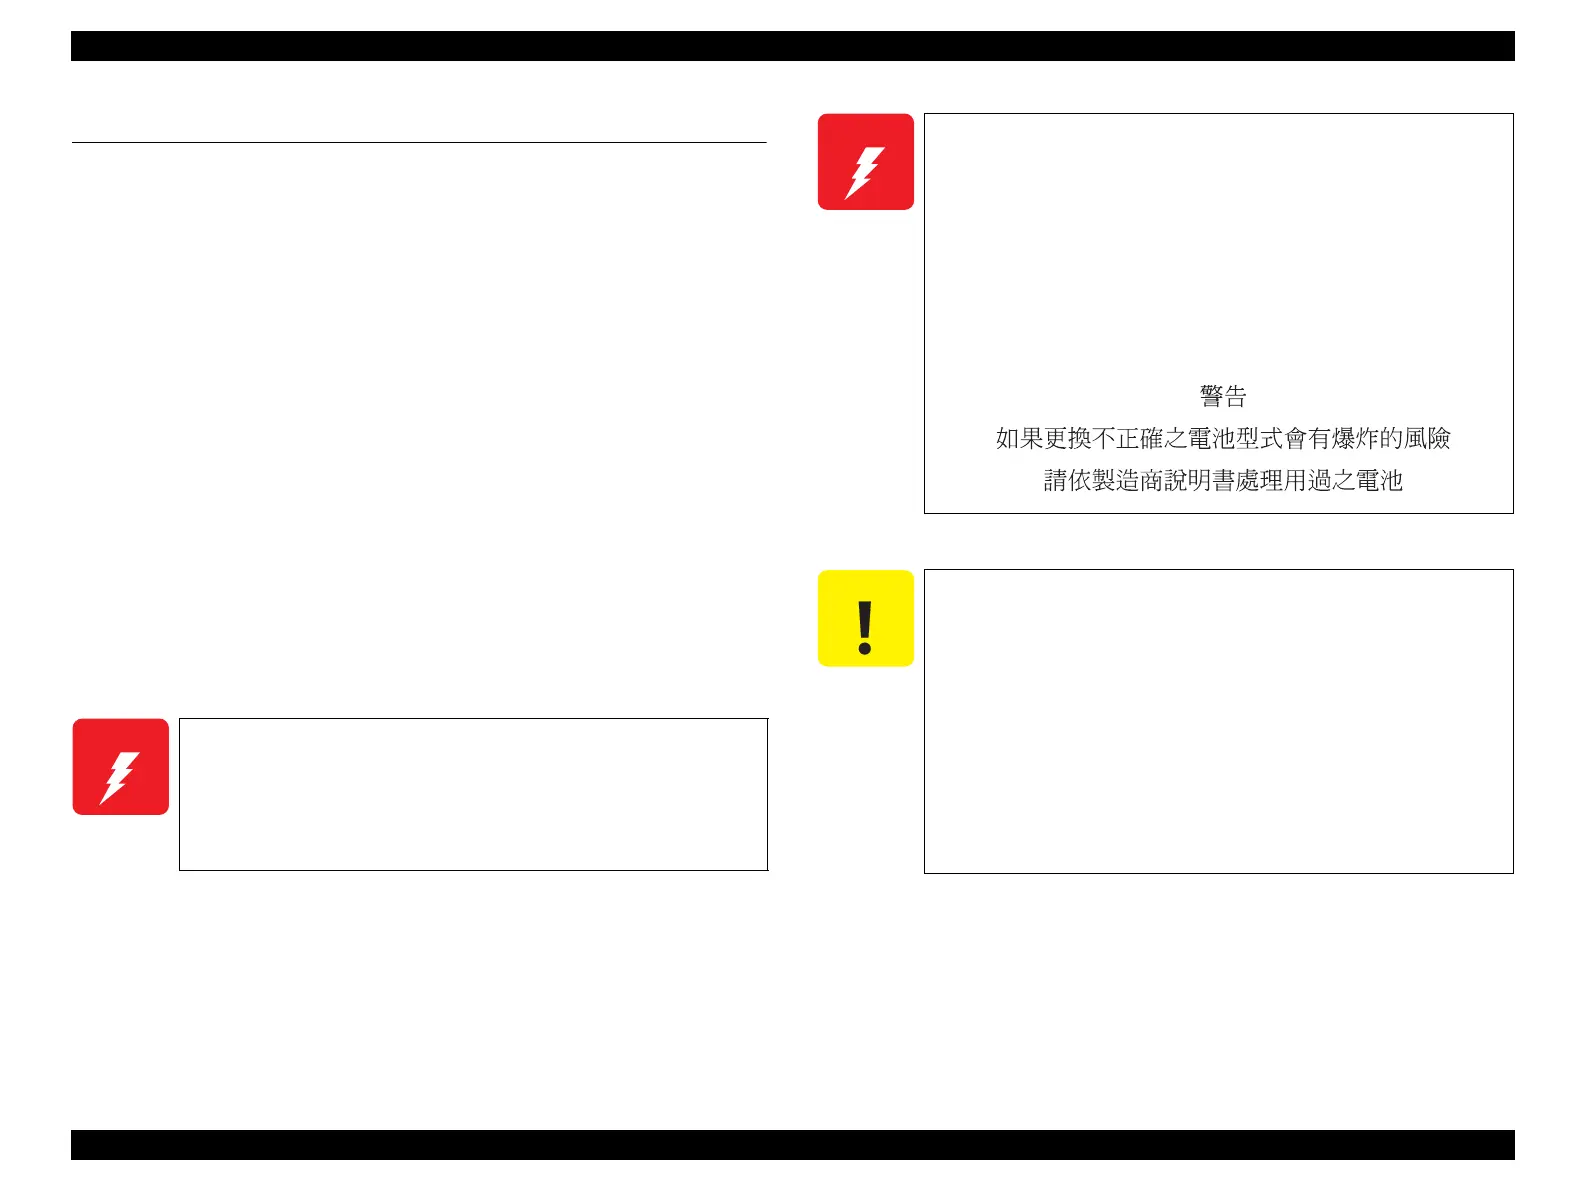
WARNINGs must be followed to avoid personal injury or death.
CAUTIONs must be followed to avoid damaging the printer or test equipment.
ADJUSTMENT REQUIRED indicates that specific mandatory adjustments must
be carried out to complete the repair.
CHECK POINTs emphasize a particularly important process or procedure.
REASSEMBLY notes provide helpful tips on reassembly procedures, especially
when correct reassembly differs from simple reverse-assembly.
When you need to disassemble any units or parts that are not described in this chapter,
refer to the exploded diagrams in the Appendix.
Before starting your work, always read the precautions described in the next section.
4.1.1 Precautions
Before starting the disassembling/reassembling work of this product, always read the
following "WARNING" and "CAUTION" carefully.
Before starting the disassembling/reassembling work of this
product, always disconnect the power cable.
When the power supply cable must be connected for voltage
measurement or like, be extremely careful not to get an electric
shock and follow the procedures in this manual to do your
work.
Wear protective goggles to protect your eyes from ink. If ink
gets in your eyes, wash your eyes with clean water and see a
doctor.
To prevent injury from sharp metal edges, always wear gloves
for disassembly and reassembly.
If ink has adhered to your skin, wash it with soap and water. If
it has caused skin irritation, see a doctor.
To protect the microprocessors and circuitry, use static
discharge equipment, such as anti-static wrist straps when
accessing the internal components.
Use only the recommended tools for disassembly, reassembly
and adjustment.
Refer to Table 4-1 "List of Tools".
Tighten screws to the specified torques.
Use the specified lubricants and adhesives.
Refer to Chapter 6 "Maintenance".
Make the necessary adjustments under the instructions given
for disassembling.
Refer to Chapter 5 "Adjustment".
When using compressed air products; such as air duster, for
cleaning during repair and maintenance, the use of such
products containing flammable gas is prohibited.

 Loading...


