EPSON Stylus Photo R1900/R2880/R2000/R2000s/SC-P400 Series Revision I
Disassembly And Assembly Disassembling the Printer Mechanism 92
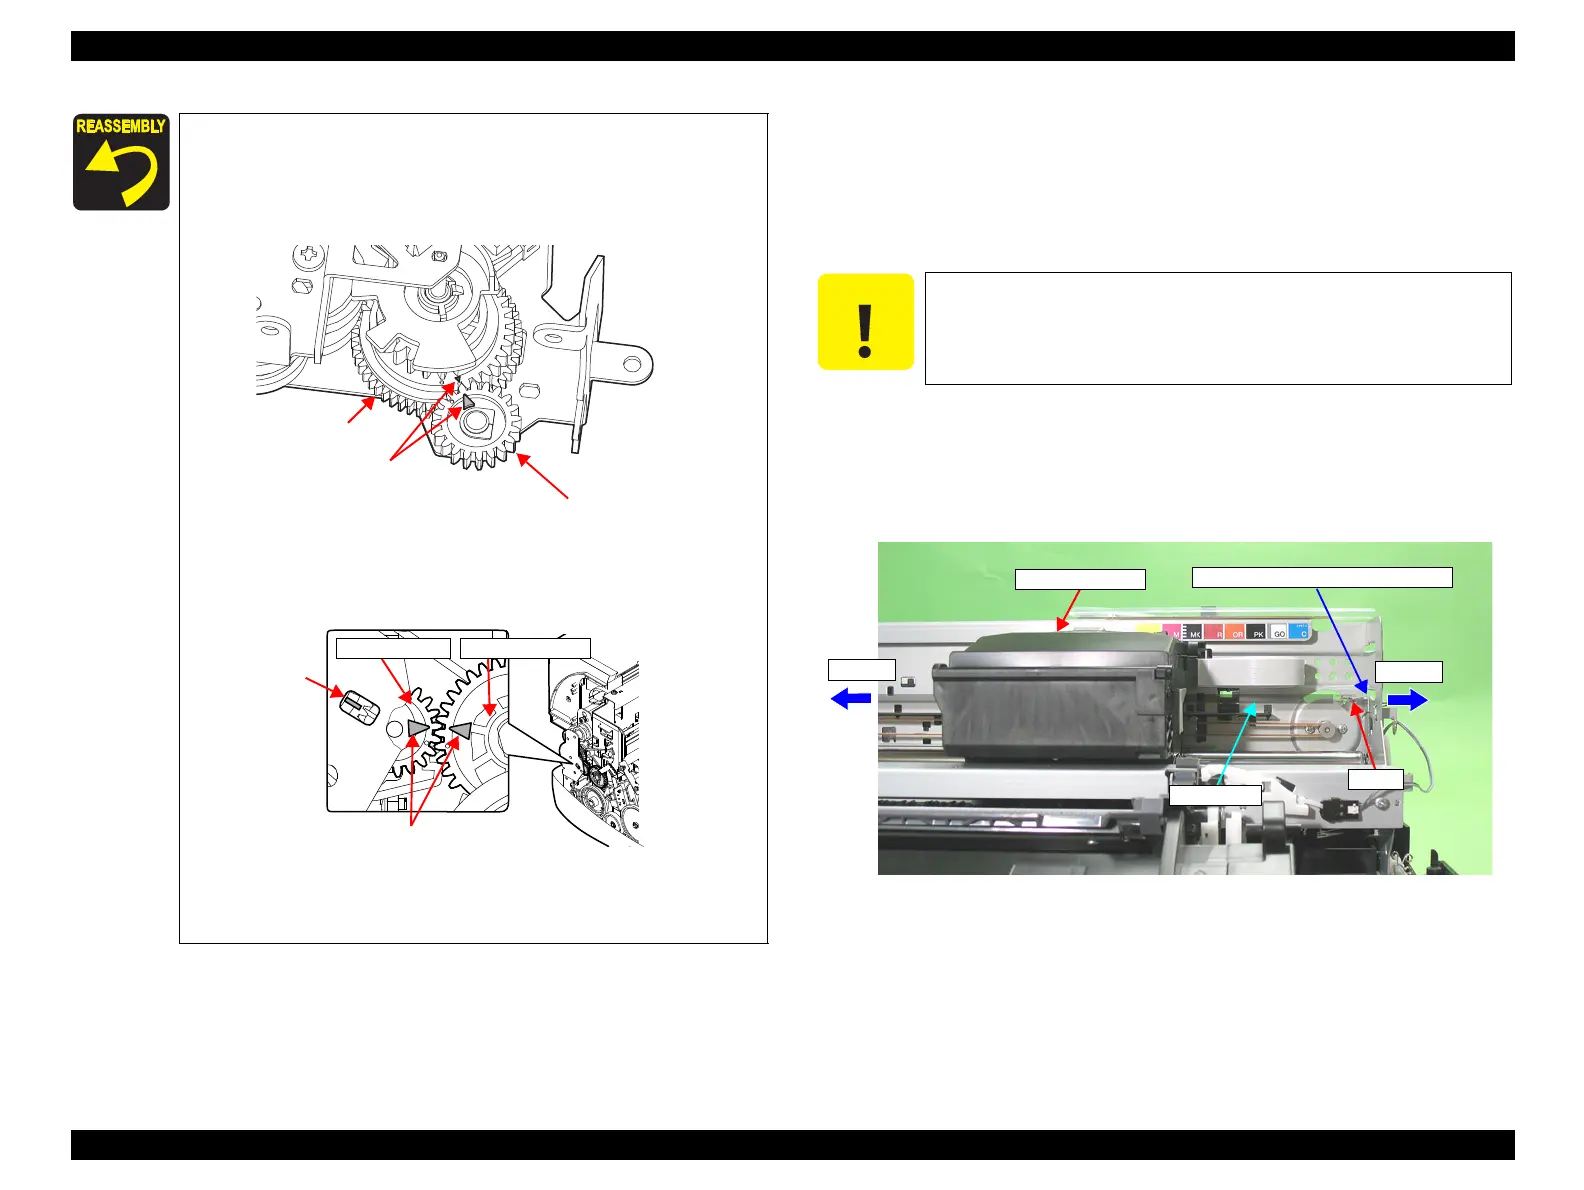
4.4.2 CR Scale
1. Remove the Upper Housing / Printer Cover. (p.83)
2. Release the Carriage Lock, and move the Carriage Unit to the center.
(Refer to 4.1.6 Locking/Unlocking the Carriage and Opening/Closing the CDR
Tray Base (p.75))
3. Pull the right end of the CR Scale in the direction of the arrow, and remove the CR
Scale from the tab on the Right CR Shaft Mounting Plate.
4. Pull out the right end of the CR Scale towards the left direction from the rear of the
Carriage Unit.
Figure 4-44. Pulling out the CR Scale
Match the phase of the APG Assy in the following procedure.
1.Match the delta marks of Spur Gear 16 and Combination
Gear 22, 28.8, 32.4.
2. At the position where the tab can be identified through the
notch of the PG Frame, match the delta marks of Spur Gear
16 and PG Cam (Left).
Figure 4-43. Phase Matching
Tighten the screws in the order shown in Figure 4-41
Delta Marks
Spur Gear 16
Combination Gear,
22, 28.8, 32.4
Delta Marks
Tab
Spur Gear 16 PG Cam (Left)
When performing the following procedure, take care to prevent
both ends of the CR Scale from being broken.
Step 3
Step 4
Carriage Unit
Right CR Shaft Mounting Plate
CR Scale
Hook

 Loading...


