EasyManuals Logo

Epson Stylus Photo R2000 Series User Manual

Epson Stylus Photo R2000 Series
230 pages
To Next Page IconTo Next Page
To Previous Page IconTo Previous Page
Page #80 background imageLoading...
Page #80 background image
EPSON Stylus Photo R1900/R2880/R2000/R2000s/SC-P400 Series Revision I
Disassembly And Assembly Removing the Housings 80
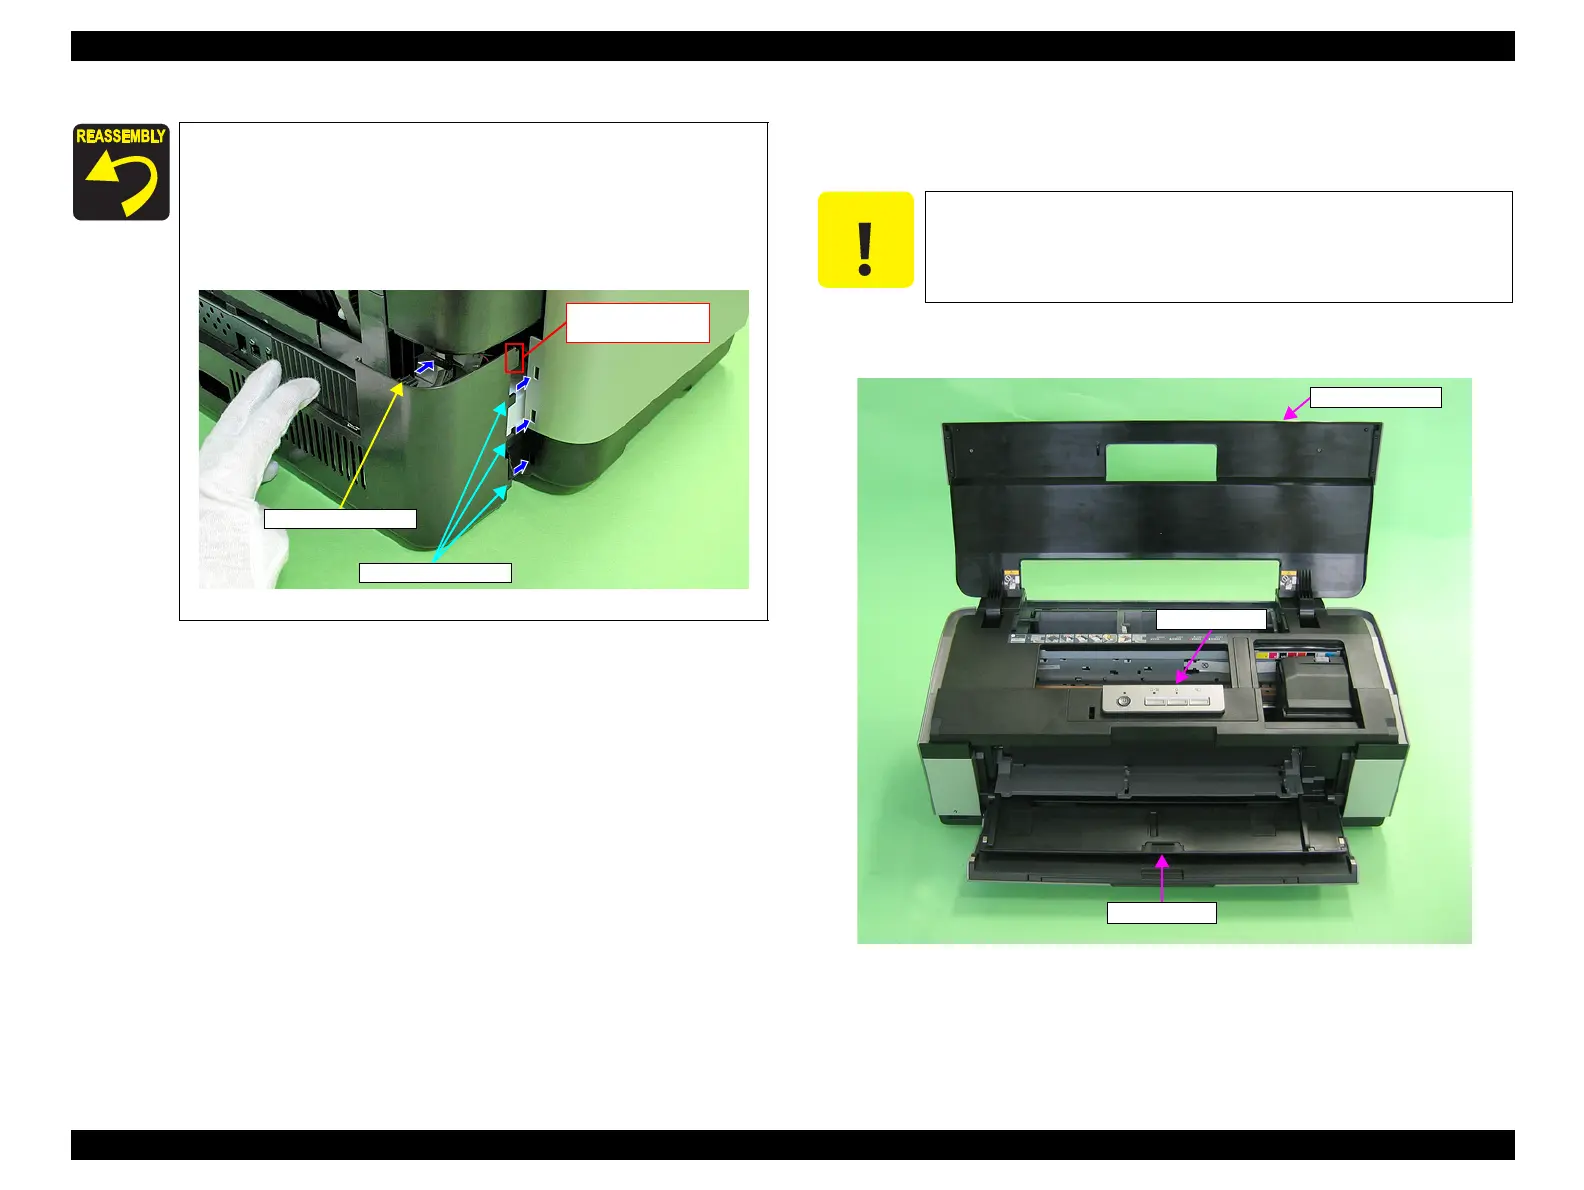
4.2.5 Panel Unit
1. Open the Printer Cover.
2. Open the Front Cover and CDR Tray Base.
Figure 4-13. Removing the Panel Unit (1)
Align the positioning tabs (one each on the left/right) with the
positioning holes (one each on the left/right) on the Upper
Housing.
Align the positioning tabs (three each on the left/right) with the
positioning holes (three each on the left/right) on the Decoration
Plate Left/Right and the Lower Housing.
Figure 4-12. Reinstalling the Rear Housing
Positioning tab
Hook this to the
Upper Housing
Positioning tab
C A U T I O N
Before opening the Front Cover and CDR Tray Base, unlock the
Carriage. (Refer to "4.1.6 Locking/Unlocking the Carriage and
Opening/Closing the CDR Tray Base (p75)")
Panel Unit
Front Cover
Printer Cover

Table of Contents

Other manuals for Epson Stylus Photo R2000 Series

Questions and Answers:

Question and Answer IconNeed help?

Do you have a question about the Epson Stylus Photo R2000 Series and is the answer not in the manual?

Epson Stylus Photo R2000 Series Specifications

General IconGeneral
Print TechnologyInkjet
Max Print Resolution5760 x 1440 optimized dpi
Number of Ink Colors8
Borderless PrintingYes
Operating SystemsWindows, Mac OS
Ink TypeUltraChrome Hi-Gloss 2
Ink ColorsCyan, Magenta, Yellow, Red, Orange, Matte Black, Photo Black, Gloss Optimizer
Ink Droplet Size1.5 picoliters
ConnectivityUSB, Ethernet, Wi-Fi
Media Sizes Supported4" x 6", 5" x 7", 8" x 10", 11" x 14", 13" x 19"
Media Types SupportedPlain paper, photo paper, fine art paper, canvas
InterfaceUSB, Ethernet

Related product manuals