EPSON Stylus Photo R1900/R2880/R2000/R2000s/SC-P400 Series Revision I
Disassembly And Assembly Removing the Boards 88
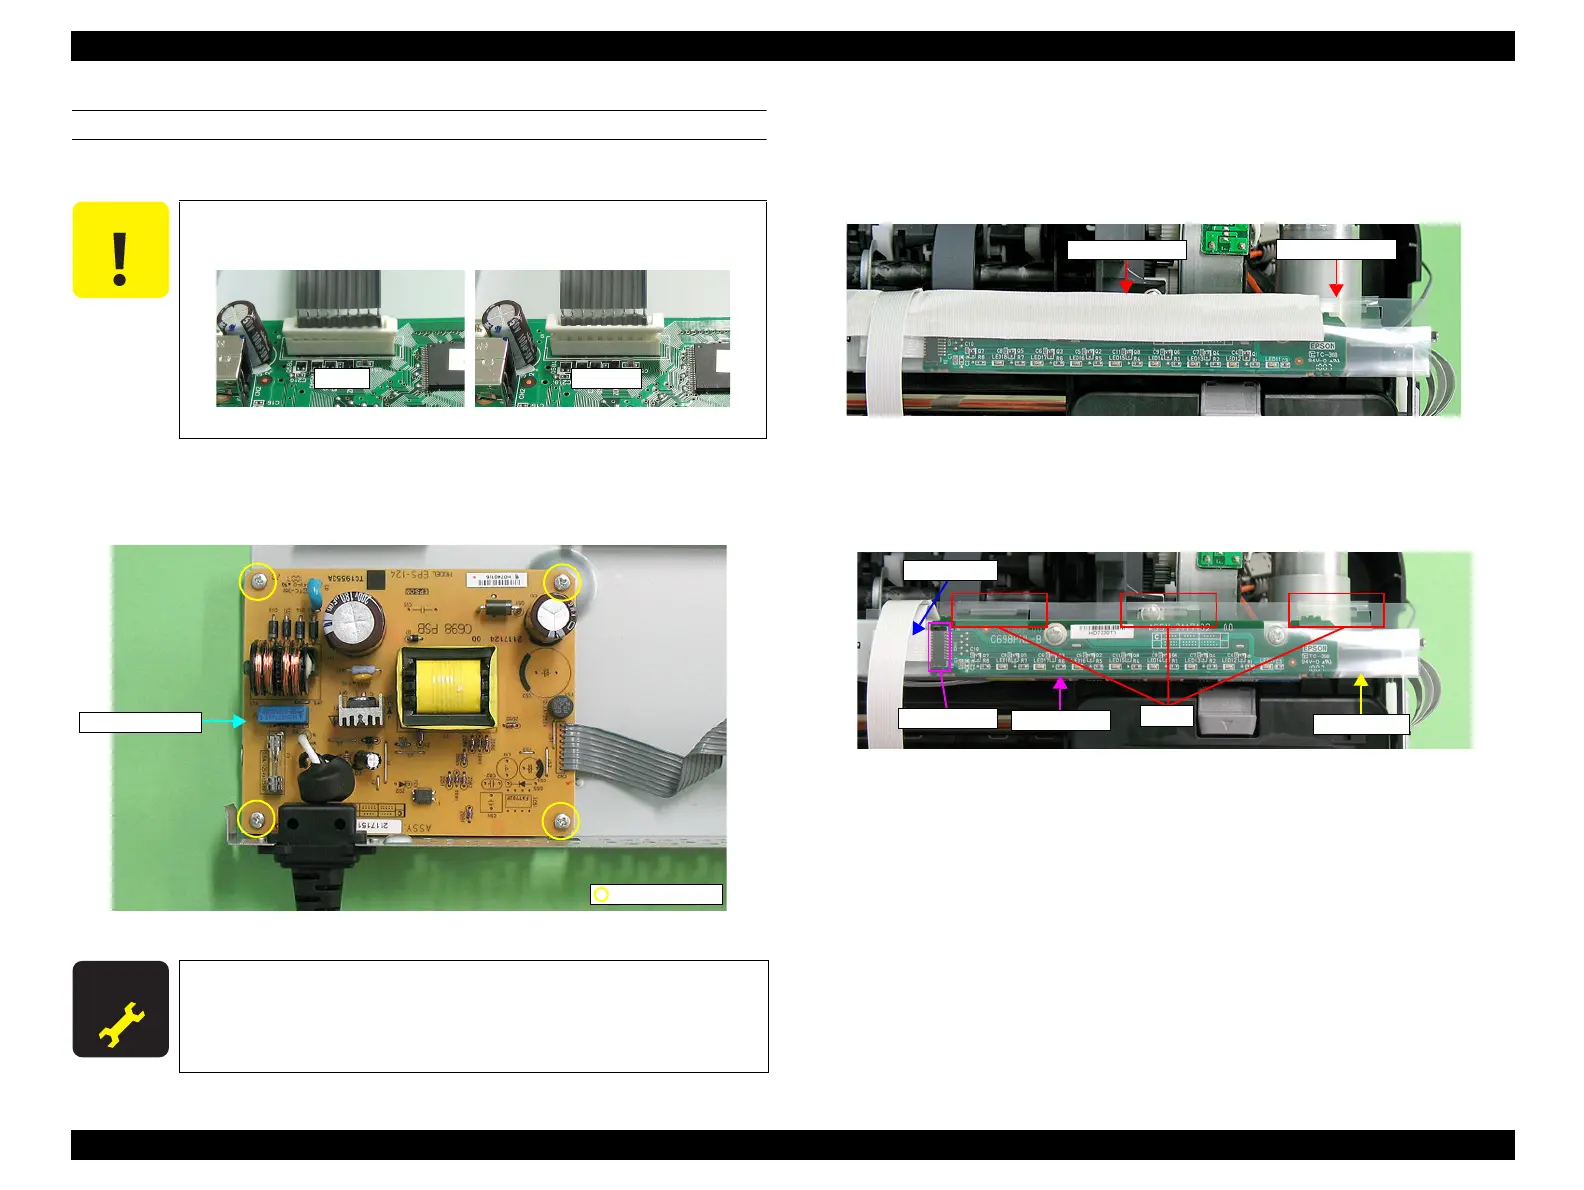
REMOVING THE POWER BOARD
1. Remove the Board Assy (Main Board/Power Supply Board). (p.86)
2. Disconnect the Power Board cable from connector CN60 on the Main Board. (p.87)
3. Remove the four C.B.S. M3 x 6 screws that secure the Power Board and remove
the Power Board from the Board Assy.
Figure 4-32. Removing the Power Board
4.3.2 LED Board
1. Remove the Upper Housing / Printer Cover. (p.83)
2. Peel off the piece of acetate tape from the LED Sheet.
Figure 4-33. Removing the LED Board (1)
3. Release the three tabs from the LED sheet, and open the LED sheet.
4. Disconnect the LED FFC from the connector on the LED Board.
Figure 4-34. Removing the LED Board (2)
When disconnecting the Power Board cable, be sure to unlock
CN60 on the Main Board.
Figure 4-31. Handling the Power Board cable (CN60)
A D J U S T M E N T
R E Q U I R E D
After replacing or removing the Main Board and the Power Board,
always make the required adjustments referring to the following.
•“Chapter 5 Adjustment (p.139)”
2) C.B.S. M3x6
Power Board
connector
LED Board
Tabs
LED FFC
LED Sheet

 Loading...


