44 Eyecon 9420 & 9430 Instruction Manual
Settings menu
3. Tap OK to save changes and return to the previous screen.
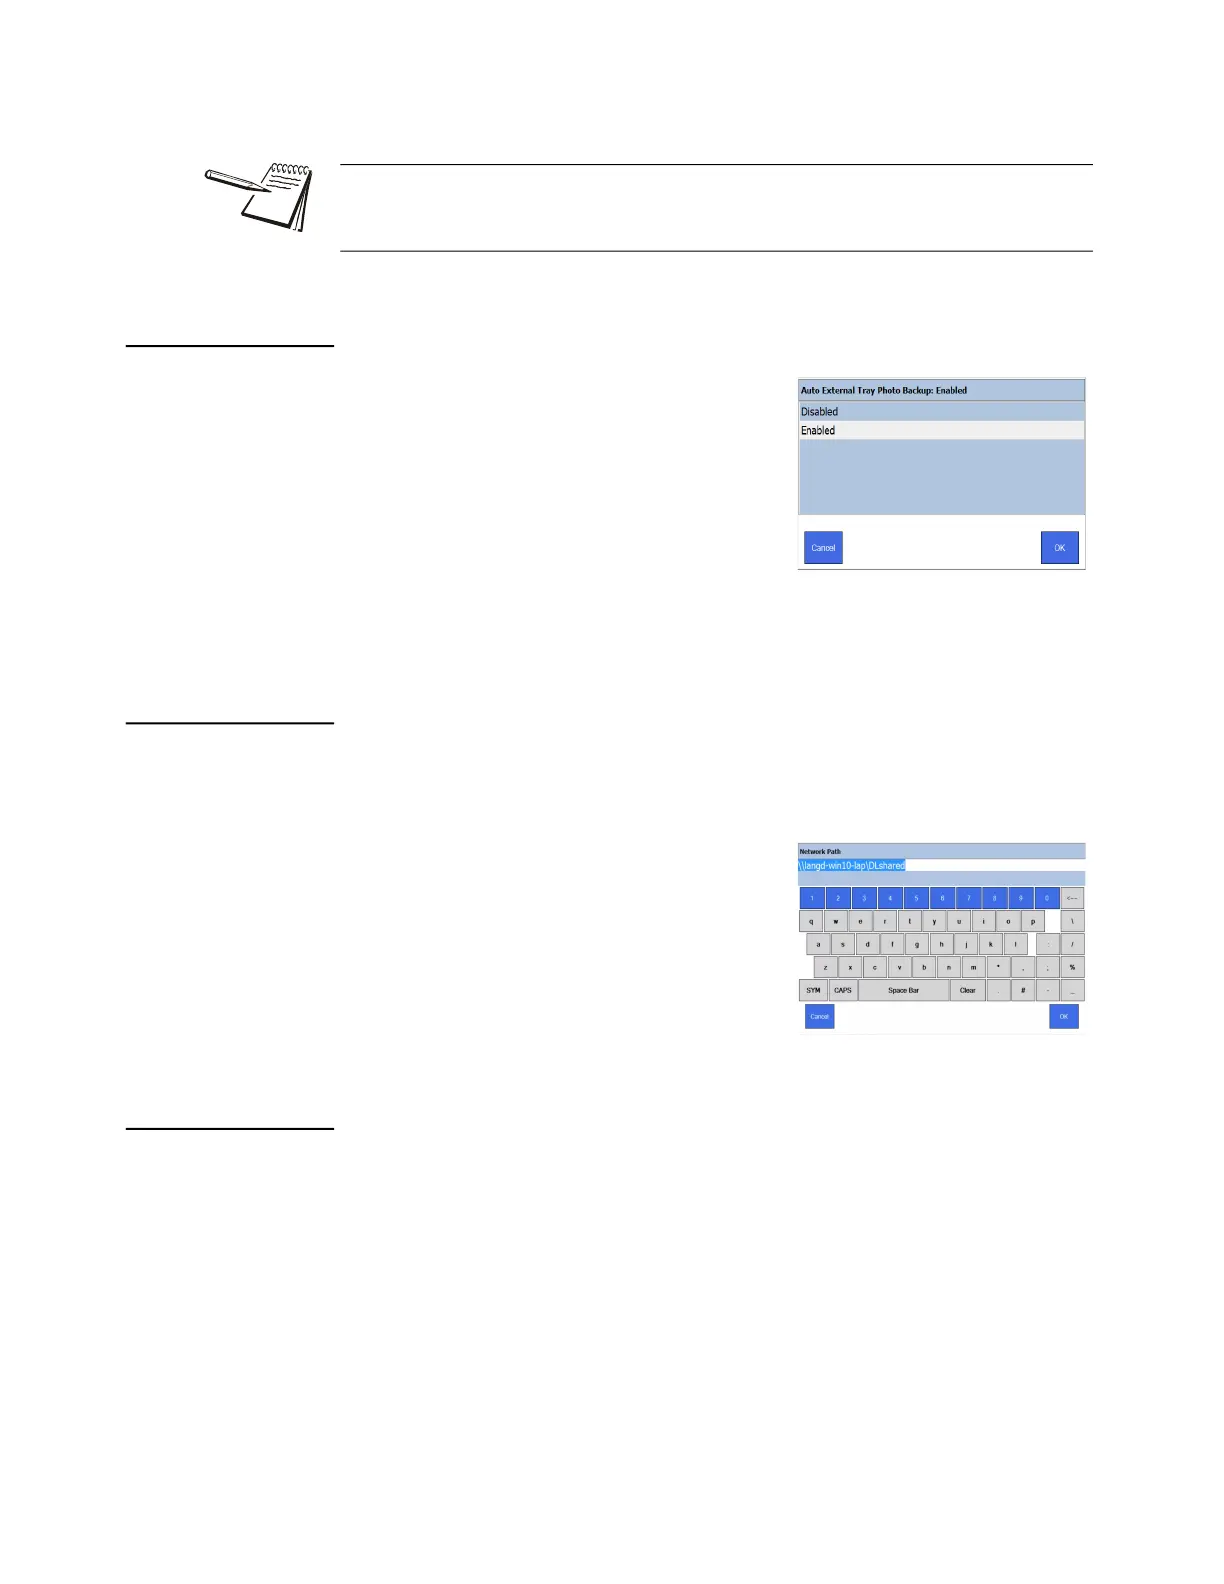
3.4.8 Auto External Tray Photo Backup
This feature allows the Eyecon tray photos taken
when filling an Rx to be saved to a shared
pharmacy network location.
1. From the Data menu, tap Auto External
Tray Photo Backup.
The screen at right is displayed.
2. Tap Enabled to use this feature.
3. Tap OK to return to the previous screen. Additional parameters will now be
available and are explained in the next four sections.
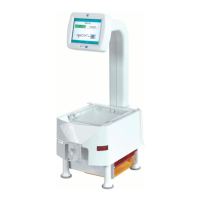
3.4.9 Enter Tray Photo Backup Path
This option becomes available only after enabling Auto External Tray Photo Backup
and allows the user to specify where tray photos should be stored on the shared
pharmacy network.
1. From the Data menu, tap Enter Tray
Photo Backup Path.
2. Use the on screen keyboard to type in the
path where you want photos to be saved.
Type the path as shown in this example:
\\langd-win10-lap\DLshared.
3. Tap OK to return to the previous screen.
3.4.10 Tray Photo Backup Path Username
This option becomes available only after enabling Auto External Tray Photo Backup
and allows the user to specify the user name, if required, to access the backup path.
1. From the Data menu, tap Tray Photo Backup Path: Username:
2. Use the on screen keyboard to type in the user name for the specified network
location. Type the user name and press OK.
3. Tap OK to return to the previous screen.
Pharmacies with the capability to host a SQL server on their network can avoid the
Eyecon’s SQL database limit of 10 GB by setting all Eyecons on the network to client.
The client Eyecons will then need to be able to access the pharmacy-hosted SQL DB.