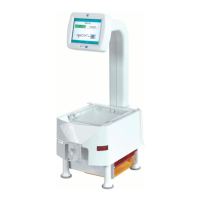
84 Eyecon 9420 & 9430 Instruction Manual
Eyecon operation
4.3 Validation mode operation
Validation mode allows two methods of obtaining the Rx information. The method in
use is defined by the Barcode Type menu item. See Barcode Type on page 30.
If Barcode Type = Validation
Your pharmacy software must be configured to print a barcode which contains at least
two of the following: Rx#, Drug Number and Quantity. Most pharmacy software
providers are aware of the Eyecon’s barcode requirements and can easily add this to
your Rx printout.
When using this method you will be scanning a validation barcode, as described above,
to start the filling process.
If Barcode Type = PMSS
The selection means your Eyecon is interfaced with your pharmacy management
software system (PMS). See Pharm. Mgmt. SW menu on page 42. Typically when an
Rx is printed, the PMS sends the Rx details to the Eyecon through the Ethernet or USB
connection. There are advantages to this choice: the Eyecon displays the patient name
during the dispensing process and if our bidirectional interface is supported, Eyecon
can send the Rx filling results back to the PMS which includes the drug number
dispensed, quantity dispensed, time/date of dispense and User details, as well as the
Lot#, serial number, and expiration date of the drug dispensed. See Remote Server
menu on page 47 for information on setting up bidirectional communication. This allows
the PMS workflow to advance the Rx to the next stage. This information also helps
maintain inventory accuracy, particularly when drug substitutions or partial fills are
dispensed.
When using this method you will be scanning an order ID barcode which is used by the
Eyecon to look up the Rx information sent by the PMS.
As you begin or end a session, you may be asked to scan in or manually enter your
login ID. This is determined by the settings in Count Login, Validation Login, and
Inventory Login on page 53. Follow the onscreen prompts when asked for an ID.