6.5.5 Changing date & time
ActionStep
Press the joystick to display the horizontal menu bar.
1
Point to Date/time on the Setup menu and press the joystick.
2
Move the joystick up/down to select year, month, day, minute and second.
3
Move the joystick left/right to change each parameter.
4
Press the joystick to confirm your changes and leave the dialog box.
5
6.6 Working with the camera
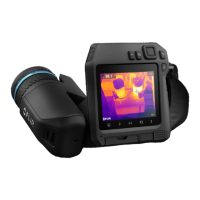
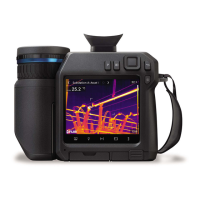
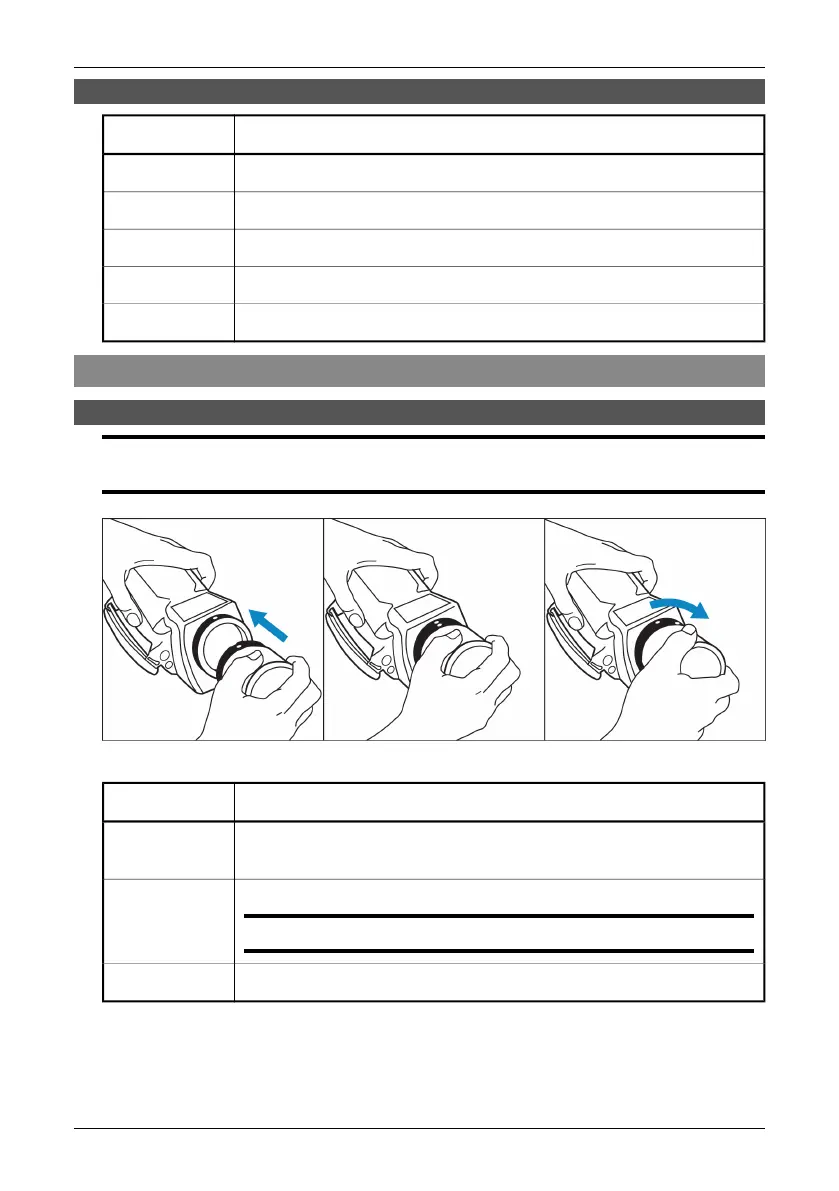
6.6.1 Mounting an additional lens
NOTE: Before trying to remove fingerprints or other marks on the lens elements, see section 12.2 –
Lenses on page 61.
10398403;2
Figure 6.1 Mounting an additional lens
ActionStep
Make sure the index mark on the IR lens is lined up with the index mark on the
camera.
1
Carefully push the lens into the lens recess.
NOTE: Do not use excessive force.
2
Rotate the lens 30° clock-wise.
3
6.6 – Working with the camera
Publ. No. 1 557 536 Rev. a35 – ENGLISH (EN) – January 20, 2004 15
 Loading...