Tutorials on Setup and Test Procedures
Certifying Fiber Cabling
2-15
2
amd118f.eps
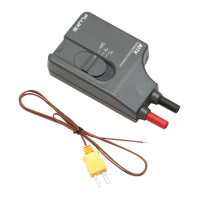
Figure 2-9. Self Test Connections for Fiber Modules
Step 3: Selecting a Fiber Type and Test Limit
Select the cable type and test limit specified for the job.
3-1
Turn the rotary switch to SETUP.
3-2
Use D to highlight Fiber; then press H.
3-3
On the Fiber menu use D and H to select Fiber
Type . Fiber types are organized in groups:
•
Generic: Generic types of fiber
•
Custom: Fiber types entered by a DTX user
•
Manufacturer: Specific brands of fiber cable
3-4
Use D to highlight a group for the fiber type you
will test; then press H.
3-5
Use D to highlight the fiber type you will test; then
press
H.
3-6
On the Fiber menu, use A to highlight Test Limit
(if it is not highlighted); then press H.
3-7
The first Test Limit screen shows the most recently-used
limits. To see the list of test limit groups, press
JMore.
3-8
Use D and H to select a different limit group, if
necessary, and to select the test limit required for the
job.
TALK
MONITOR
ENTER
TEST
SAVE
SPECIAL
FUNCTIONS
SETUP
AUTO
TEST
SINGLE
TEST
EXIT
F1 F2 F3
TALK
TEST
PASS
TEST
FAIL
TALK
TONE
SC to SC reference test cord

 Loading...