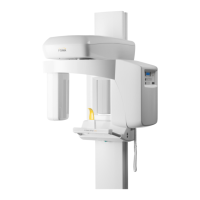
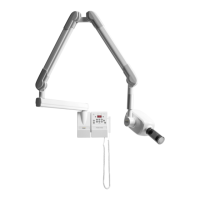
2.3.3. PCBs/Tube head replacement
Cover to be removed
Chapter Plastic Covers and Metal Covers
(Shields)
Remove Display Cover (D), Drive Upper Metal
Cover (G), Shield on Power Switching unit (O),
unlock the control unit module, and swing it out
open.
Disconnect all wires of the Tube Housing
Assembly (THA) from the Power Switching Unit
and ground wire from the frame.
Dismount the tube housing assembly (THA) by
removing the 4 mm Allen screws in front
(quantity 4) and mount the new one.
Perform Filament Calibration (paragraphs
Filament Calibration and Feedback Signal
Calibration).
Perform Alignment of radiation field (paragraph
X-Ray Beam Alignment).
Degassing procedure (if needed). Please refer
to the paragraph “Degassing procedure” in the
installation instructions.
Remove Vertical Upper Top Cover (A) and
Shield on Power Supply Unit (N).
Disconnect all cables, replace the board, and
reconnect all cables.
Verify Anode Current and in case perform
Filament Calibration (paragraphs Filament
Calibration and Feedback Signal Calibration).
Remove Display Cover (D), Drive Upper Metal
Cover (G) and Shield on Power Switching (O),
unlock the control unit module, bend it open and
remove the Back Shield (P).
Disconnect all cables, replace the board, and
reconnect all cables.
Configure the unit with original values:
Upload firmware (contact Customer Service for
further information)
Load the Offset and CAM setting values by
entering in the service menu and copying the
label on top of Power Supply shield
Remove Display Cover (D), Drive Upper Metal
Cover (G), Shield on Power Switching Unit (O),
unlock the control unit module and bend it open.
Disconnect all cables, replace the board, and
reconnect all cables.
Perform Filament Calibration (paragraphs
Filament Calibration and Feedback Signal
Calibration).
Column
Motor
Driver
Board
Disconnect all cables, replace the board, and
reconnect all cables.
Disconnect all cables, replace the board, and
reconnect all cables.
 Loading...