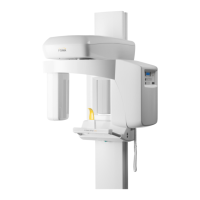
1.12. X RAY TEST
1.12.1. Taking a panoramic phantom radiograph
Turn ON the system mains switch. Wait for initialization and do Reset.
Select 64 kV and 5 mA at control panel.
Using masking tape, attach the copper filter over the X-Ray generator
RETURN Arm Movement to START position, ready for exposure.
On PC side:
1. Start the OrisWin DG Suite software and click on Patients.
2. Select the Emergency patient and start image management.
3. Click on Panoramic module, which activates the virtual control pannel
showing the same parameters selected in the unit.
4. Bring the carriage to Start position, in order to have the unit ready for image
acquisition. In this position the lateral bars acquisition module are green.
Move to a safe position and expose till end of movement.
If the differences in distance between each internal needles and the central one
(as shown by the green arrows in the picture above) is not more then 15 pixels,
the bite block position must be corrected; please refer to customer service for
further information.
Check distance between needles
If the distance between the two needles (red arrow) is not between 837 +/- 17
pixels (820 to 854 pixels), the Cam Offset value must be corrected; refer to
Service manual.
Report any defect detected.
NOTE. To compute the horizontal distance in pixel use the Region
selection tool, make a rectangle between the two needles and check
the Δx value.
In presence of defects which may constitute a safety hazard to the
patient as well as to the operator the user is not permitted to use the
unit until repairs are made!
 Loading...