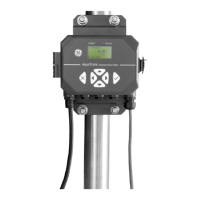
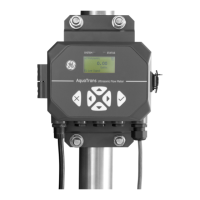
AquaTrans™ AT600 User’s Manual 11
Chapter 2. Clamp-On Fixture and Transducer Installation
Chapter 2. Clamp-On Fixture and Transducer Installation
2.1 Installing an AT600 Clamp-On Fixture and Transducer System
The instructions in this section are for installations using the AT600 clamp-on fixture only. For installations
using other clamp-on fixtures, see “Installing a CF-ES Clamp-On Fixture and Transducer System” on page 20
or “Installing a General Clamping Fixture and Transducer System” on page 20.
2.1.1 Transducer Spacing = 32 to 250 mm or 50 to 320 mm, Traverses = 2, Fixtures = 1
Note: A two traverse installation with one clamp-on fixture is the standard AT600 configuration.
When the required transducer spacing is 32 to 250 mm for a 2 MHz transducer or 50 to 320 mm for a 1 MHz
or
0.5 MHz transducer, one clamp-on fixture is needed for a dual traverse installation. Proceed as follows:
1. Install the AT600 clamp-on fixture with transducers on the pipe using two mounting straps.
a. Choose a location with enough straight pipe run (refer to Figure 7 on page 7).
b. Install the two mounting straps on the pipe about 12 in. (30 cm) apart (see Figure 10 below).
Figure 10: Mounting Straps Installed on Pipe
c. Hold the fixture against the pipe and move the mounting straps onto the fixture. Then, tighten
the screws on the straps, and verify that the straps remain in place on the fixture (see Figure 11
below).
 Loading...