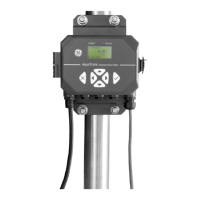
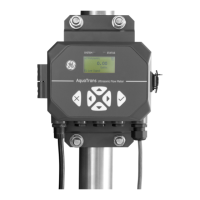
Chapter 3. Wiring the AT600 Electronics
28 AquaTrans™ AT600 User’s Manual
3.5 Wiring the Analog Output for HART Communication (cont.)
To wire the analog output, refer to Figure 27 on page 27 and complete the following steps:
1. Verify that the main power has been disconnected from the unit, and then open the enclosure.
2. Install the required cable gland in the chosen gland hole on the bottom of the enclosure.
3. Refer to Figure 23 on page 23 for the location of terminal block
I/O, and wire the terminal block as
shown above.
4. Secure the cable clamp.
Note the following:
• The standard analog output port provides only a 0/4-20mA analog output. If the HART
communication option is desired, it must be specified at the time of purchase.
• The AT600 analog output is an active mode type, with power provided internally by the meter. Do not
connect an external 24V power supply to this circuit.
• Prior to use, the analog output must be set up and calibrated (see “Inputs/Outputs” on page 48).
• When in meter is in configuration mode, the analog output is locked at 3.6 mA. After exiting from
configuration mode, the meter will resume normal operation.
3.6 Wiring the Modbus Communication
The optional AT600 Modbus port is a two-wire, half-duplex RS485 interface. If this option was specified at
the time of purchase, proceed with the wiring instructions below.
To wire the Modbus RS485 serial port, refer to Figure 23 on page 23 above and complete the following steps:
1. Verify that the main power has been disconnected from the unit, and then open the enclosure.
2. Install the required cable clamp in the chosen gland hole on the side of the electronics enclosure.
3. Route one end of the cable through the gland hole and wire it to terminal block.
4. Secure the cable clamp.
WARNING! Always be sure to disconnect the main power supply from the AT600 before proceeding
with these instructions.
WARNING! Always be sure to disconnect the main power supply from the AT600 before proceeding
with these instructions.
 Loading...