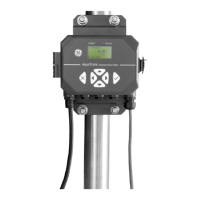
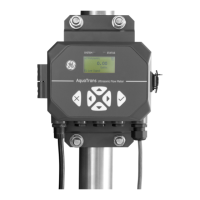
AquaTrans™ AT600 User’s Manual 69
Chapter 4. Initial Setup and Programming
4.7.3 Programming the Pipe Menu when Wetted selected
4.7.3.1 Setting the Pipe OD, ID, and Wall Thickness
IMPORTANT: Changing the Pipe ID (Inside Diameter) automatically changes the Wall Thickness. Similarly,
c
hanging the Wall Thickness automatically changes the Pipe ID.
Select
Pipe and press [√]. The following screen opens.
In the Sensor Setup menu, select P
ipe OD, Pipe ID or Wall Thickness and
press [√]. A screen similar to the following opens.
Press [√] again, and a screen similar to the following opens.
Note: The units shown are the units selected in the Units Setting menu.
Use the [] or [] key to select a specific digit, then use the [] or [] key
to change that digit as required. After all digits are correct, press
[] to
save. Then, press [
] to return to the previous screen. Repeat these steps
to enter the
Pipe ID and Wall Thickness. Then, press [] to return to the
Pipe menu.
 Loading...