T
thomassmithAug 3, 2025
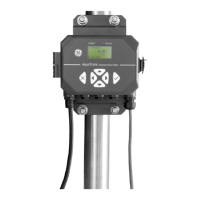
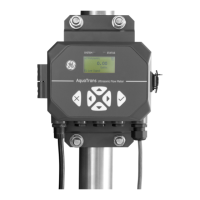
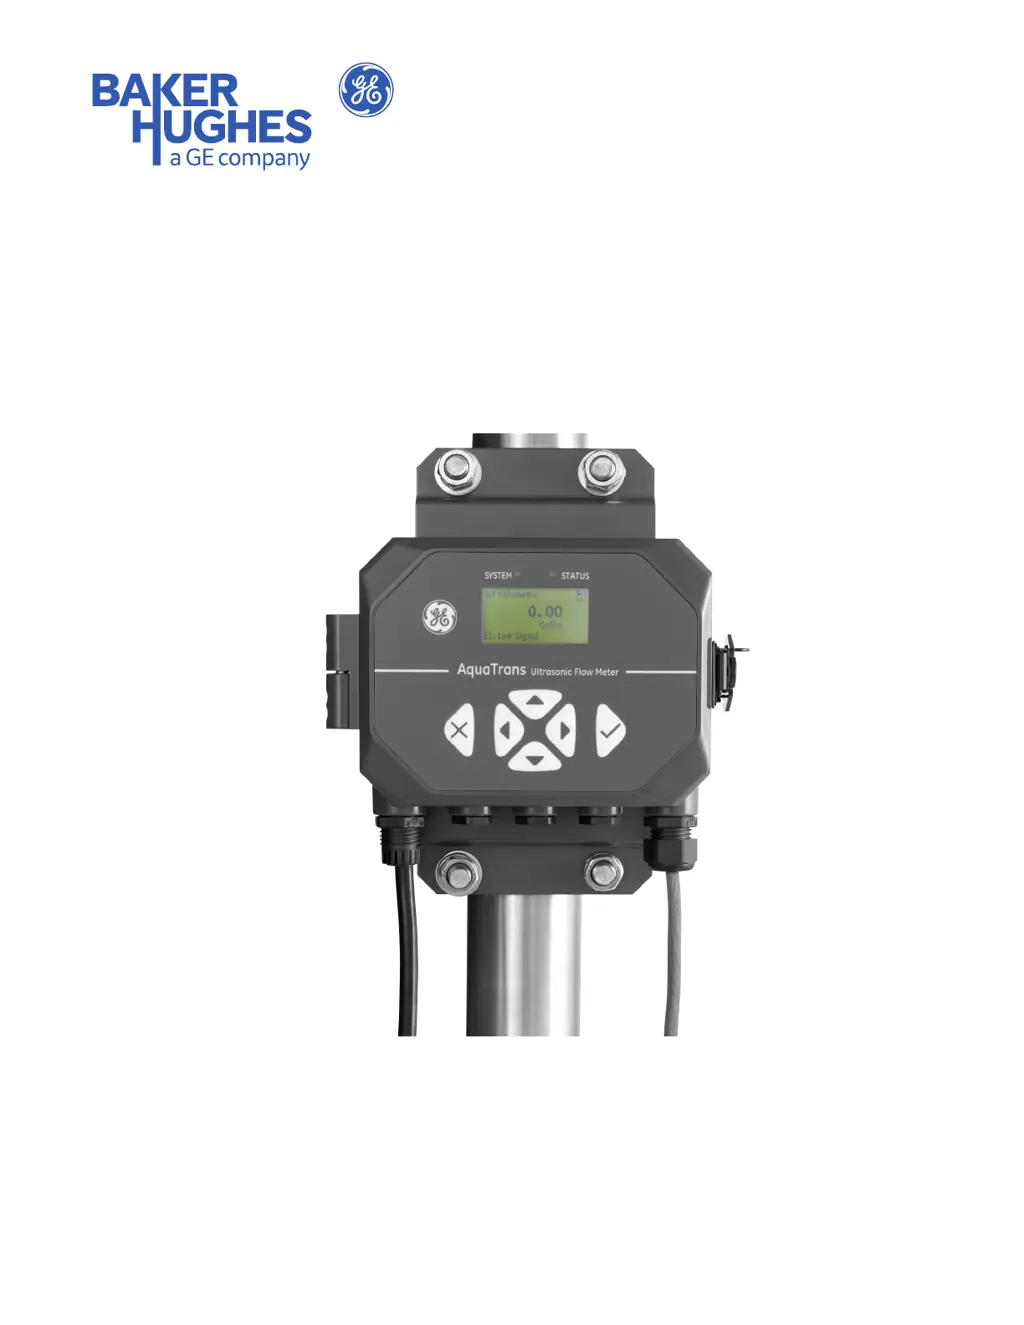
What to do if the velocity exceeds limits on GE Measuring Instruments?
- TTimothy WilsonAug 3, 2025
If the measured velocity exceeds the programmed velocity limit, ensure that the actual flow rate is within the programmed limits. You may need to check the value programmed in the Program > Advanced > Error Limits > Velocity Low/High menu. The error may be caused by improper programming, poor flow conditions, and/or excessive flow turbulence.