Concord 4 Series Systems 42
Light Control Menu
Note
For light control to work, the
panel must be powered with
a power line carrier trans-
former and X10 Powerhouse
Lamp Modules must be
installed at desired lamps.
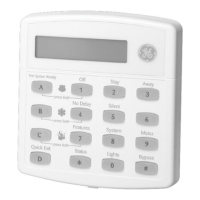
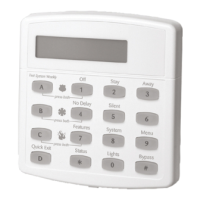
The LIGHT CONTROL menu lets you set up light activation for a specific partition.
The following describes how to program the settings that appear under
PARTITION 1-6.
No Usage Time (0315 - 0365)
Timers-Partition 1-6 (Default = none)
Determines how many days a partition can remain disarmed before
the panel sends a No Usage report to the central monitoring station
and stores the event in the history buffer.
When this feature is set:
• This timer decreases by one at STIME each day the selected par-
tition remains disarmed.
• If the timer gets to 0 at STIME, the panel sends a No Usage report
to the central monitoring station and stores the event in the his-
tory buffer.
• If the partition is armed before the timer reaches 0, the timer
resets to the programmed setting.
When this feature is not set (default), the panel does not send or log
No Usage reports.
To set the No Usage Time:
1. With the display showing NO USAGE TIME (cur-
rent setting), enter the desired number in days (2-
255). The display flashes the entered setting.
2. Press # and the display show the new setting.
To turn off No Usage Time:
1. With the display showing NO USAGE TIME (cur-
rent setting), press D.
Entry Lights (0400 - 0450)
Light Control (Default = none)
This setting determines which X10 controlled lights turn on
during entry and exit delays.
Note
X10 Lamp Modules set to 1 always turn on during the entry and
exit delays.
X10 Lamp Modules set to 2 always flash the arming level when
arming the system. For example, lights flash two times when arm-
ing to STAY (level 2), and three times when arming to AWAY (level
3).
To set the Entry Lights:
1. With the desired partition selected, press #. The display
shows ENTRY LIGHTS nnnnnnn (current setting).
2. Enter all the desired light numbers (3–9 based on the
UNIT dial setting on each X10 Lamp Module). The dis-
play flashes the entered setting(s). Press # and the dis-
play shows the new setting(s).
To delete Entry Lights:
1. Enter any light number that appears on the display, then
press #. The number disappears from the display.
House Code (0401 - 0451)
Light Control (Defaults: partition 1=01-B,
partition 2=02-C, partition 3=03-D, partition 4=
04-E, partition 5=05-F, partition 6=06-G)
This setting enables X10 controlled lights to work in a selected parti-
tion without interfering with the X10 controlled lights of the other
partitions.
After setting the panel house code for each partition, you must set the
X10 controlled lights for that partition to the same house code. The
letter that appears automatically after the house code number indicates
the necessary HOUSE dial setting for X10 modules in that partition.
To set the House Code:
1. With the desired partition selected, press A or B
until the display shows
HOUSE CODE nn-x (current
setting).
2. Enter the desired number (1–255). The display
flashes the entered number. Press # and the dis-
play shows the new house code.
WWW.DIYALARMFORUM.COM
 Loading...
