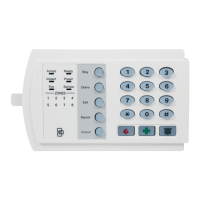
Concord 4 Series Systems
67
Attach Schedules to Events Menu
The ATTACH SCHEDULES TO EVENTS menu lets you link the following system events to time
schedules:
• Latchkey Opening—sends a report if system is disarmed within the attached time schedule.
• Latchkey Closing—sends a report if system is armed within the attached time schedule.
• Exception Opening—sends a report if system is not disarmed within the attached time
schedule.
• Exception Closing—sends a report if system is not armed within the attached time sched-
ule.
• Lights (1–9) activate X10 controlled lights by the attached time schedule.
• Outputs (1–6) allow users to attach onboard (1–2) and SnapCard outputs to a schedule.
• Arming—Allows the user to arm the panel at the schedule start time.
Set Up Schedules (05XXY, where
XX=schedule 00-15 and Y=start [0]/stop[1]
Monday thru Sunday [2-8])
(Default = 00:00)
This menu lets you set up start/stop times for each day of
the week.
Schedules used by one partition cannot be viewed or
changed from a different partition.
Note
If you are programming schedules for your customer, be
sure to record the settings in the User’s Manual.
To set up a Time Schedule:
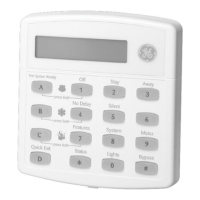
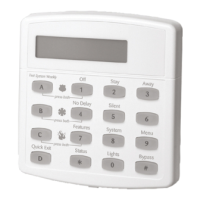
1. Press A or B until the display shows SET UP SCHEDULES.
2. Press # and the display shows
SCHEDULE 00. If you want a differ-
ent schedule number, press A or B until the desired schedule num-
ber appears.
3. Press # and the display shows
START TIME hh:mm (current setting).
4. Enter the desired starting time (00:00–23:59). The display flashes
the entered time. Press # and the display shows
START TIME hh:mm
(new setting).
5. Press B and the display shows
STOP TIME hh:mm (current setting).
6. Enter the desired stop time (00:00–23:59). The display flashes the
entered time. Press # and the display shows
STOP TIME hh:mm (new
setting).
7. Press B and the display shows
MONDAY OFF/ON (current setting).
To select a different day, continue pressing B until the desired day
appears.
8. Press 1 (off) or 2 (on). The display flashes the entered selection.
Press # and the display shows the new setting for the selected day.
9. Repeat steps 7 and 8 until all desired settings for each day are set.
Latchkey Reports (Opening: 060nn,
Closing: 061nn, where nn=Schedule
number [0 to 15])
Attach Schedules to Events (Default = off)
This setting lets you attach the Latchkey
Opening report feature and the Latchkey
Closing report feature to time schedules.
To Attach a Schedule to Latchkey Opening or Latchkey Closing:
1. Press A or B until the display shows ATTACH SCHEDULES TO EVENTS.
2. Press # then A or B until the display shows
LATCHKEY OPENING OR LATCH-
KEY CLOSING
.
3. Press # and the display shows
SCHEDULE 00 OFF/ON (current setting). If you
want a different schedule, press A or B until the desired schedule appears.
4. Press 1 (off) or 2 (on). The display flashes the entered selection. Press # and
the display shows the new setting for the selected schedule.
WWW.DIYALARMFORUM.COM
 Loading...
