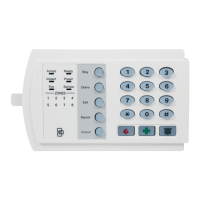
Concord 4 Series Systems
69
Energy Saver Menu
The ENERGY SAVER menu lets you set the Energy Saver Module or Dialog RF Thermostat low-
and high-setpoints. These setpoints override the premises thermostat allowing the Energy Saver
Module or Dialog RF Thermostat to activate the furnace/air conditioner.
Attach Lights to Sensors Menu
The ATTACH LIGHTS TO SENSORS menu lets you assign a light number to a sensor. Each time the
sensor is activated, the attached light will turn on for 5 minutes. When the 5 minute timer expires
the light will turn off. If the same light is scheduled, it will only turn on during the schedule time.
Low Setpoint (070)
Energy Saver (Default = 50°F)
This setting determines the temperature at
which the energy saver module relay closes
to activate the furnace.
Note
The low setpoint cannot be set equal to or
higher than the high setpoint.
To set the Low Setpoint:
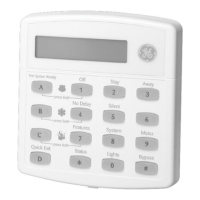
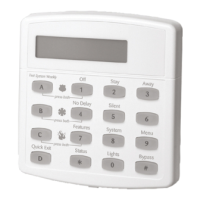
1. With the display showing ENERGY SAVER, press #, then A or B until the dis-
play shows LOW SETPOINT NN DEGREES (current setting).
2.
Enter the desired temperature (45–89°). The display flashes the entered setting.
Press
# and the display shows the new setting.
High Setpoint (071)
Energy Saver (Default = 90°F)
This setting determines the temperature at
which the energy saver module relay closes
to activate the air-conditioner.
Note
The high setpoint cannot be set equal to or
lower than the low setpoint.
To set the High Setpoint:
1. With the display showing ENERGY SAVER, press #, then A or B until the dis-
play shows
HIGH SETPOINT nn DEGREES (current setting).
2.
Enter the desired temperature (46–90°). The display flashes the entered setting.
Press
# and the display shows the new setting.
Light X to Sensor Y (08n where
n=light number [1-9] minus 1)
Attach Lights to Sensors (Default = 0)
This menu attaches light x to sensor y. Each
time a selected sensor is tripped, the selected
light will turn on and a 5 minute timer will
start.
Note
The sensor must be learned into the current par-
tition before it can be attached.
To attach a light to a sensor:
1. With the display showing LIGHT 1 TO SENSOR y (current setting), press A or
B to select the desired light number.
2. Enter the desired sensor number (01–96). The display flashes the entered
setting. Press # and the display shows the new setting.
3. Repeat steps 1 through 2 until all desired lights are attached to sensors.
To detach a light from a sensor:
1. With the display showing LIGHT 1 TO SENSOR y (current setting), press A or
B to select the desired light number.
2. Enter 0 as the sensor number and press #.
WWW.DIYALARMFORUM.COM
 Loading...
